Comes the warm weather and the fresher, juicer fruits and I'm all about smoothies. If in wintertime I can't say no to a baking session to have cookies always done for an afternoon snack (you know you have a sweet tooth when chocolate becomes a daily basic), in spring and summertime I can easily switch to the healthier smoothie and actually be quite satisfied with my snack! It has been a couple of months that I'm getting into the habit of drinking a freshly mixed fruit smoothie in the early hours of my afternoons, and not only it is super fun to find new fruit combinations and experiment with creativity and colours, but it also makes for a great boost of energy to face the rest of the day!
Smoothies are all about creativity and personal taste, but we've come up with a couple of ideas that make for delicious and different smoothies that I can't really *not* share with you! Hopefully, if you'll ever get bored with your favourite smoothie combinations, these will be a great inspiration!
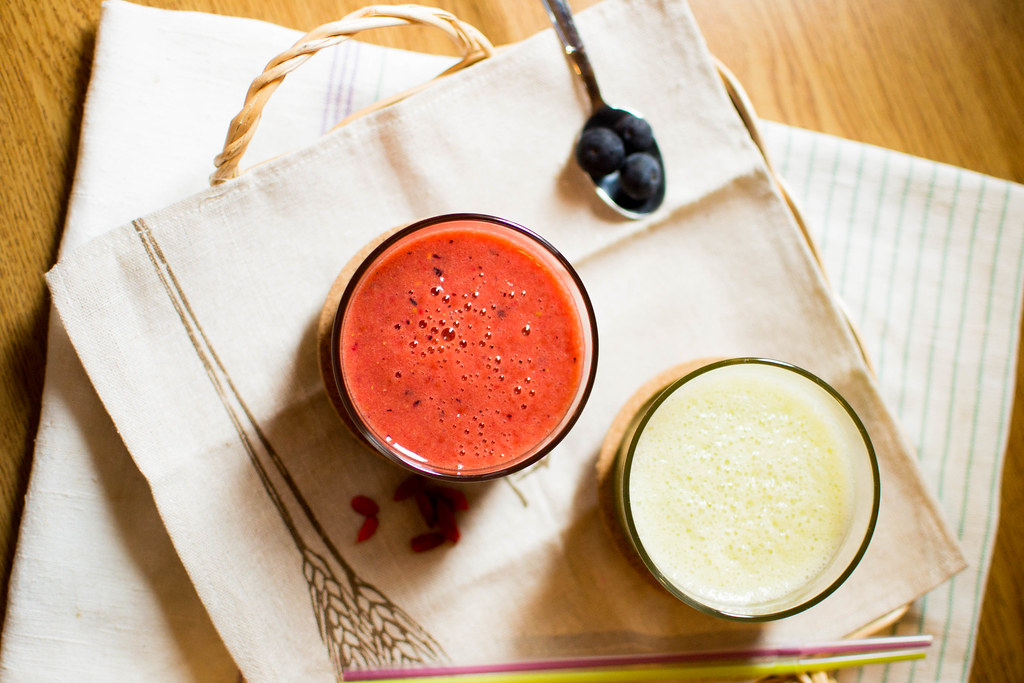
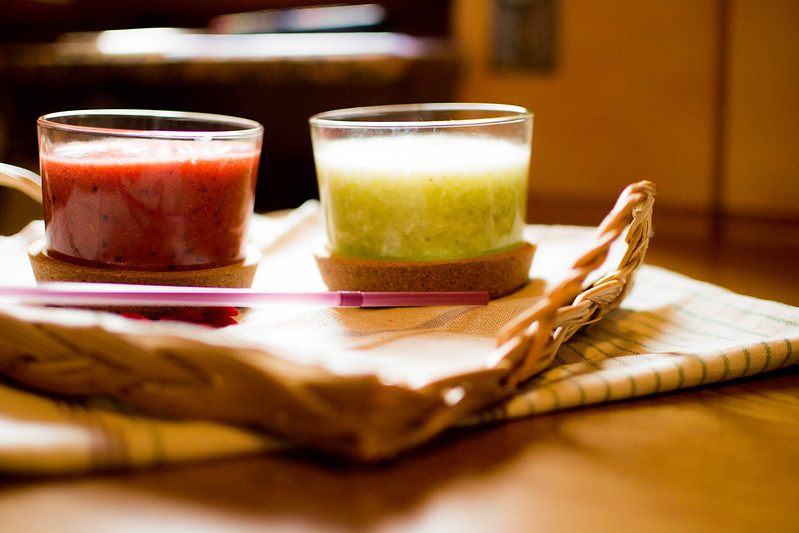
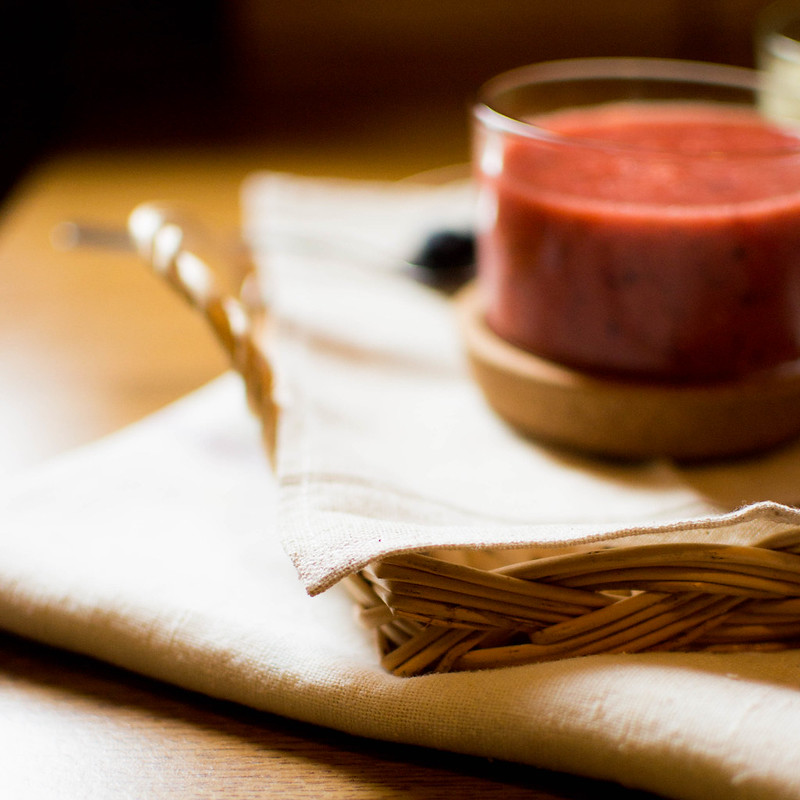
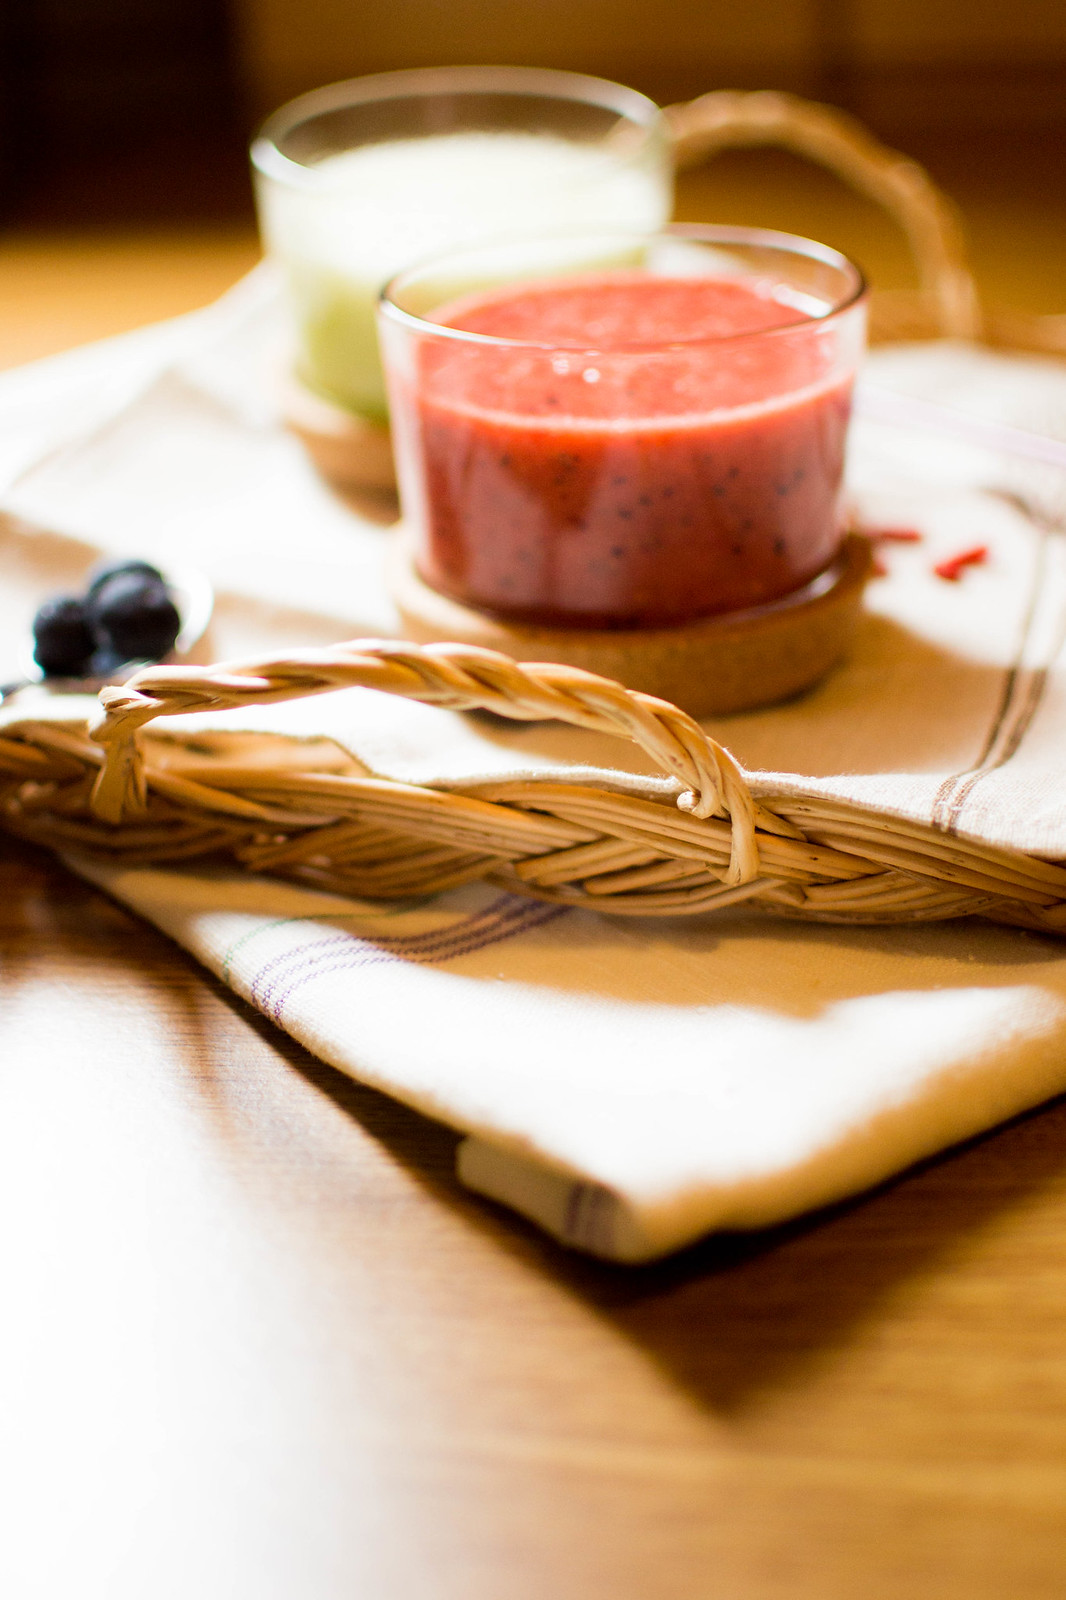
Serves 2 | Goji & Red Berries Smoothie
15 goji berries
170ml fresh water
A couple of handfuls of raspberries, blueberries and blackberries
A handful of strawberries
First off create the goji juice by throwing around 15 goji berries and 100ml of water in a blender. Blend well until all the berries are chopped and the water becomes light red. Using a small strainer, strain the goji juice over a glass to remove any harsh residues, then pour the juice into the blender and blend together with all the berries (which you previously rinsed very well) until smooth. Serve immediately or let it chill in the fridge and enjoy later (remember to give it a shake before serving if you pick the latter!).
This smoothie is rich and sweet, but also a great way to implement super healthy goji berries in your diet if you're not a fan of snacking on them by their own!
Serves 2 | Banana, Mint & Lemon Smoothie
1 banana
170ml fresh water
Juice of 1/2 lemon
2 or 3 leaves of mint
Pour the water, chopped banana, freshly squeezed lemon juice and mint leaves into a blender and blend well until smooth. Add a teaspoon of honey if you prefer your smoothies on the sweet side. Serve immediately or chill in the fridge for later!
This one is inspired to a smoothie I got on a hot day in Milan last month at VIVA (such a blessing after walking for a long hot day in a busy city!) and it's fresh and delicious but totally different than your average fruit smoothie!
I've been blogging since a while now, and also am running a small business at the same time, but only recently I've found a great routine to plan, schedule, write, work, publish and create, all of this while also staying organized. Most of it is thanks to some great (and mostly free) online tools, websites and apps that help me schedule, promote and plan ahead, while also staying updated with my website's analytics. Here I've written down a little list of favourite tools that are especially awesome for bloggers and small business owners!
Stay tuned until the end for a free printable weekly planner!
Buffer - As much as I like to publish authentic content on social media too, sometimes scheduled tweets are the only way to go for me. I usually only schedule tweets to promote my blog posts, usually 4/5 times spread during the day. You'll be able to pre-schedule standard hours for your tweets, so it's great to look at when your followers are more active on Twitter and strategically plan ahead when to make your tweets go live.
Sunrise Calendar - I usually plan my blog posts a month or so ahead, so it's great to have a nice calendar app where to plan ahead when those posts are going live on my blog. Sunrise Calendar has a lovely interface, and it allows me to use different colours for different typologies of posts (like food, beauty, style, etc.) to be able to never publish the same type of posts two days in a row.
LikeBtn - See that little hearts/likes counter in the footer of my posts?! I know there're a tun of plugins to install it for free on Wordpress, but it's not that easy to find an aesthetically pleasing button that works fine on Blogger too, but LikeBtn is doing the trick for me. It's not always free, but is very inexpensive and a great way to see what your readers actually like.
MailChimp - I'm new to newsletters, but I'm really into building a mailing list to stay connected with people that is really interested in my blog content and business and MailChimp is super easy to use (even without following a guide) and it's great because there're plugins for Wordpress and Squarespace, and easy form codes to implement anywhere in your template.
Coffitivity - This is so great! If you're one that likes to work in coffee shops but can't really be in one everyday, Coffitivity recreates the sounds of a café to make you feel like you're there whereas you're actually in your boring office. It's a boost for inspiration, plus you can pick the sound you most like!
Mapbox - Great for lifestyle and travel bloggers, Mapbox allows you to create maps of your favourite cities to place a mark where your favourite shops, bakeries, restaurants, ect. are located to suggest them to your followers. It's a lovely idea to add to a page of your lifestyle/travel blog, as you can also add links to your own content in the description of the place to reindex your readers to your reviews or photos.
Twitter Cards - Did you know you can create cards on Twitter to make it super easy for your followers to visit your website or subscribe to your newsletter without even leaving Twitter? You can create lead, website, images or app cards for free, but to me these are extremely lovely for promoting and incrementing my mailing list!
Pinterest for Business - If you're using Pinterest already, you'll know its a great one for inspiration. If you're looking into inspire your following, it must be the place where to promote your products or content. Sign up to Pinterest for Business to see the stats of your Pinterest account and see which pins are more popular and even how people pin from your website. Take a look at this amazing guide if you're new to promoting your blog/small business on Pinterest.
Google Analytics - You'll know Google Analytics better than me, but if you've not yet signed up, you really need to take the step. The tricky part is setting it up, but once done, you'll see all the stats of your blog in one place, even the demographic of your readers, which is not only interesting to know, but also important to understand what kind of people is interested in your blog/small business.
Rich Pins - These add extra informations right under your pins, and make it super easy for your followers to see what your recipes, places, products pins are about!
What about your favourite online tools for creatives? Do you already use all of these? x
Sign up to download my free printable weekly planner!
I remember the taste of my step-mother's shortbread covered in Easter egg dark chocolate (that year we won a huge Easter egg, that huge that we made chocolate covered cookies for a very long period - not complaining, really) like it was yesterday, though I was probably not older than 13!
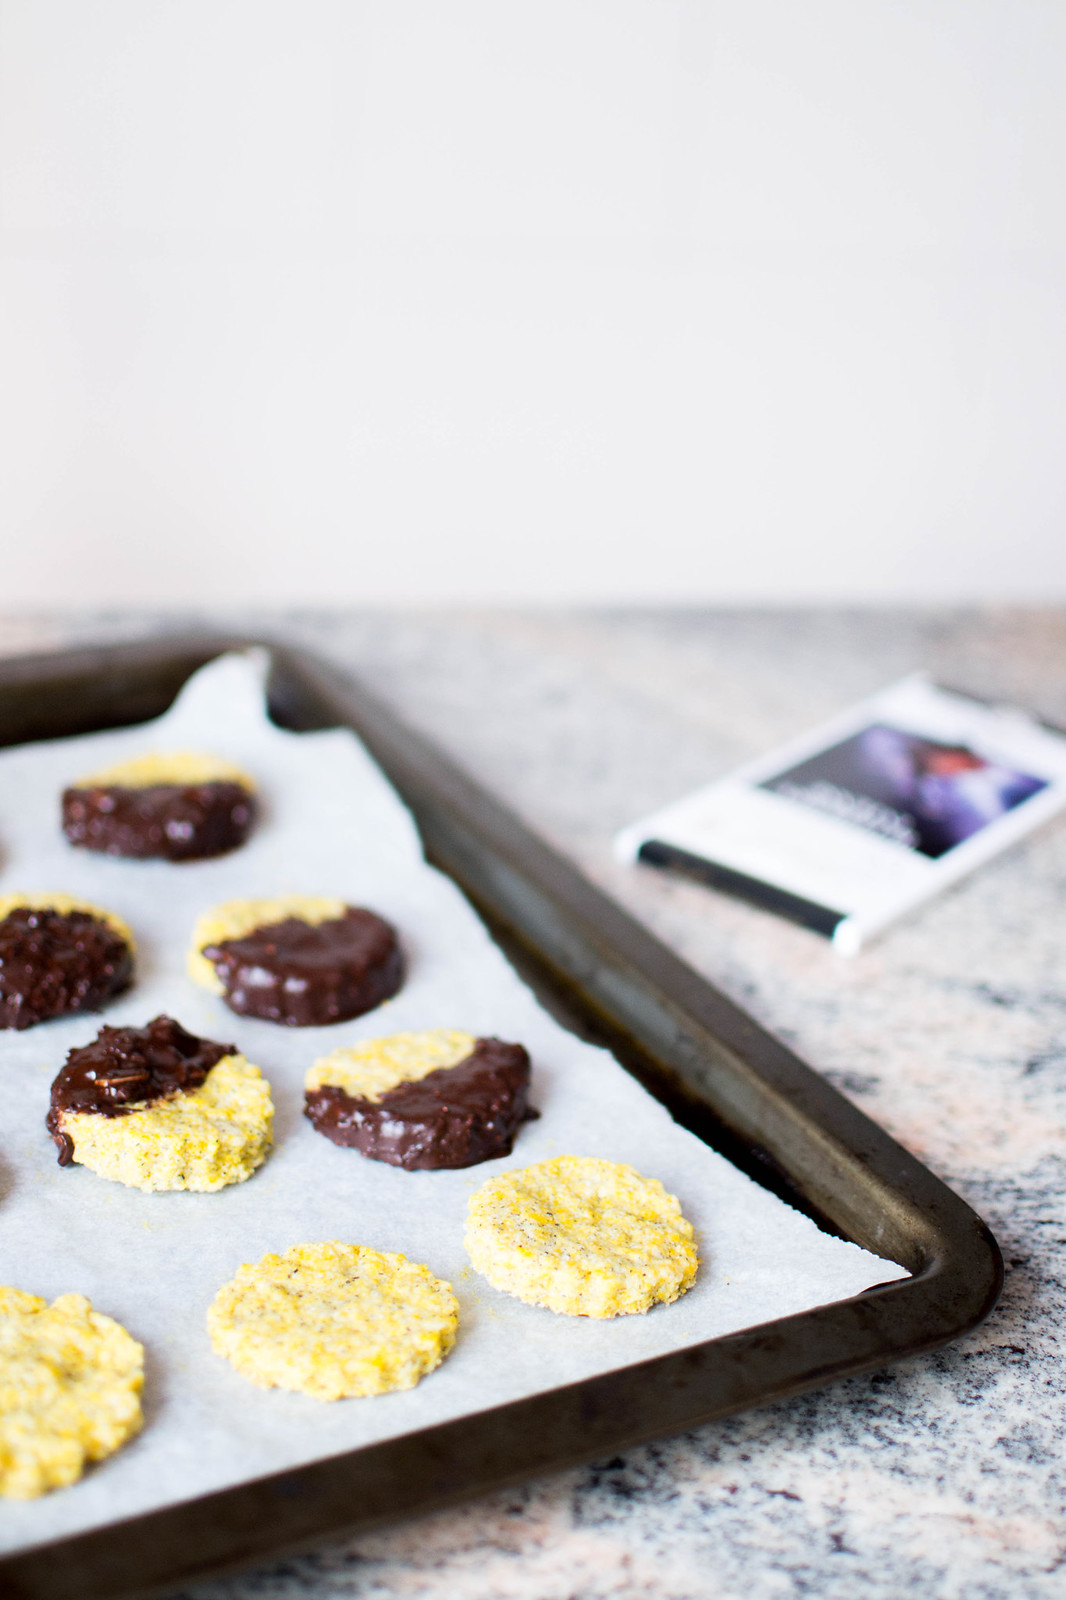
When a parcel filled with various flavours of Lindt Excellence Chocolate Bars (I bet you all have already spotted their extremely delicious dark chocolate line, right?!) knocked at my door last week, all I could think of were those shortbread cookies I used to eat from Easter to summertime when I was younger. I couldn't resist and made a slightly more creative version, and quite a summer-y one too, inspired by the blueberry chocolate that was loudly calling my name ever since.
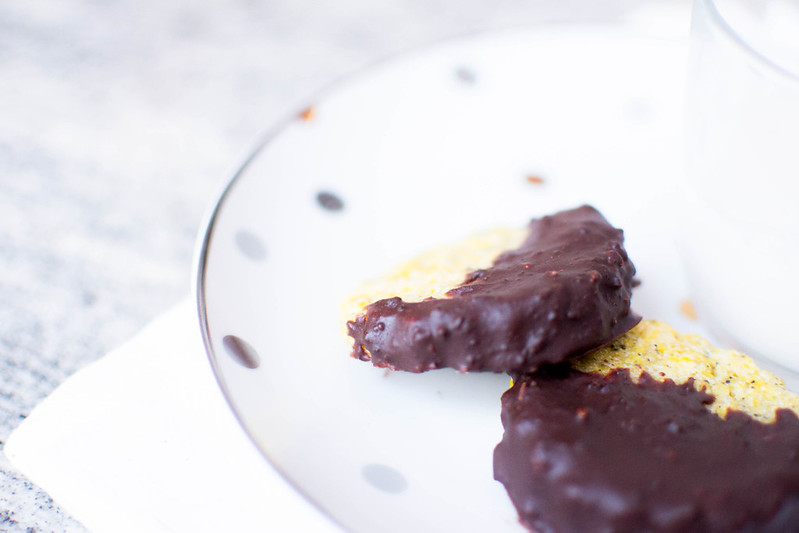
These cookies went down a treat and in less than 24h they were all gone. That's how good they were! I've used the classical english breakfast tea that I love if paired with lemon, which is such a good fresh fit for the blueberry flavour of the chocolate - but you can really experiment with different flavours of chocolate and tea with these!
Ingredients for 12 cookies
150g white flour ; 80g white sugar ; 2 egg yolks ; juice of 1 lemon ; 90ml seed oil ; 1 English Breakfast tea bag ; 100g Lindt Excellence Dark Blueberry Intense ; 3 tsp butter.
1 :: Preheat the oven to 170°C. In a food processor blend together flour, sugar, egg yolks and seed oil until nicely combined.
2 :: Squeeze one big lemon (taking care of eliminate the seeds if necessary) and add the juice to the other ingredients while still blending. Cut open the tea bag and add the content to the other ingredients too. Blend well.
3 :: The ingredients should start to come together into a nice dough by this time. If yours is too dry, add a tiny bit of seed oil and blend well. Use your hands to shape a ball of dough and leave it rest of a couple of minutes.
4 :: Place the dough between two foils of parchment paper, then roll it out with a rolling pin until 1cm thick. Avoid to make it too thin or your cookies will be too dry when baked, also try to make them all the same thickness or some will cook more than others.
5 :: Remove the top foil of parchment paper and use a cookie cutter to cut your cookies out of your dough. Place the cookies onto a baking tin lined with parchment paper (it's not important to place them far apart from the other, as they won't spread out). You'll might need to roll the dough out a few times to cut more cookies out of it!
6 :: Bake the cookies for 15 minutes - do not overcook. They must be crunchy but also almost buttery soft, so you don't want to go for more than 15 minutes for them.
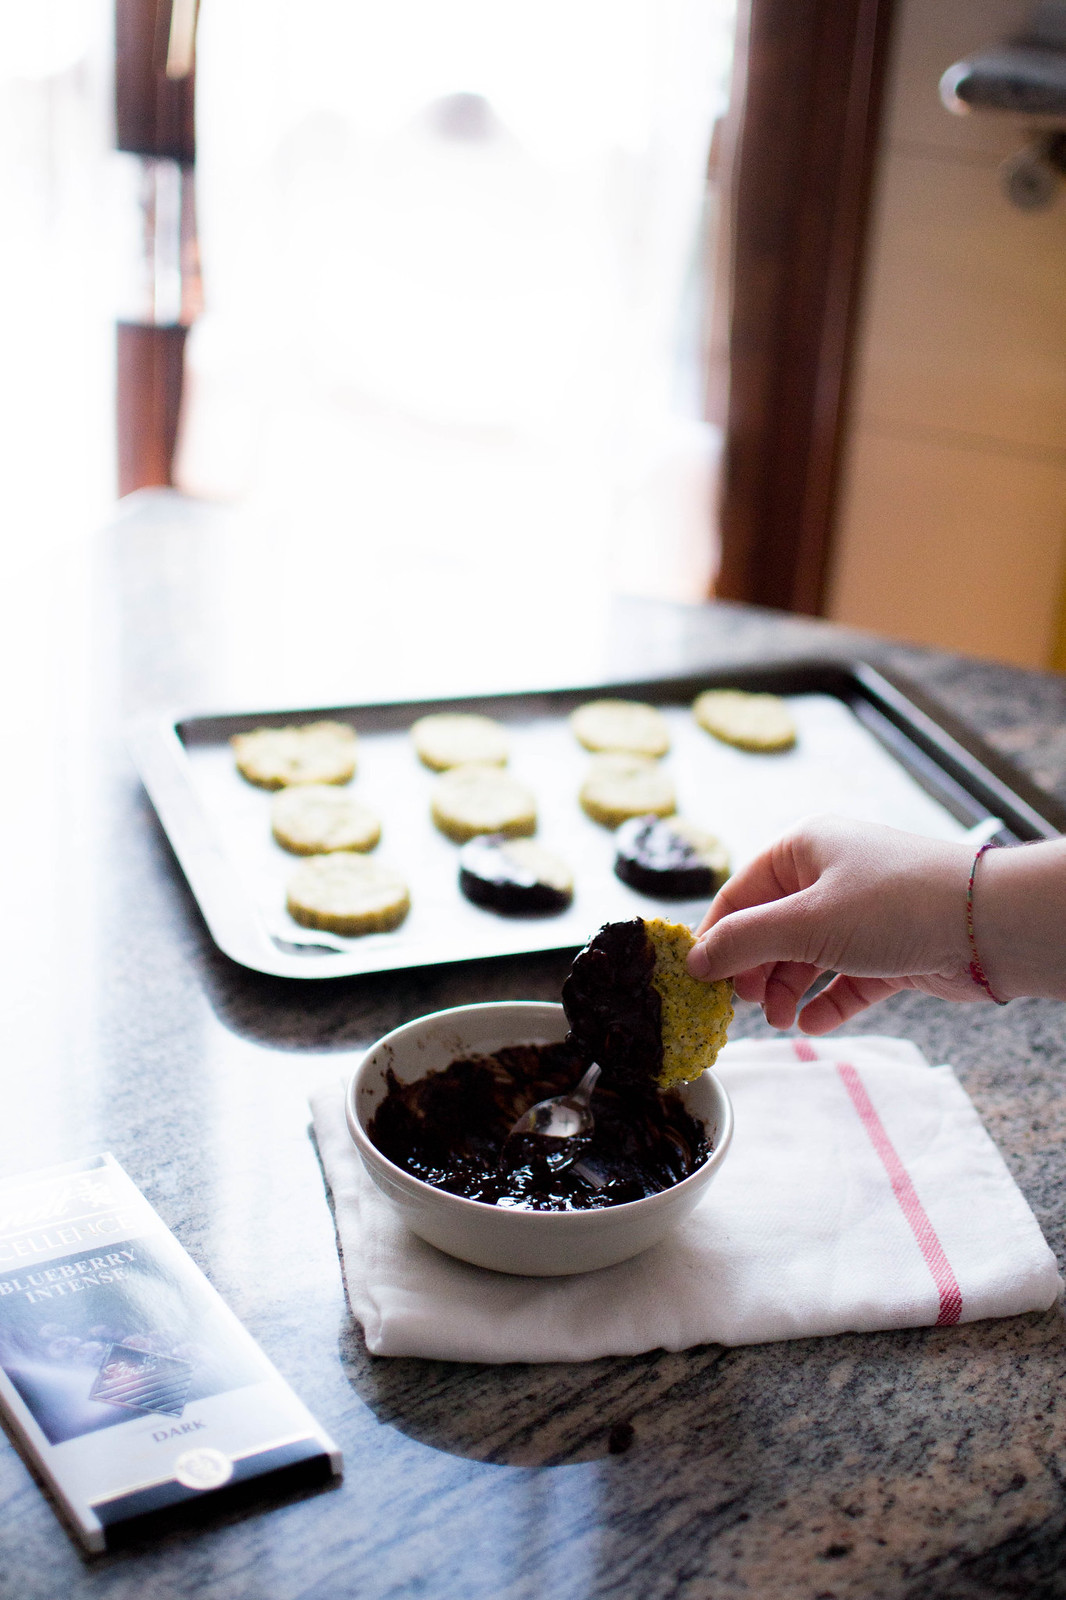
7 :: It's important at this stage that you remove your cookies from the oven and let them chill for 30/40 minutes until they've completely cooled down. Then you can go on and melt the chocolate in the microwaves together with 3 tbsp of butter. Make sure you don't burn it and give it a stir or two in the middle of the process until you are left with a very liquid mixture.
8 :: Dip the cookies into the melted chocolate to cover half of them with it. Use a spoon to help you add sprinkles of almond and blueberry from the chocolate mixture. Place the cookies onto parchment paper and let them cool down for a couple of minutes before putting the tin in the fridge for an hour or two.
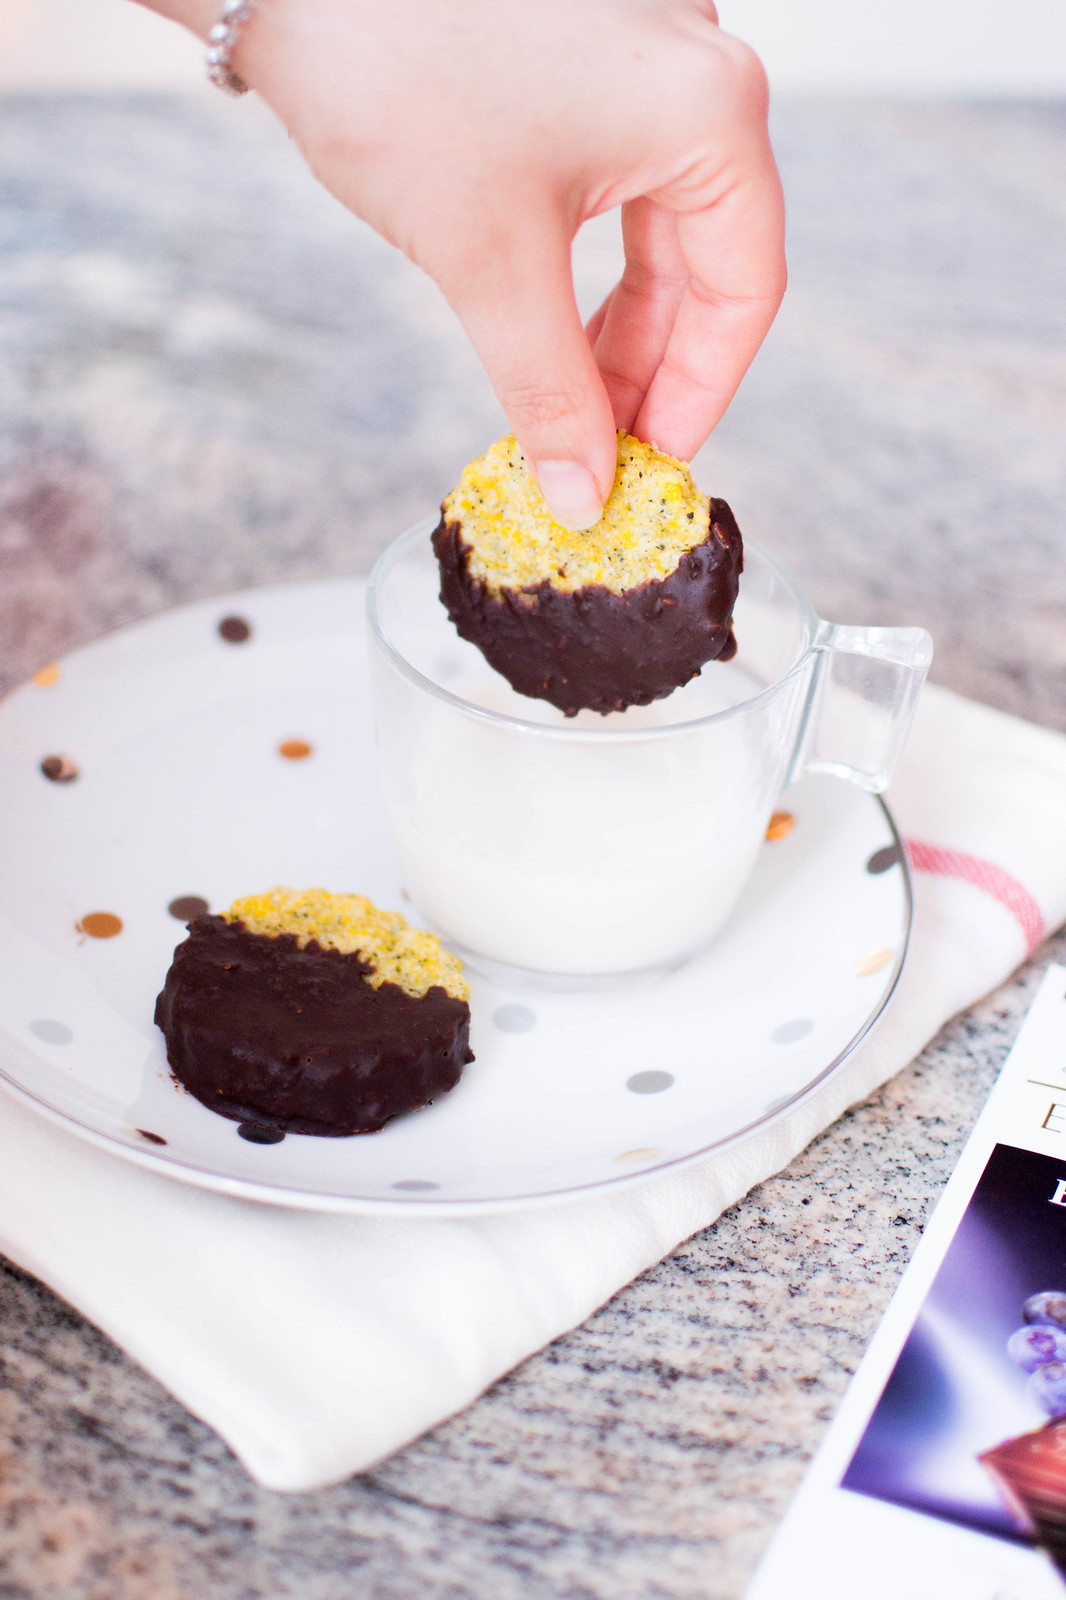
9 :: Store the cookies in the fridge (especially now that it's starting to be warmer, they will melt if not in the fridge) and enjoy the fresh and fruity combination of flavours with your afternoon tea or just by themselves!
{ Enjoy! }
This is quite of a different recipe, but I love it and hope you'll like it as well! Let me know if you give it a try! x
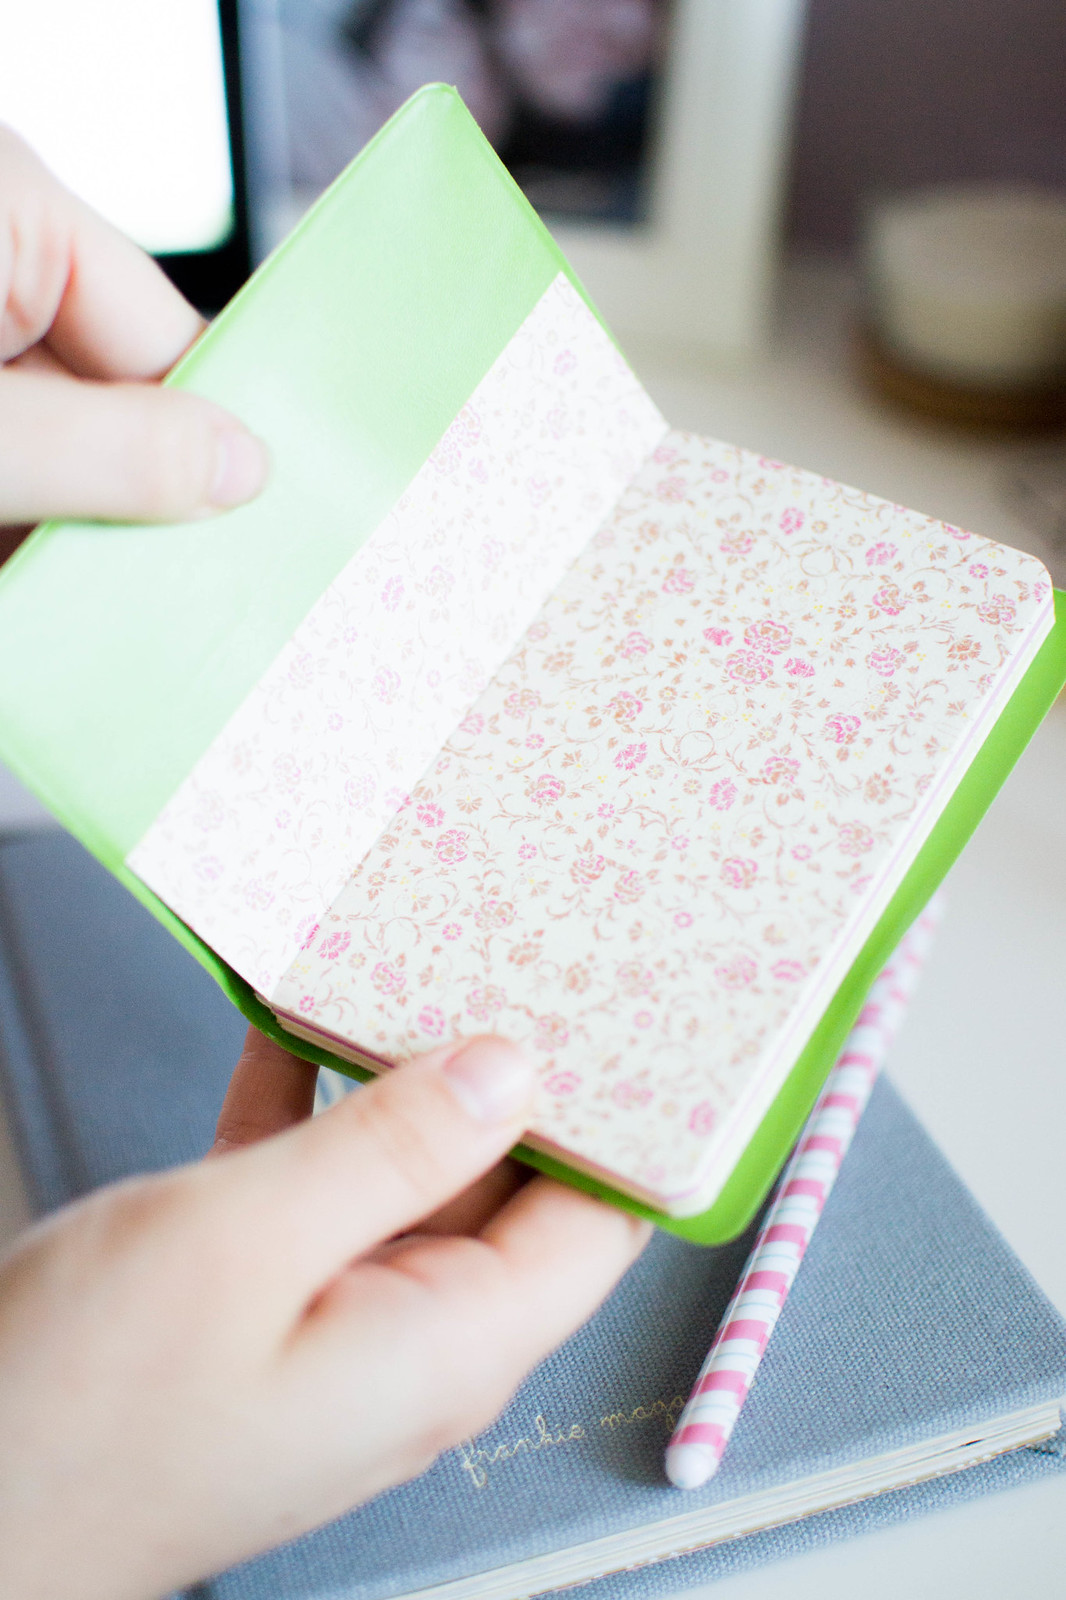
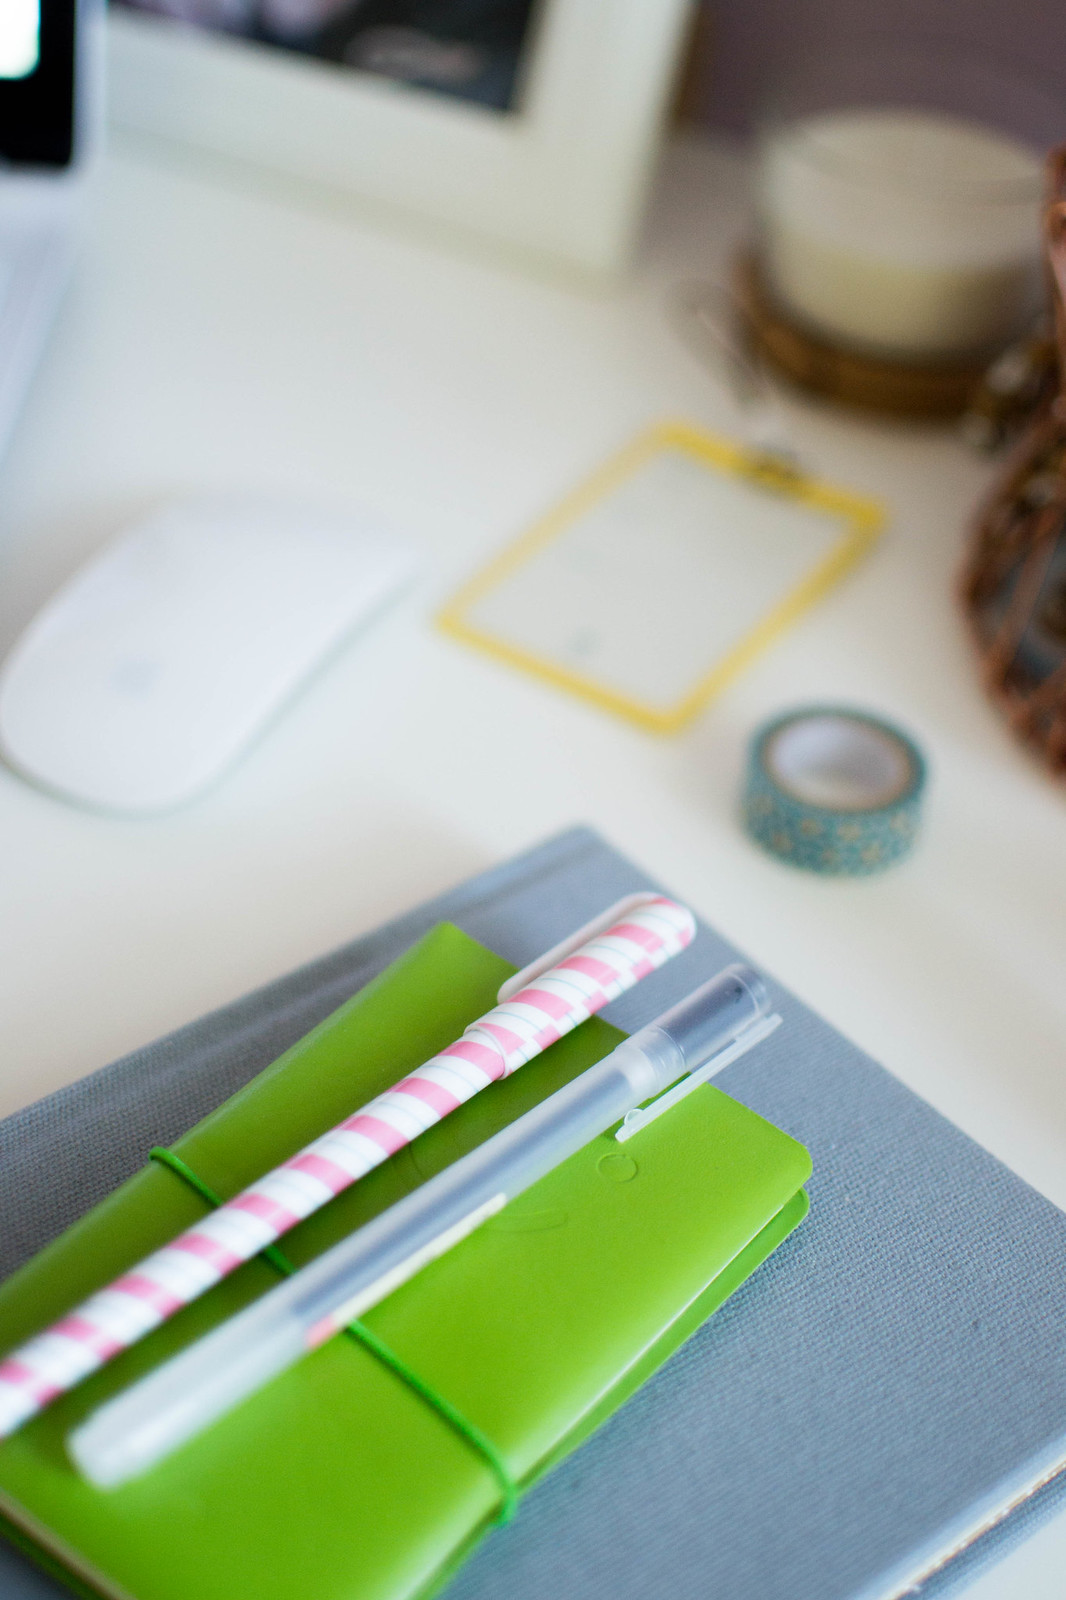
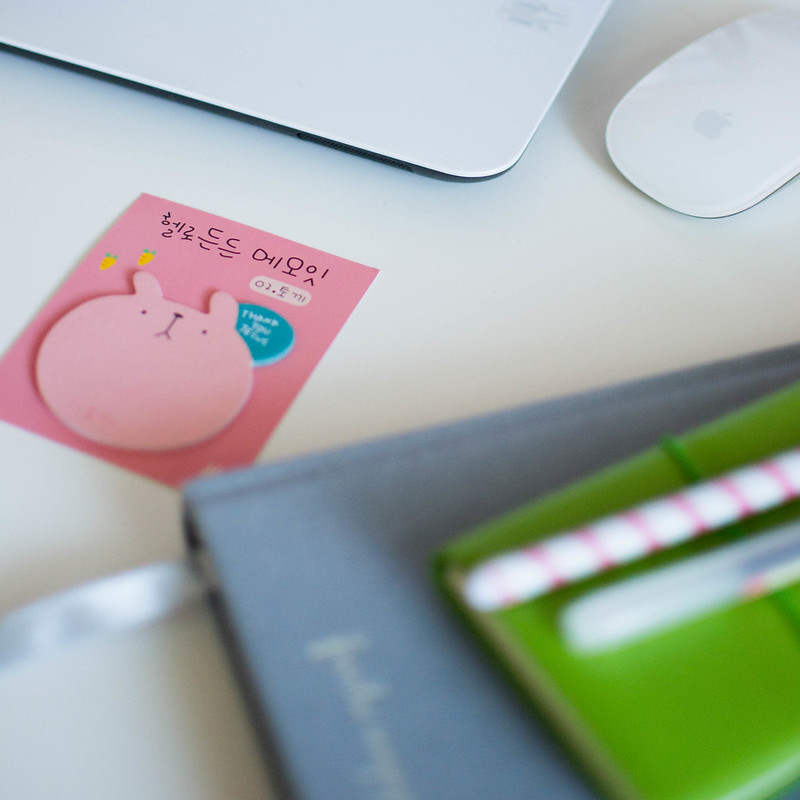
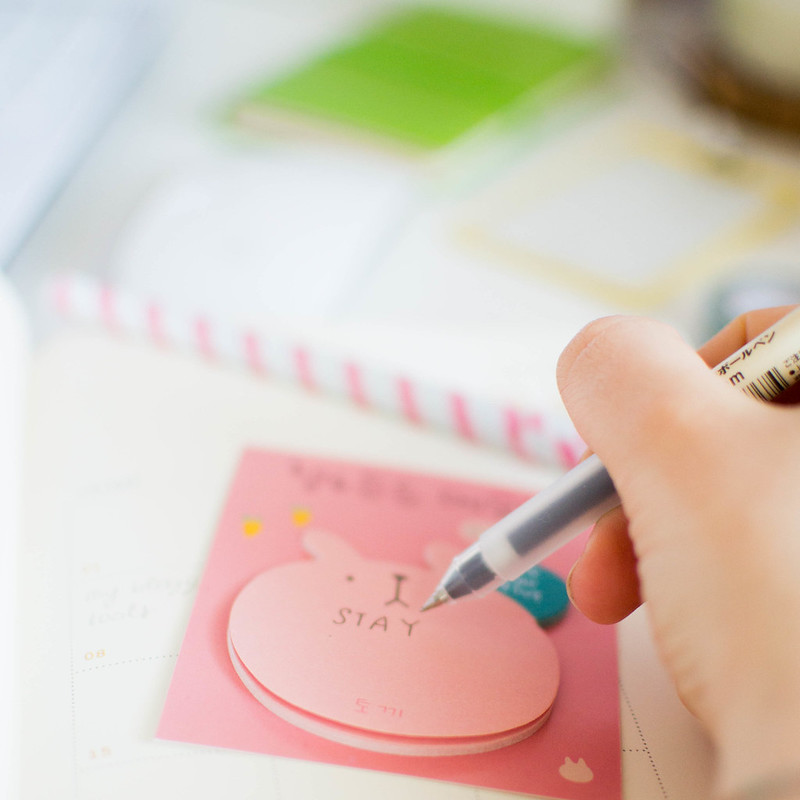
You'd know by now that I have a little something for pretty stationery. It all started with one notebook or two, a pen and than another, and now I just can't seem to stop hoarding cute paper goods. I tend to justify it as "I need it to, you know, stay organized when I work/blog" and that's actually true, there's no better thing than pretty paper for me to stay organized and plan everything ahead. But the truth is that I might have come to the point where I can not go back and have become a tiny little bit obsessed with anything cute that comes in paper or pen form. Can you really blame me?!
When Born Pretty Store reached out to me, it was enough for me to give a quick look to their website and spot the stationery section, to relive the excitement of my younger-self in front of a new set of colourful pens or a pretty diary! They have everything I think a stationery lover dreams are made of, a n d you can't really beat their prices: everything comes at only a few pennies! I KNOW, you can't go better than this!
I hope you enjoy the little short (as usual) video I've put together for you where you can see all the cuteness in action. Also they were kind enough to give my readers a 10% off every order using the code CAFEG10 at checkout for you to pick your favourite stationery items (or anything else from their site)!
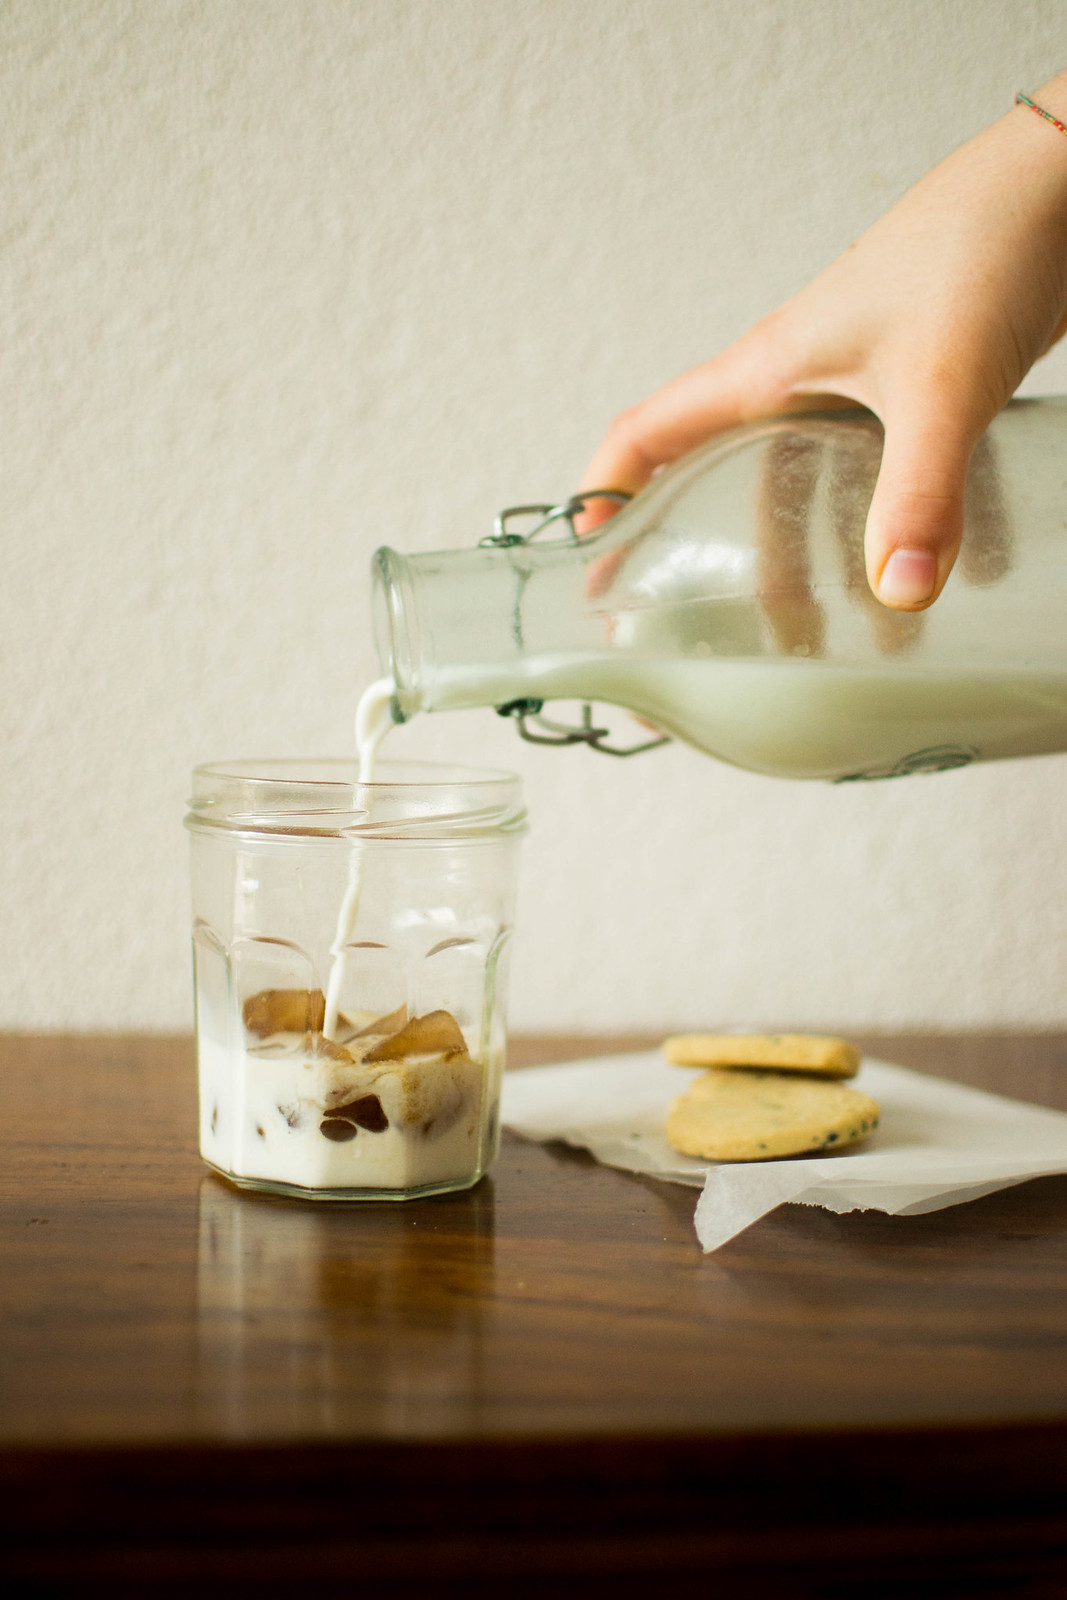
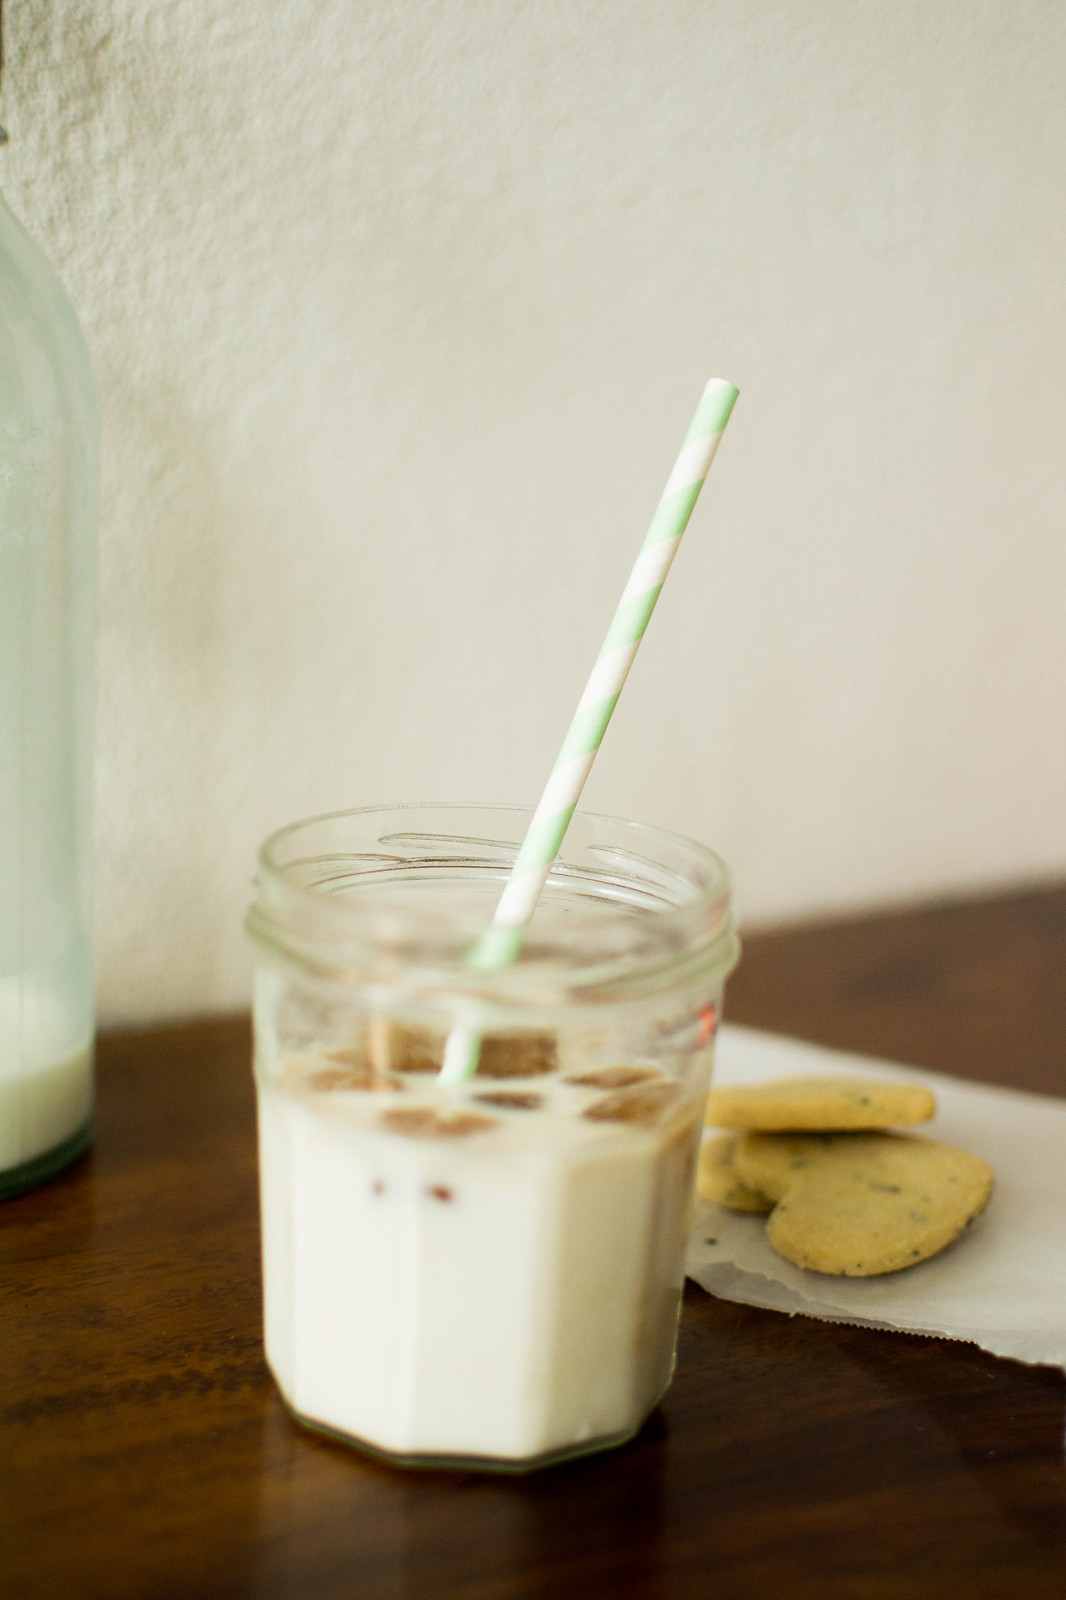
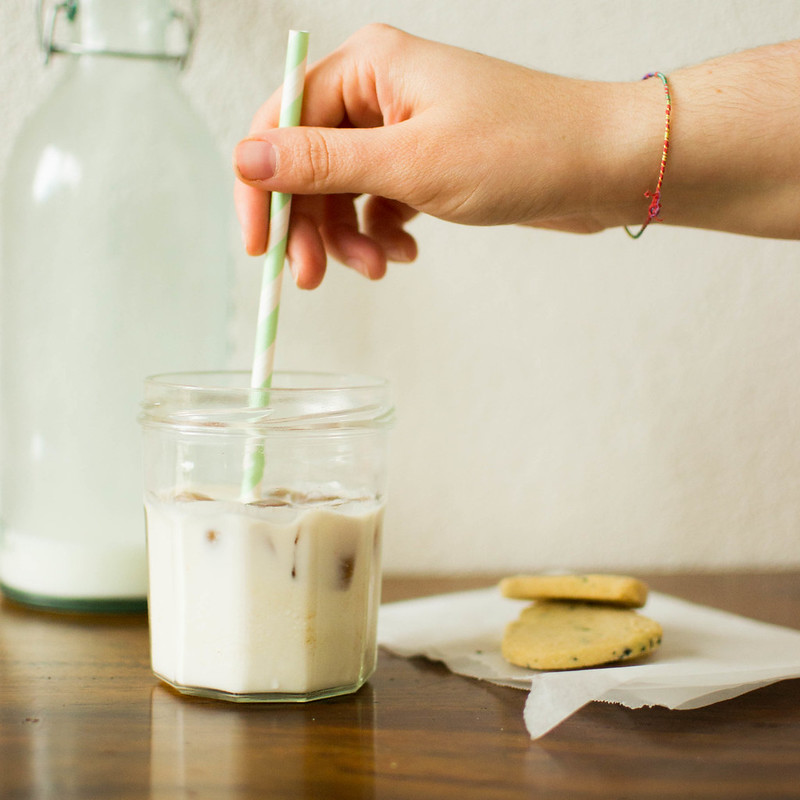
Am I the only one that gets extremely excited about the weather being this warm, enough to start drinking iced lattes again? I have been experimenting with different latte flavours, and even if coffee will always be my favourite, for a healthier alternative I've been drinking iced chai lattes quite often recently. It was at the beginning of spring that I saw somewhere online a genius video of coffee ice cubes being used in iced latte, and since then I was impatiently waiting for the warmer season to give it a try!
Coffee works well as much as chai. I just have to make some chai tea once a week or so, pour it in ice moulds and freeze it, to always have them at my fingertips when I crave an iced latte. When you pour your room temperature milk over a handful of chai ice cubes, the latters slowly melt down and blend with the milk showing a lovely dissolving effect in the meanwhile - that might or might not be my actual favourite part!
This way you'll have a delicious iced latte (of whatever flavour you like) ready in less than 5 minutes having the ice cubes always ready and done!
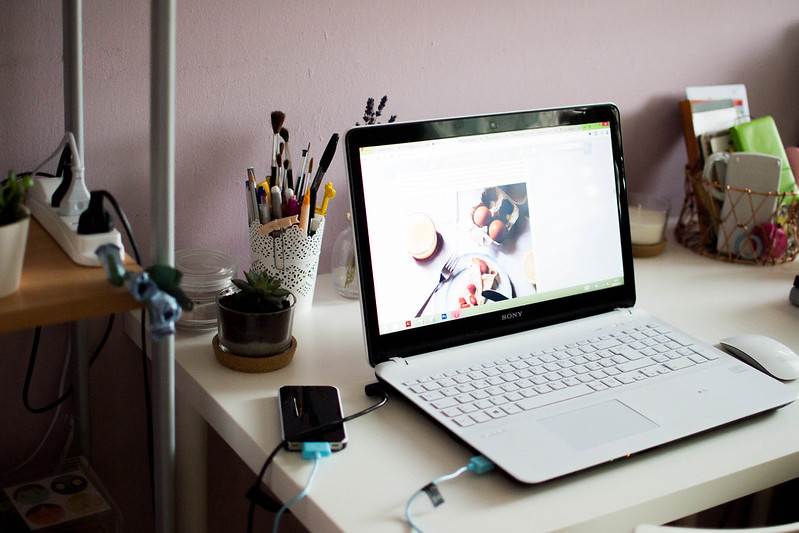
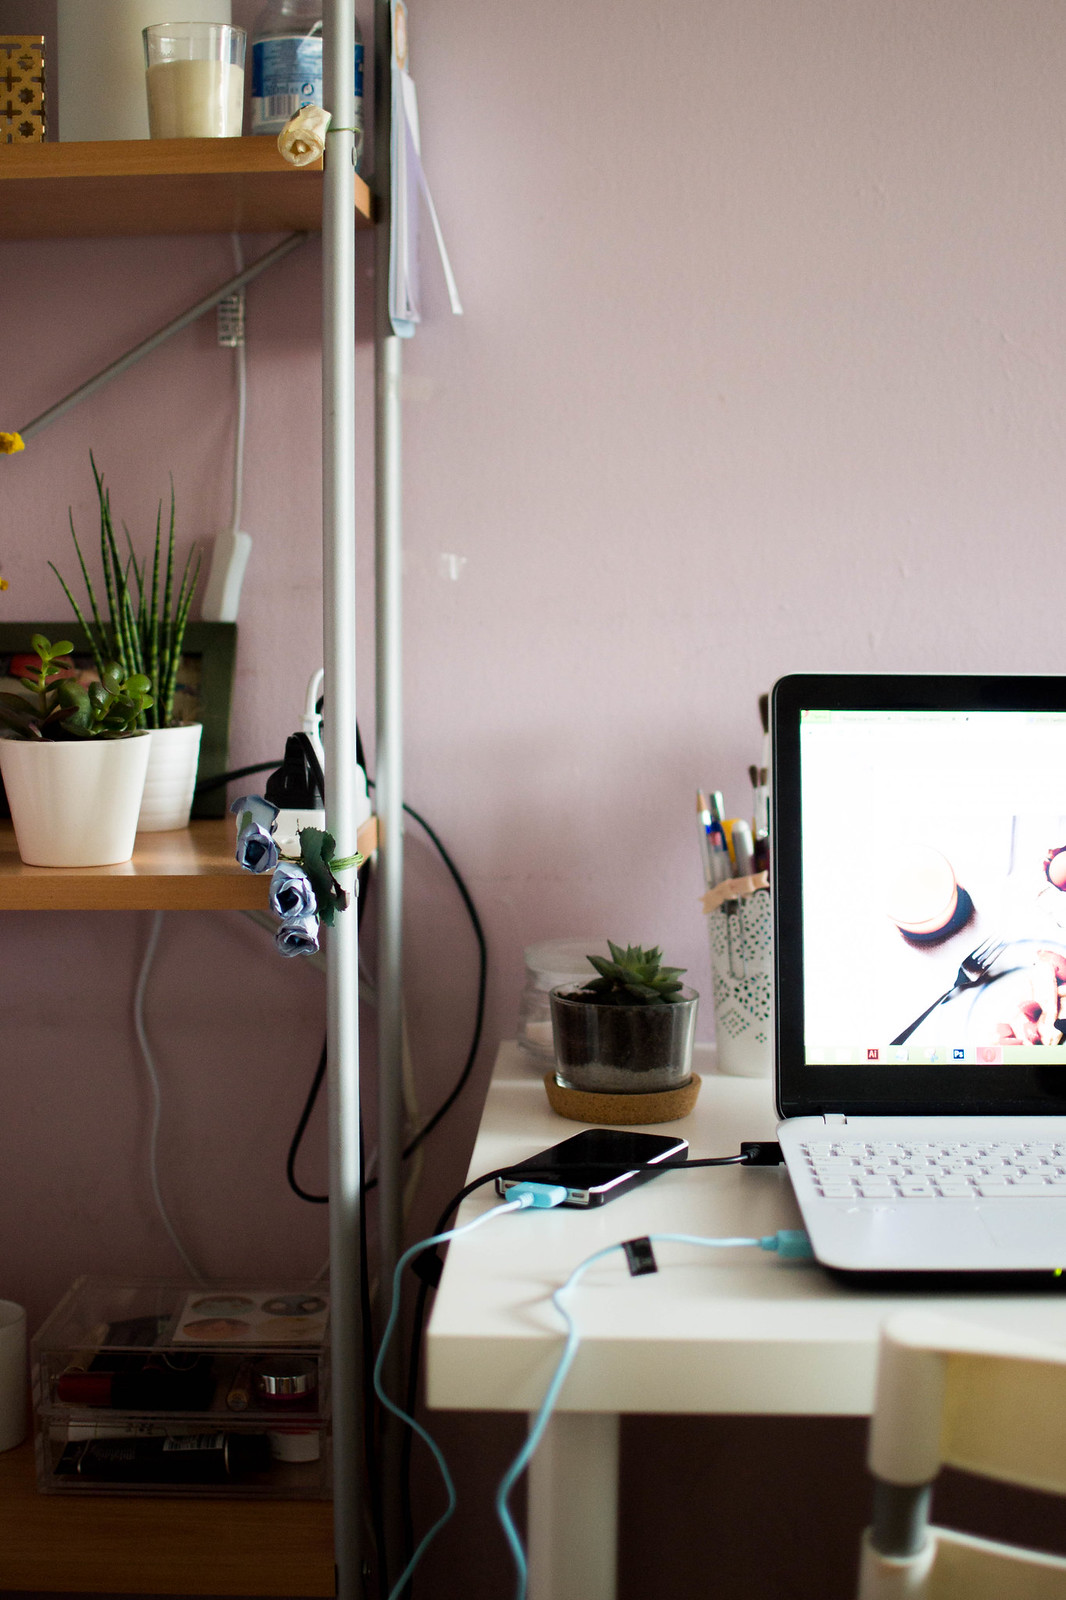
A few months ago I've shared what my workspace looked like at that time and you might remember I was on the market for a desk update already then. I've been thinking about giving my workspace a little twist ever since - at the end of the day it's the place where I spend the majority of the hours of my days, so I felt it was about right to make some changes in order to achieve a more functional and inspiring space for me to work in! I wasn't happy with my huge wooden desk - it feels even weird right now to go back and look at those pictures and think that was one of those days when my desk actually looked tidy! Apparently I didn't really know what tidy means. I've been itching for a clearer, minimal work station for a while now, and only recently I realized my previous furniture disposition would have never make the cut for what I was looking for.
The thing with doubling up your bedroom as your "office" (and when said room is small by itself) is that you can't really afford a huge desk. It took away space that could be used to store things in a much less cluttered way! Plus I'm such a hoarder (can you tell?) and I pretty often feel like useless things are apparently all I need or will need to survive. That's one of the main reason why I came to realize the more space I have to pile useless things up around me, the more I'd do it, and the solution to see an end to it was reducing my space drastically with a way smaller desk than what I was used to. It seemed kind of extreme and for months I've pondered the decision, but in the end I was extremely sure about the change I wanted to do, and things are going pretty awesomely on the organizational front so far. I seem to really have achieved what I was pursuing!
You might want to stay tuned until the end for a little bonus article by me on how to keep a small desk organized and inspirational at the same time, avoiding to over clutter with a three easy step guide! But here's my new workspace...
*Use code CAFEG10 to get 10% off on Born Pretty Store. They have the cutest, cheapest stationery!
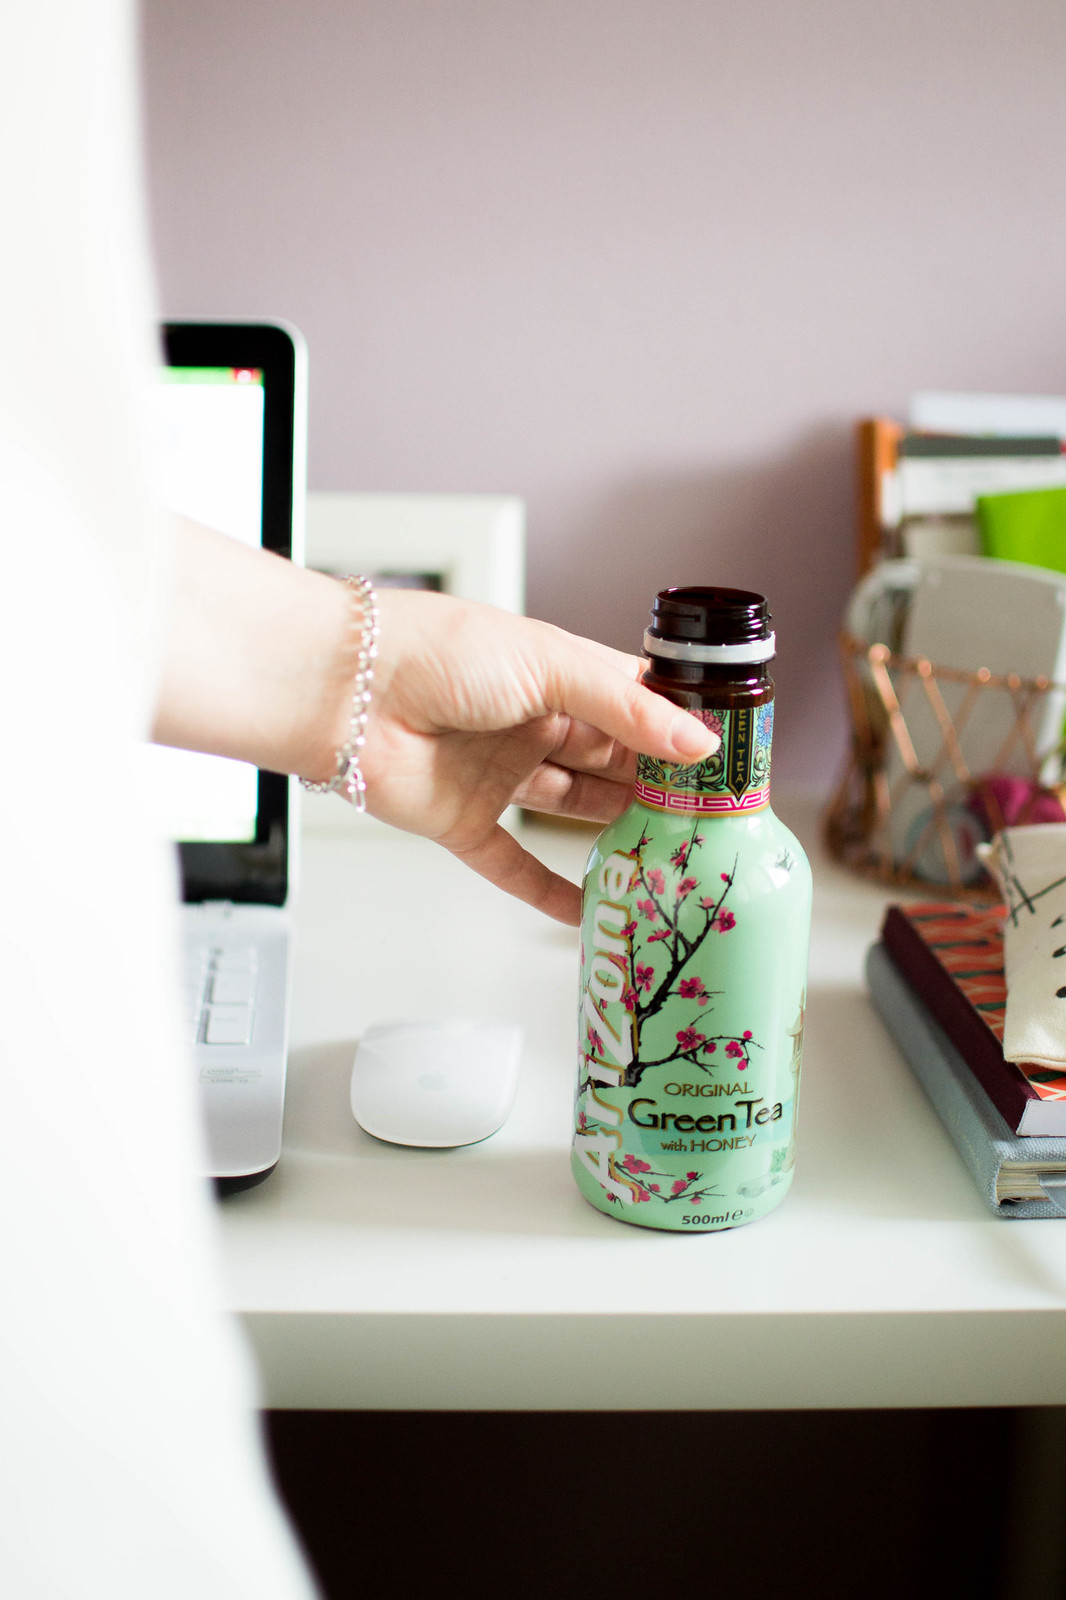
My new white desk is from Ikea and you'll never believe me if I tell you it was only £34! I KNOW! Yet it feels and looks such awesome quality. The desk top comes separately from the legs, so you can actually pick your favourite combination out of a bunch of different styles and colours for your desk legs, which I found pretty lovely! However I went for a simple and minimal white top + white legs combination, and I'm pretty happy with it!
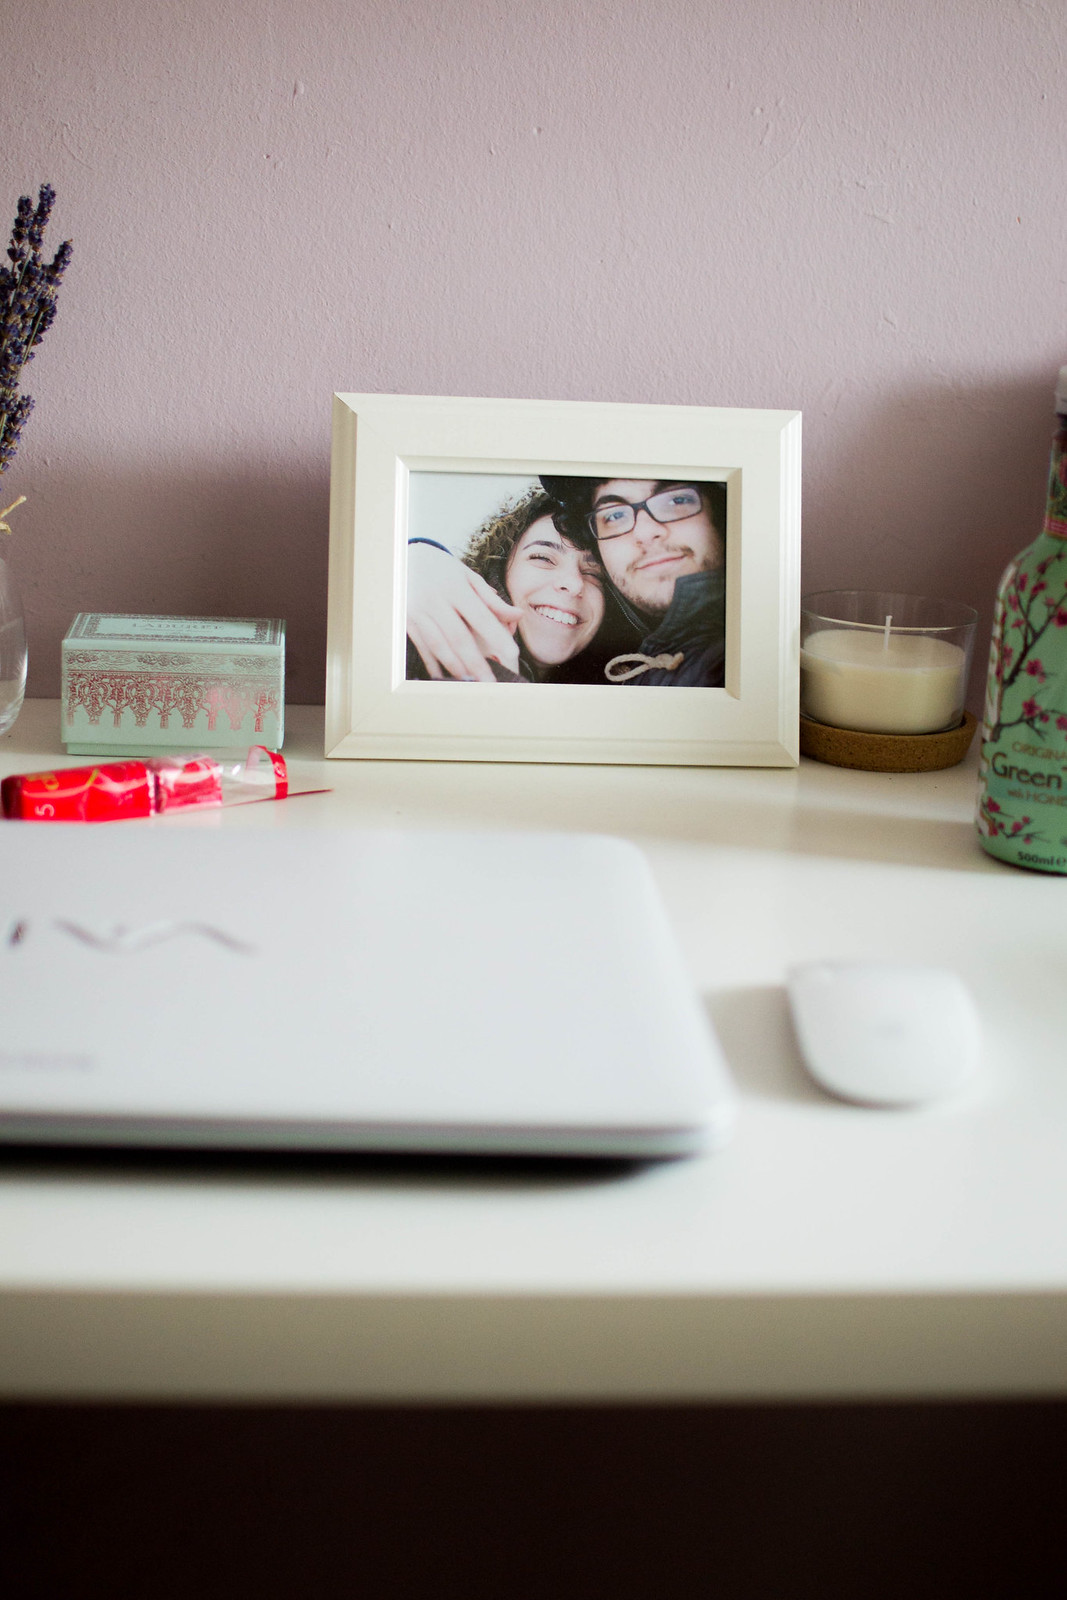
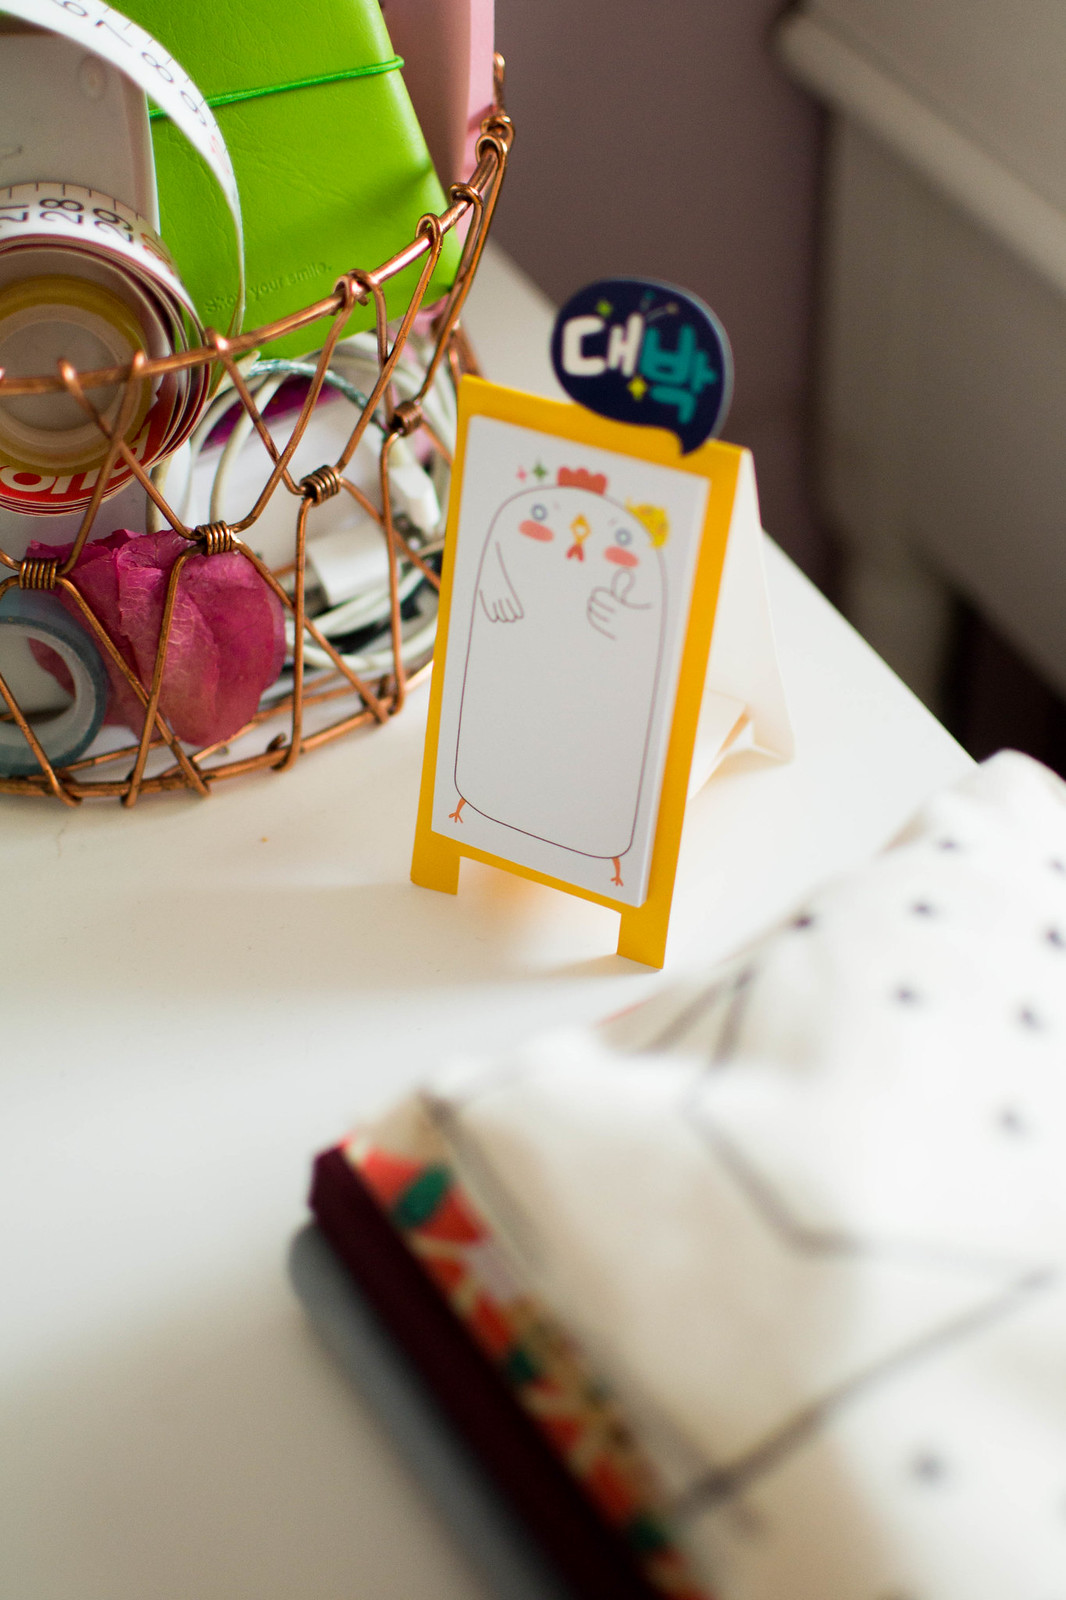
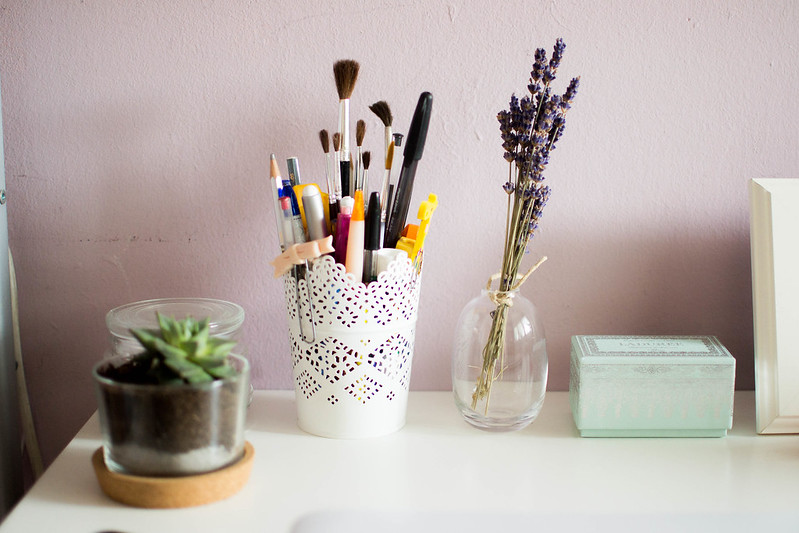
You'll find out more about what I think about decorating a small workspace in the extract you can find at the end of the post, but I've added little personal touches with simple, white and minimal objects that not only make my desk look pretty, but which I also find inspiring and motivational, such as photo frames, little vases, my amazingly smelling little lavender bunch I've picked last year from a field, a vanilla candle I love burning on a Sunday and little succulent plants to add a touch of greenery to the space.
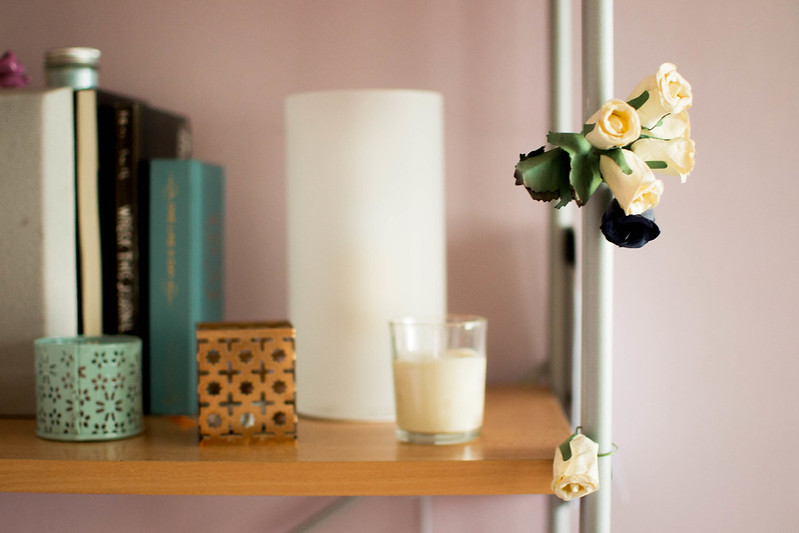
Getting a smaller desk means there's so much more space now and I was able to move my furniture around and change its original disposition to a better looking and more spacious layout. I've moved my old bookcase (that originally was hidden behind the door) right next to my desk, and completely rearranged and decluttered it all, adding touches of greenery and cute Provencal homeware even there. The plan with it was to paint the shelves white when summer comes, but I'm actually pretty pleased with how it looks even now, so maybe the light wooden shelves will stay like that for a bit longer.
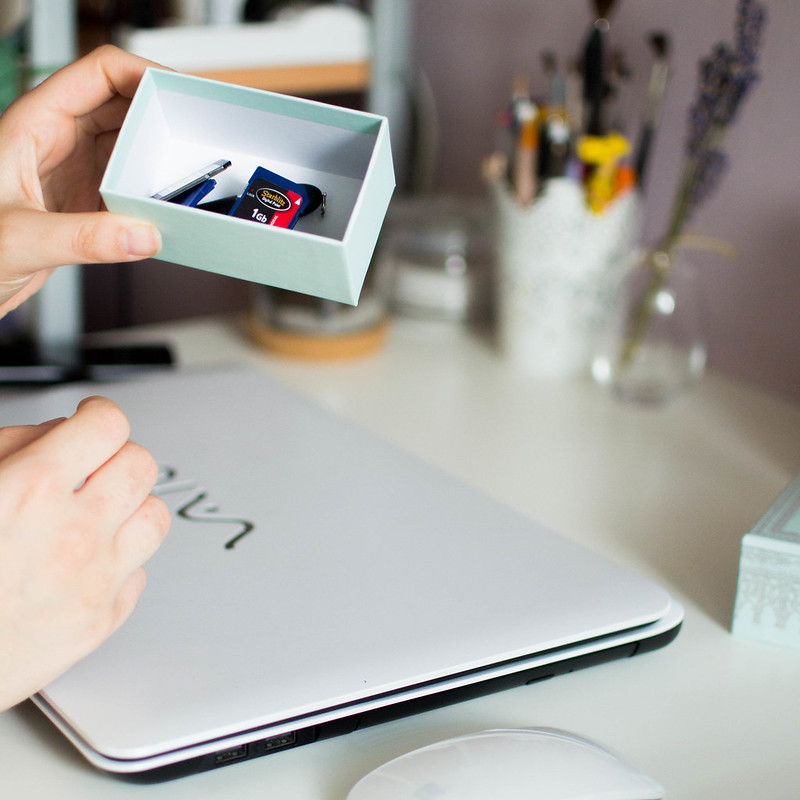
You'll be surprised by how many multi-functional storage solutions you'll find. I was hoarding empty Ladurée macarons boxes without a real purpose, until I realized the smaller one was perfect for storing my USB pen drives and SD cards! I've also arranged all my pens, pencils and brushes in what once was a candle holder and it looks pretty great!
While tidying things up, my stuff was drastically reduced, which means my shelves can now actually look minimal and tidy instead of a cluttered mess. A great solution to store what you don't want to eliminate but not keep visible, is to store them in storage baskets. I've recently bought a couple of these flower patterned storage baskets in lilac and white, which not only pair amazing with the colour scheme of the entire room, but are also great to be placed on the floor right under the last shelf of the bookcase and store everything you need to keep in them.
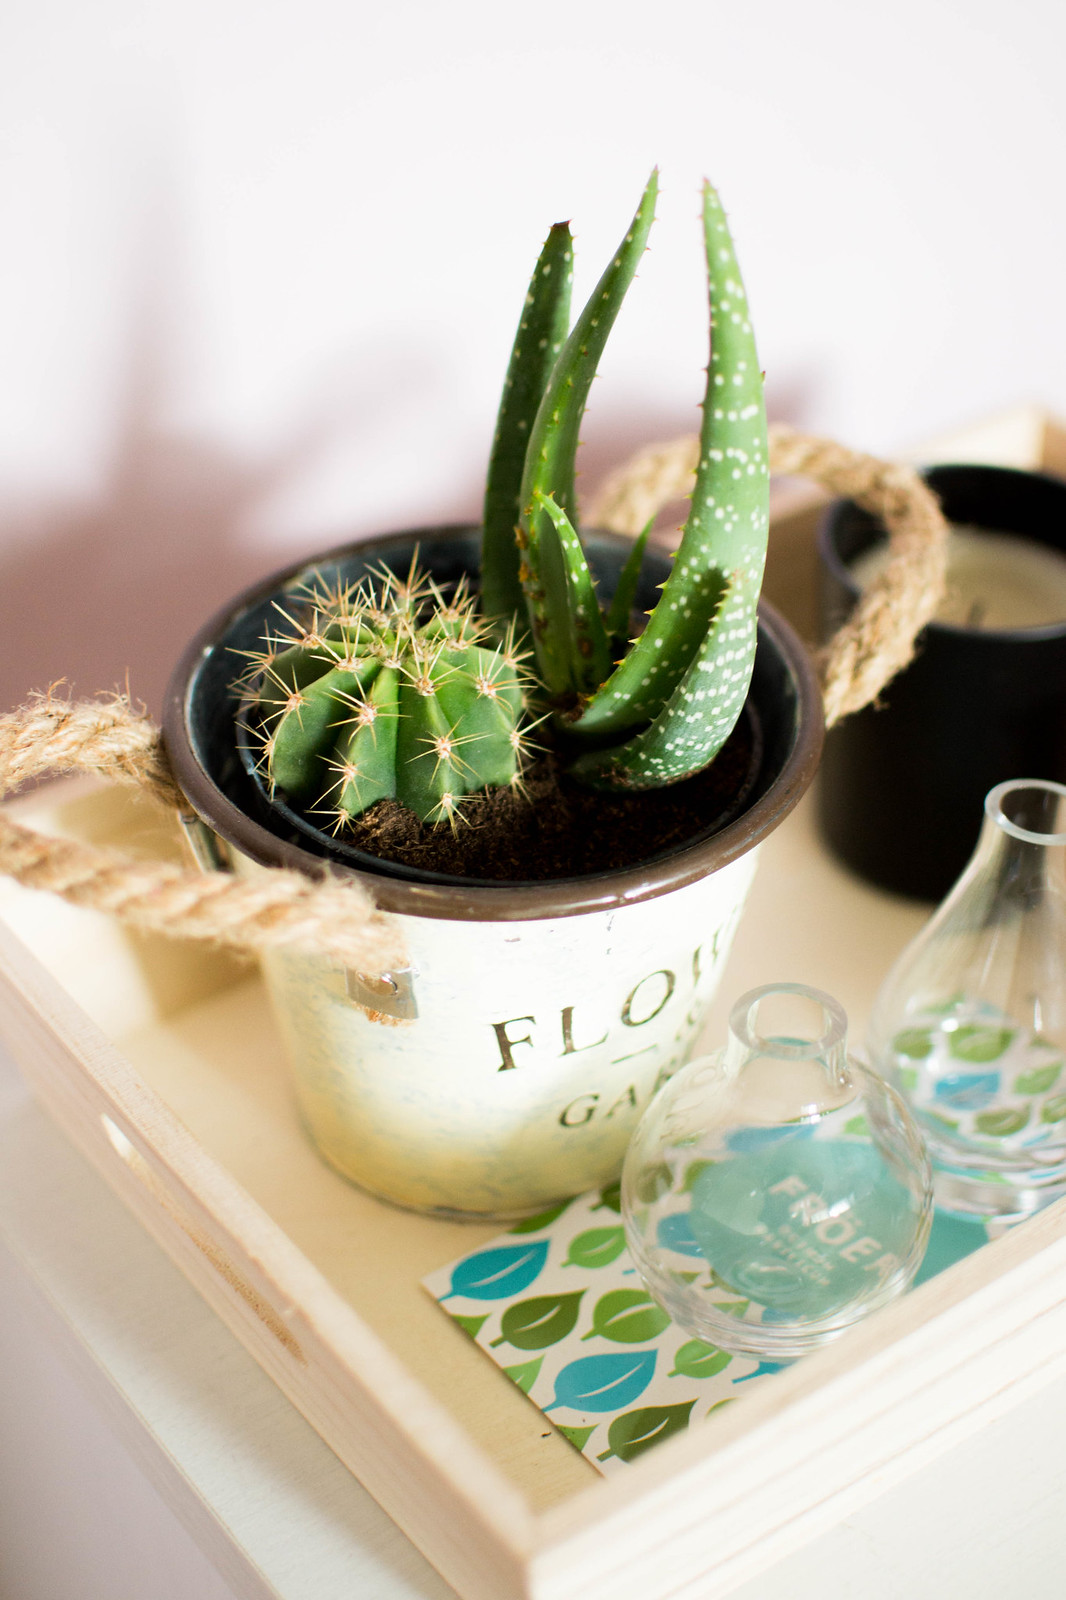
I can finally have a well deserved solo space for my small side table that I use and have always used to store things, but that was hidden under my huge desk until only a month ago, and it was such a pity! It's a beauty against a wall by itself, and even better with the little wooden tray I had no idea where to put only a few weeks back. I've placed in there a couple of candles I love, together with the vase I was using to store my pens and pencils before, with actual plants in there for once, succulents actually! I love the touch of transparency of the little vases I've recently bought, which are great homes for flowers picked from the garden too. I have a thing for clear glass but also copper homeware, if you haven't already noticed!
***
And there you have it, my new work station! I'm very proud of how it turned out and I wish I could share a before and after if only I wasn't too ashamed of what a mess my desk looked like before to take actual pictures of it... sometimes a change is highly required, you know! I hope this post can inspire those of you who aren't happy with their current work station to change things up if you can (it really only took us 9 hours and £34 to do it!), because I truly believe an uninspiring workspace has something to do with lack of creativity and productivity.
Also, I've put together a little piece of article about how I manage to keep a small desk inspiring and clutter-free with three simple steps. If you want to download it for free, you just need to hit the newsletter subscribe button below and an email will be sent to your inbox with the download link!
Subscribe to download!
A free download of my "3 Steps Guide to Maintain a Clutter-Free Inspiring Small Desk" will be sent to your inbox immediately!
Let me know what you think and, if you download the extract, how you're getting the most out of a small desk (if you have one)! ;) x
It has been a while since I promised I would have talked about my blogging kit more in details in my Top 10 Photography + Editing Tips, and even though I know there are lots of posts similar to this one available online already, and that I'm never confident enough to share tips and suggestions as I'm no expert by any means, I think it's quite fun to share the behind-the-scene of the blog a bit more often instead, especially if this can come useful to someone else (or even if not, I always find posts like this such an interesting read!).
I feel I need to clear out that it's not mandatory to have a blogging kit if you're a blogger, or to own all of it just because it seems everyone else is using it. I haven't felt the need of purchasing a tripod until a few months ago and I've got one only when I started realizing I truly needed one for certain typology of photos. I still don't own a studio lighting kit and always shoot in natural light (which I also favor), and I probably will never need one - even if everyone seems to need one.
That said, this is what I've found useful during these years of blogging and what has actually stuck around so far in my blogging kit...
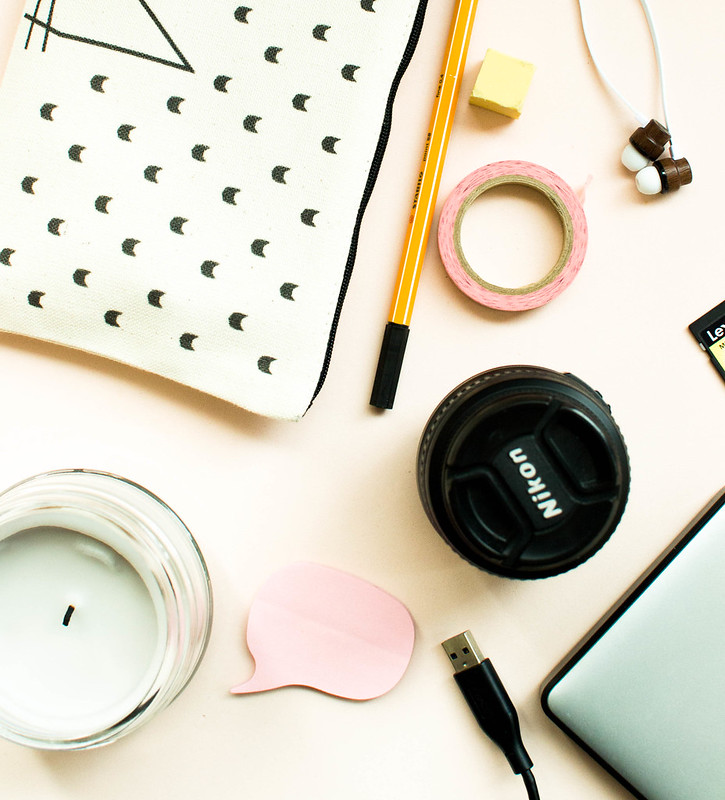
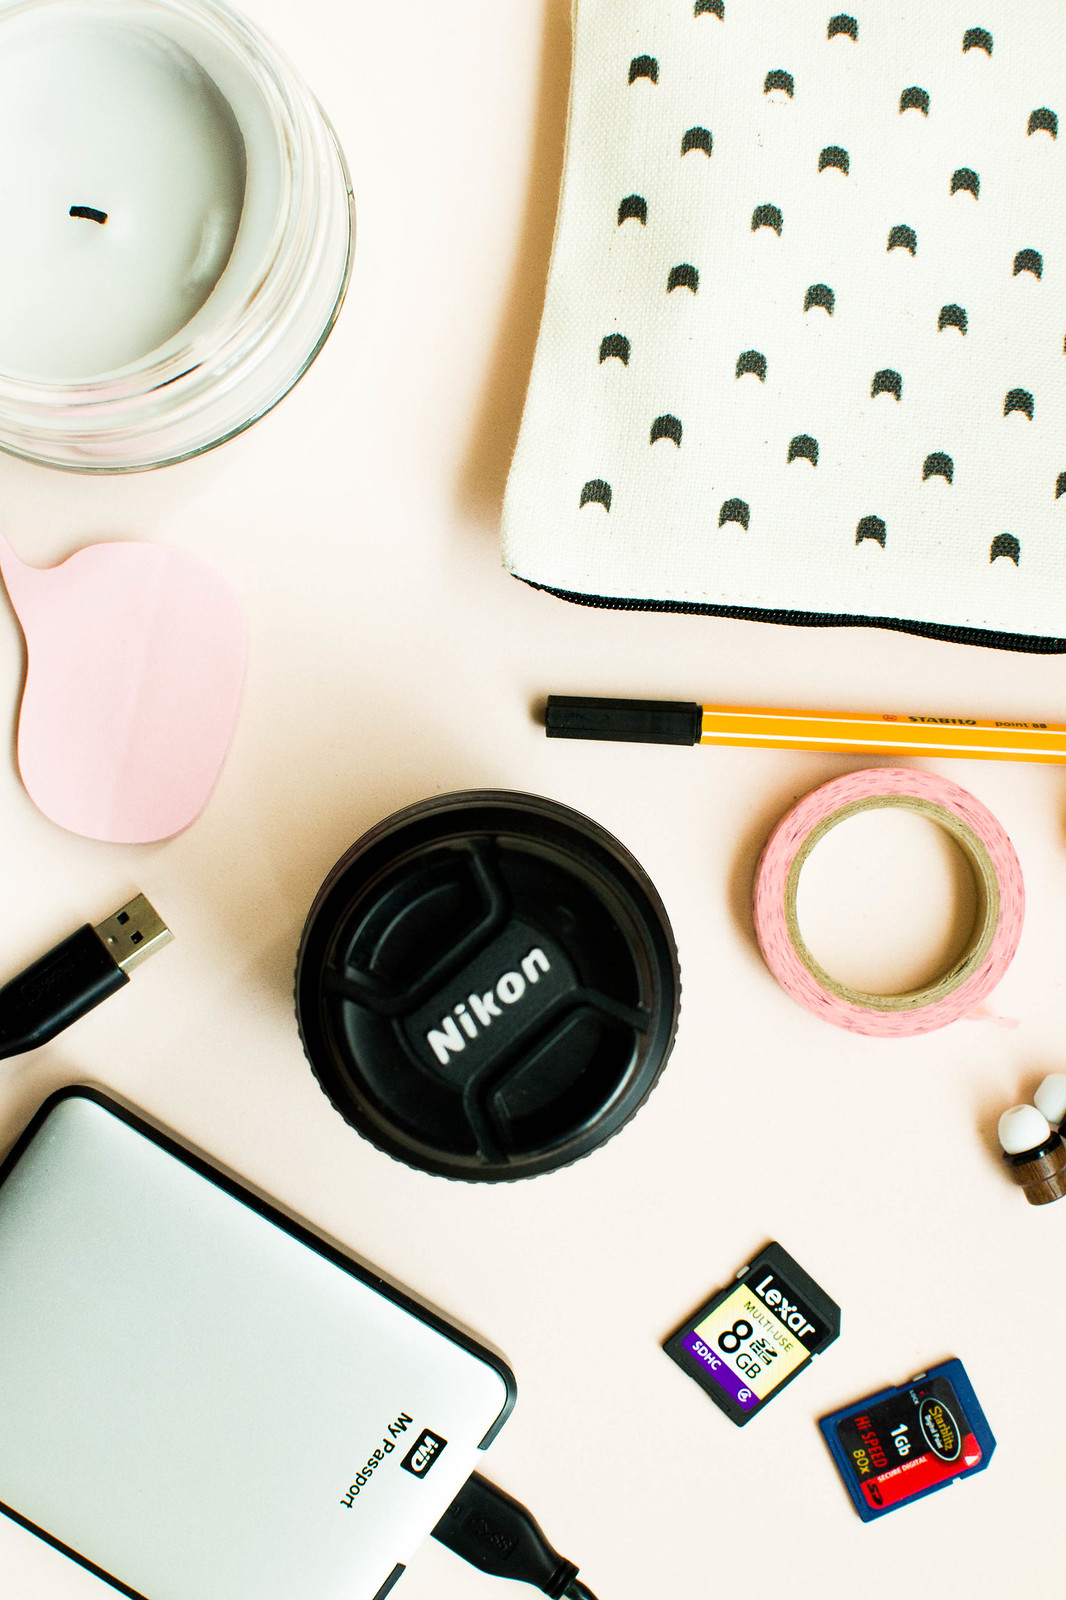
CAMERA + LENSES :: My camera is and has always been a Nikon D3100. As I said in my photography post, it is a good camera for being so inexpensive and so far I'm not feeling the need to upgrade. Instead I think a great way to get better use of your camera is, firstly get to understand manual, and secondly invest in a new lens. My kit lens was okay but for my pictures to have a bit of character, I started feeling the need of a new one almost an year ago, so I invested in the Nikkor 35mm f/1.8G Lens, which (again) is very inexpensive for being such a good lens to me: I've seen a huge improvement in my pictures since then, and even though one should first start using manual and then buy a new lens, I've found purchasing it a huge push to actually get to understand my camera better.
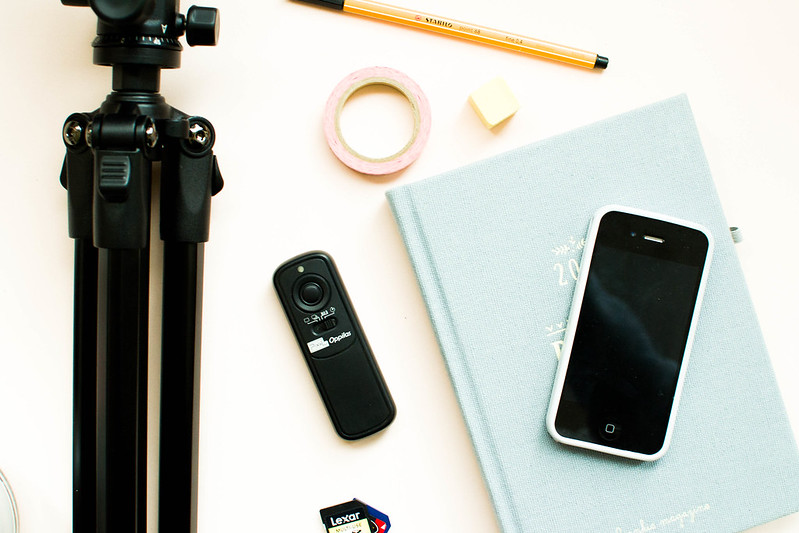
TRIPOD :: I haven't needed a tripod for years of using a camera, until I started being serious with my blog photography and wanting everything to be extremely perfect. I have the Hahnel Triad 30 Lite Tripod and I'm completely happy with it, even though I think this is definitely an extra and not something essential if you have just started blogging and/or have already invested in something else. As I said, I've taken my pictures without a tripod for years and even though it is such a life savior and a great helper to finish up the job in a quarter of the time you'd spend shooting sometimes, I think this is something there's no need to invest in unless you're taking certain type of pictures (like photos of yourself or food photography) - for that it's a huge helper indeed.
REMOTE SHUTTER :: Something I've lived without for even a longer period of time is a remote shutter. If paired with a tripod, it's a serious game changer: it makes life so easy when you're trying to take pictures of yourself or at you using your hands at something else, and it helped me taking pictures I wasn't ever able to shoot before. However, as for the tripod, I think this is an investment that can be safely put off - cameras have self-timer and that's what you use if you don't feel extremely sure about investing in a remote shutter!
Some are very inexpensive on Amazon though, but I had to order two different kinds before finding a good quality remote shutter for my camera. If you have my same camera, I highly suggest the Kaavie Wireless Remote Control.
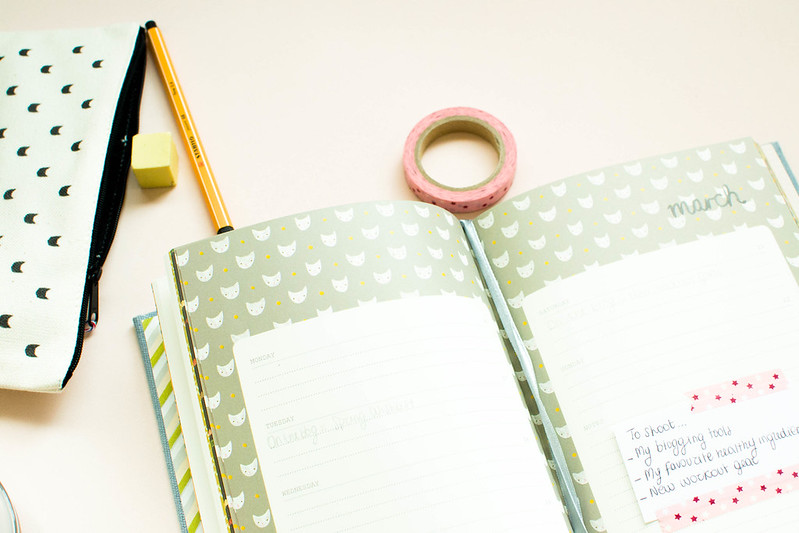
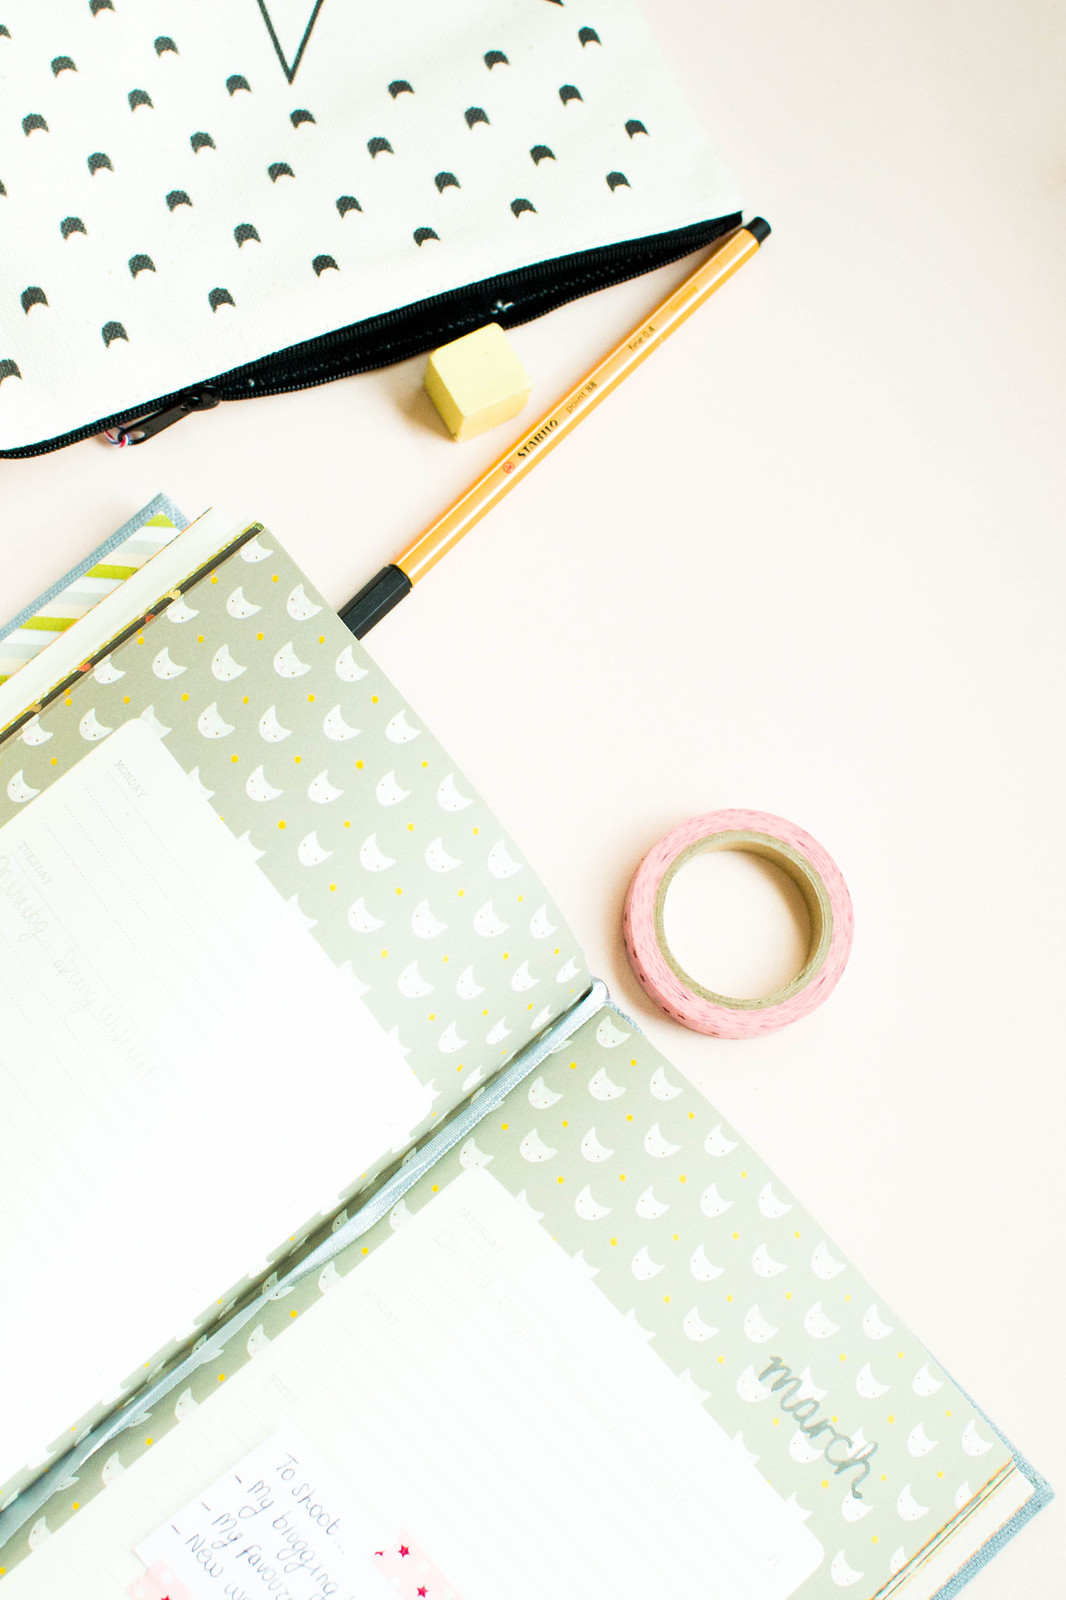
PLANNER :: I've always planned my blog posts and fixed my editorial calendar online (and I still use the Sunrise Calendar for it) but I've just recently discovered how practical and inspiring having an actual (made of paper) journal at your desk can be. I've got the Frankie Journal 2015 and I'm so happy with it: it's such a beautiful layouted, inspiring journal to write on and there's no better way to note down deadlines or the contacts you need to take note of than a beautiful and colourful paper, right?
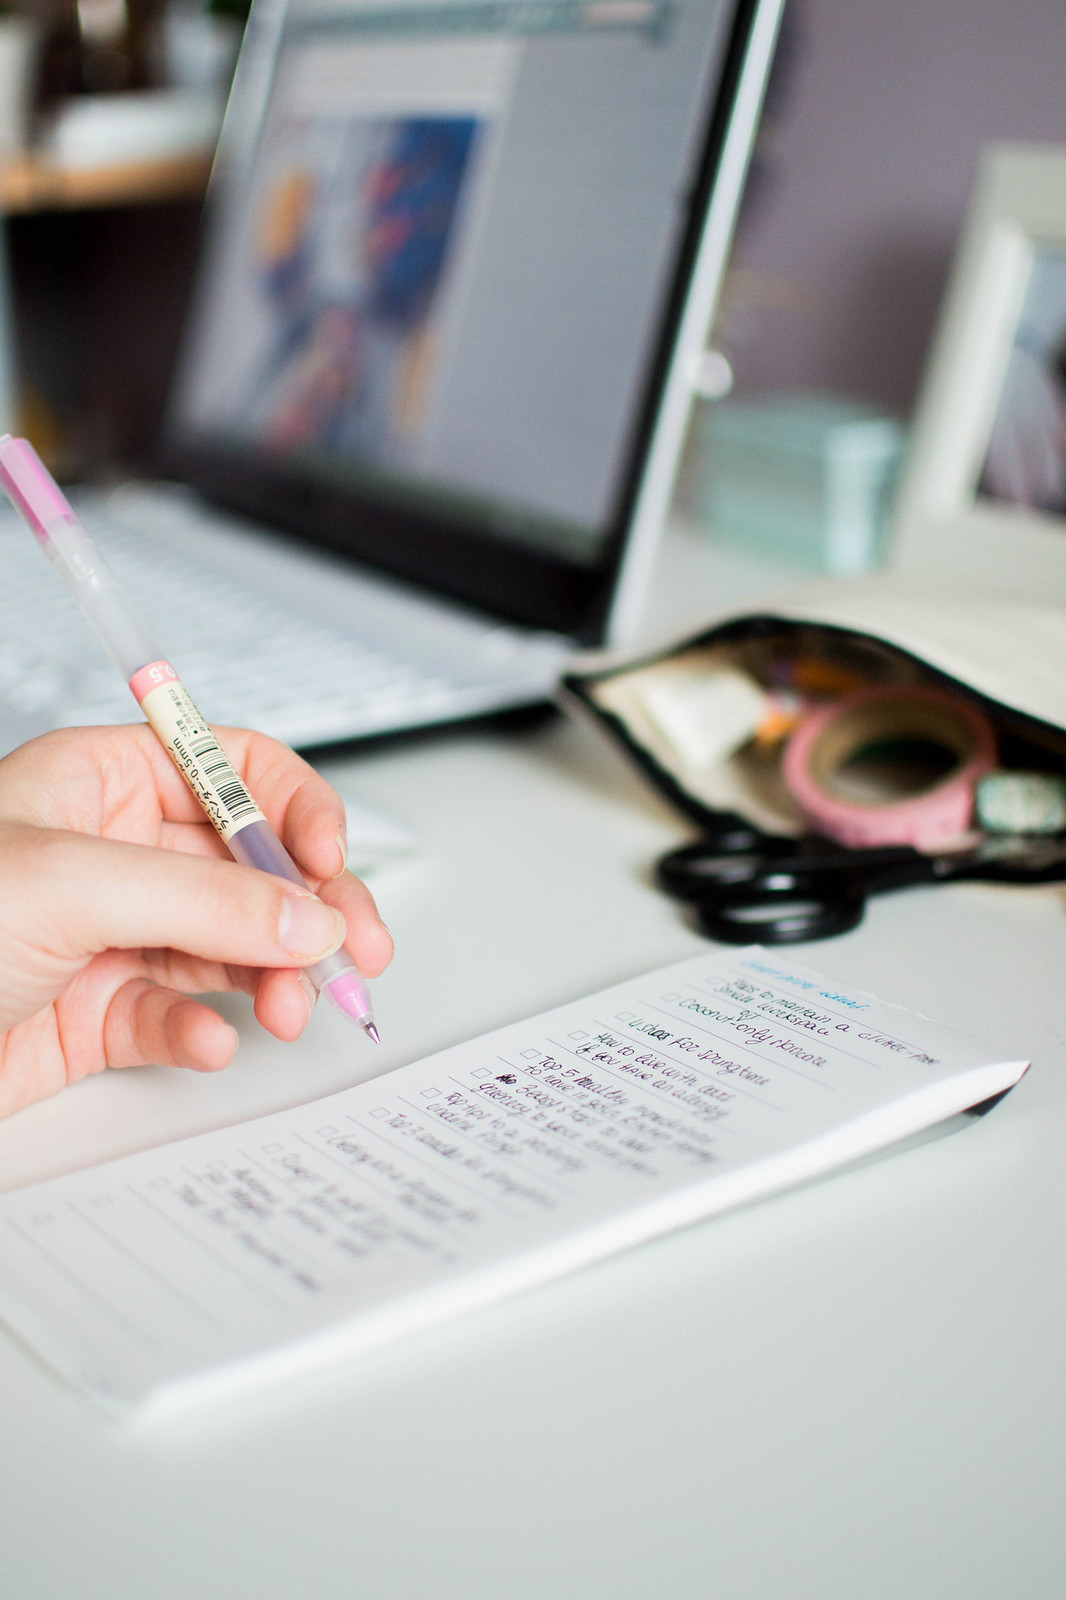
NOTEPADS :: I've always been a to-do lists fan. There's something so satisfactory in the act of ticking things off that I can't even explain. For blogging, notepads are essentials to me, especially to write down blog posts ideas or things that I have to get done the current or next day. The Muji Notepad is minimal and lovely, such a great helper to me to brainstorm my blog posts ideas and to keep things on track with my blog, life and business.
HARD DISK :: My boyfriend has spent days of his life explaining to me why an hard disk is important. I still rarely remember to save a backup of my files on there, but if one thing is for sure, investing in a hard disk is always a good idea, not only for blogging, but for everything you do really!
***
That's it, everything I need for blogging in a nutshell. I'd love to get to know what other fellow bloggers use on a daily basis! x
There's something purely enjoyable about waking up bright and early and cooking my own breakfast from scratch at the first lights of a day. It has something to do with the mood for sure, but I've always been a believer that a good start of the day (usually a good ol' breakfast) is the elixir of a positive mood throughout the whole day. But all in all, I came to the conclusion that it's the actual act of putting a dish together that I truly enjoy even more than eating it. Take away that to me, half the fun is gone.
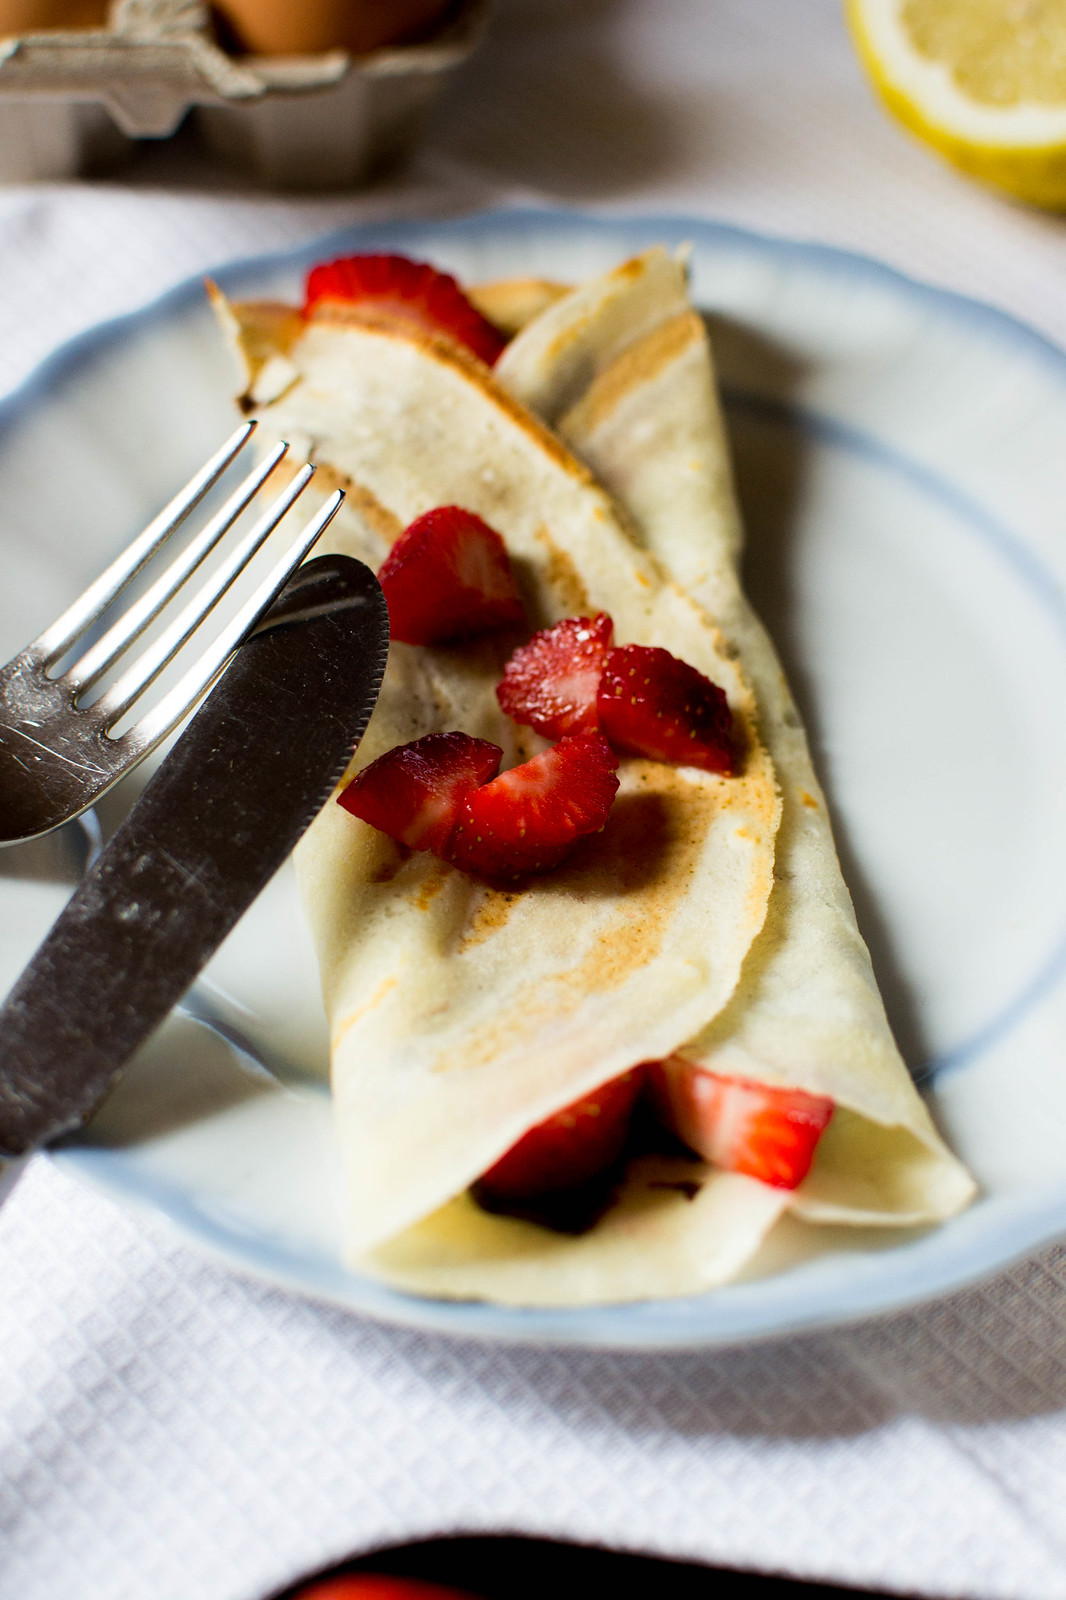
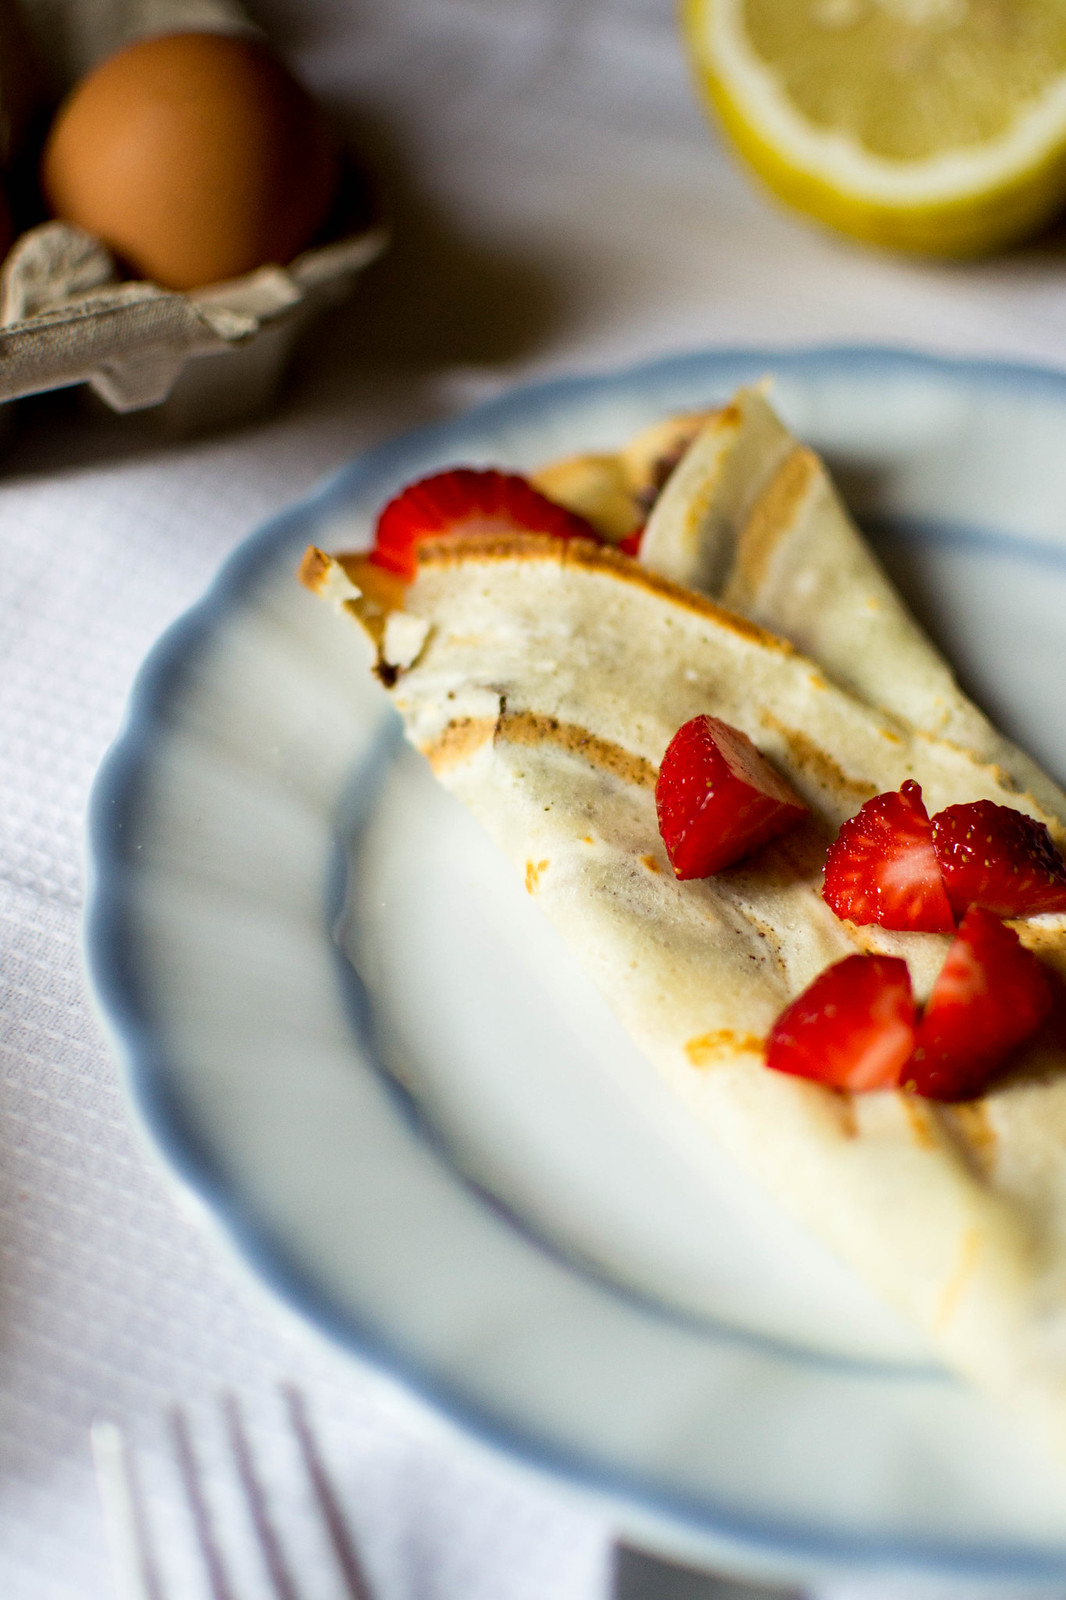
I realize most of days are not Sundays and not everyone is lucky enough to have enough time to make breakfast from scratch every morning, but if you're like me, if you think cooking something is what can make for a good start of the day even when everything else is grey, then I have something for you! I don't even remember how I went from my usual pancakes breakfast to an impromptu self-taught no eggs crepe recipe, yet it seemed a good change to me for a bit of a different spring breakfast to which is so easy to add fresh fruits and different flavours!
These crepes are as quick to cook as this recipe is to read, I can assure you! A minute or two to put the ingredients together and then just the time to cook - approx 5 minutes and they're good to be served. And they also require almost nothing to come together if not a 1:2 ratio of flour and milk (or even water if you want to go completely vegan!). They might be as light as a feather but they have really nothing to envy to the classical egg crepes we're all a fan of. I challenge you to try the recipe if you don't believe me!
* Feel free to use the flour you most like. Gluten free flour works just fine. For whole wheat flours, I'd add a 20-50ml of milk (or water) for a smooth not too thick consistency.
1 :: Measure out the flour in a small bowl, then add salt and sugar if wanted and pour the milk over, a quarter of it at a time, while using a whisk to nicely incorporate all the ingredients together without lumps.
2 :: Heat up a crepe pan over a medium heat.
3 :: Pour 1/4 of the crepe batter on the pan when it's nice and warm, help yourself with a spoon and circular motions to expand the batter and create a big thin crepe. Cook on one side until you're able to lift it with a spatula, then turn it over the other side and cook for another minute.
The first crepe is always a bit tricky. If you find it particularly challenging, 1/8 of a teaspoon of coconut oil melted on the crepe pan is everything you need!
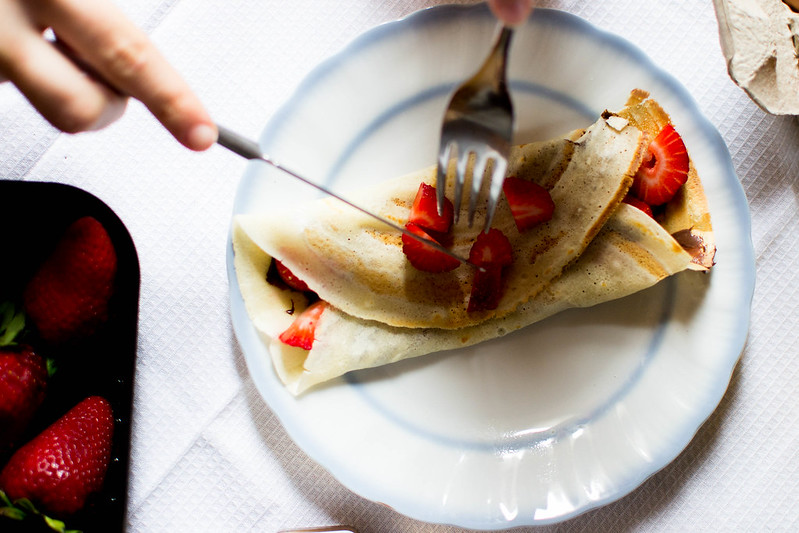
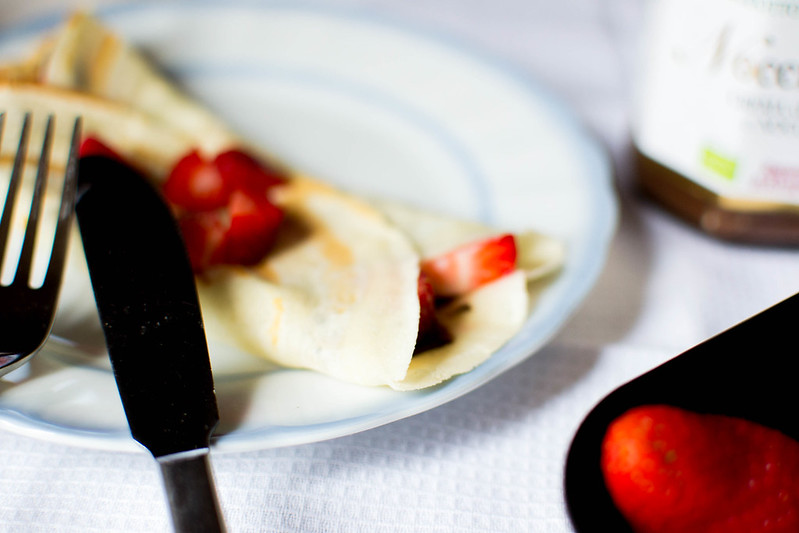
4 :: Repeat with the rest of the batter and your crepes will be ready to be served with Nutella, fresh fruits (Nutella + strawberries is my favourite combo!), lemon, jam or whatever topping you'd like!
{ Enjoy! }
Let me know if you try this recipe and what you think! I hope you'll be able to have a fresh and delicious homemade breakfast a bit more often than usual, even on weekdays! x
Recently we're getting into the habit of waking up bright and early, putting ourselves together and head to our usual and favourite bakery for breakfast on a weekend basis. It feels such a treat, especially since they have the crispiest yet softest, most buttery croissant and the sweetest airy latte foam you can ever dream of. And when you happen to taste all that goodness at once, you know it's the weekend.
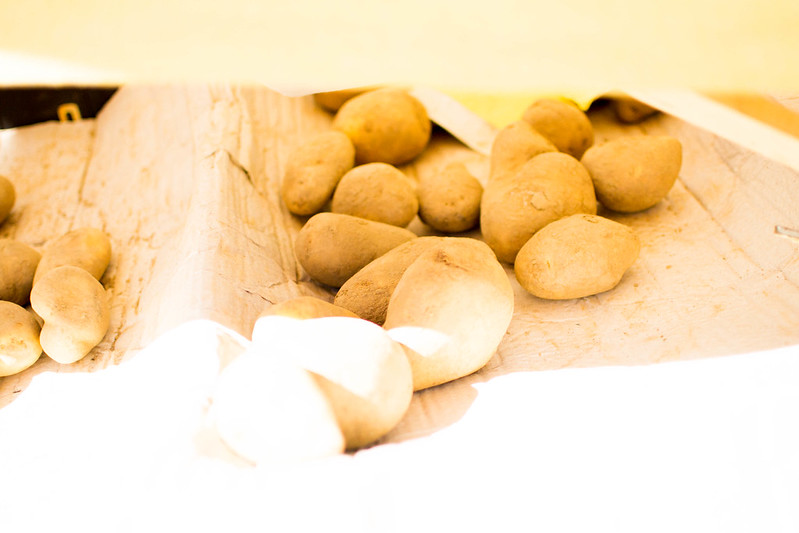
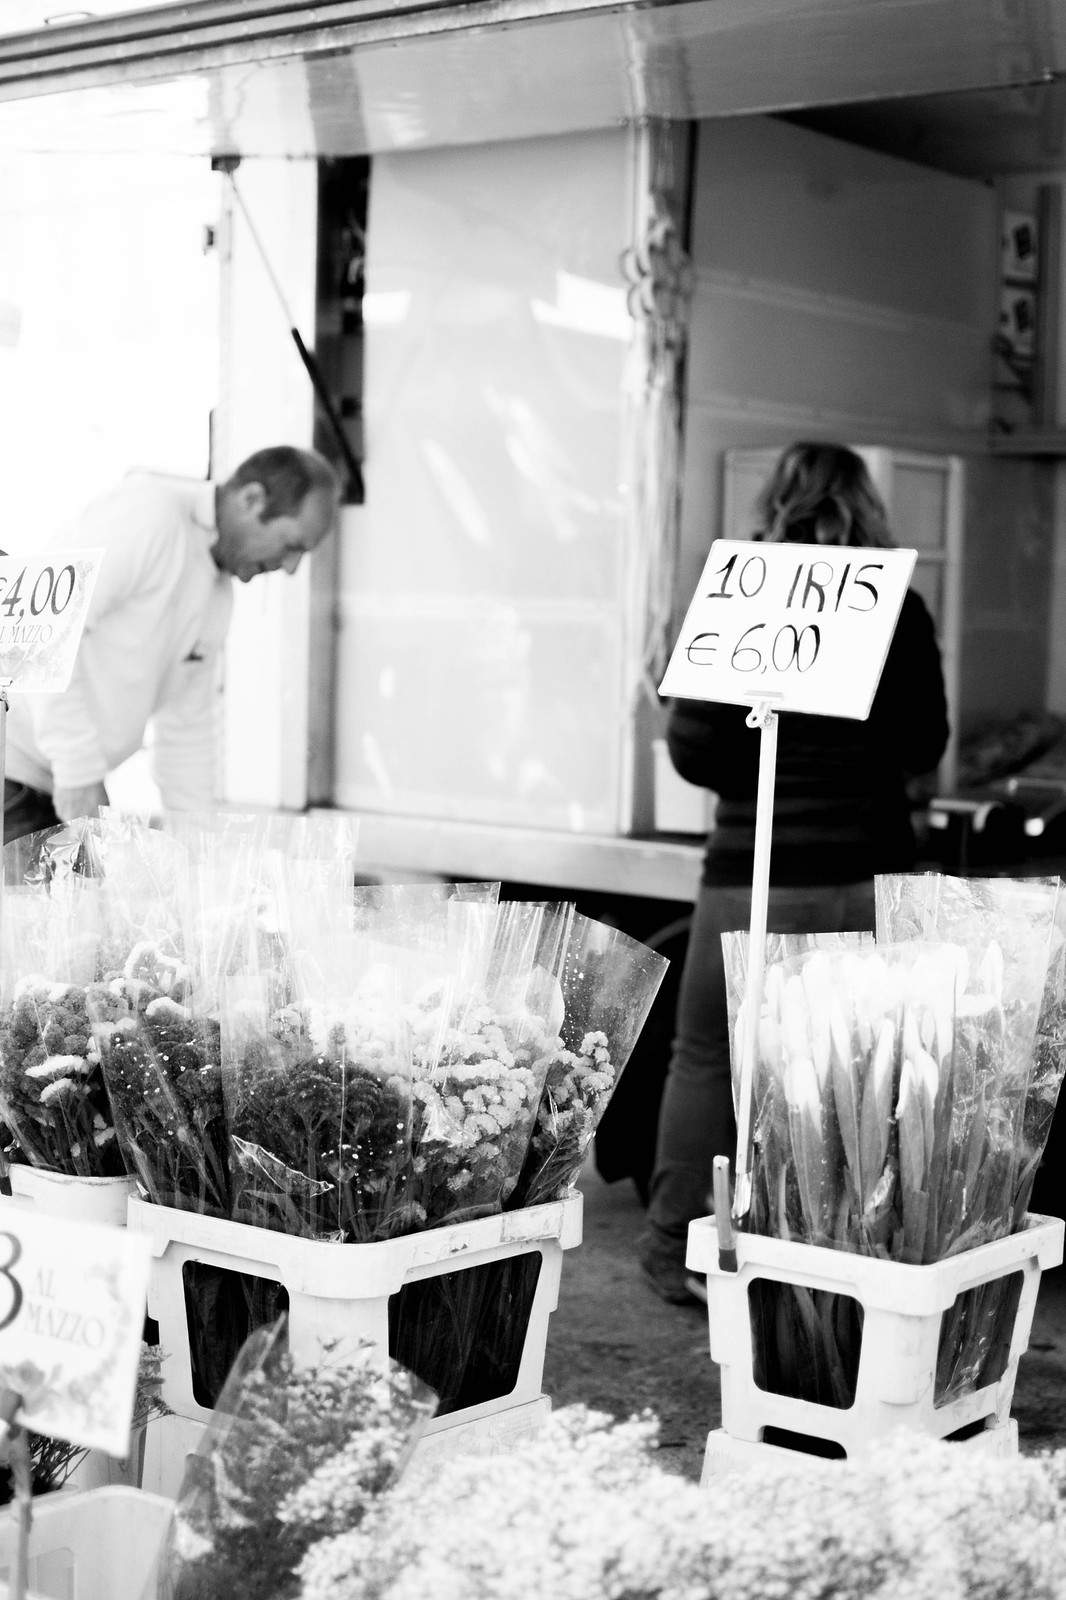
We've headed to the local farmers market this time, searching for freshly collected chicken eggs, fresh organic vegetables for Sunday lunch and a bouquet of flowers (for yours truly), and if there's an activity that's meant to be practiced on a weekend, that must be visiting a market on a glorious spring day. It can be pretty chaotic, but to me the busier the better: I love seeing so many lifes going on in one place.
This weekend we have been blessed with a rain-break in exchange for a sunny Saturday and a cloudy (almost cold) but not rainy Sunday which has been spent inside, catching up with TV series that needed to be ticked off our to-watch list, while eating all the ice cream. All in all it has been a good one! Here are a few pictures we've snapped until the sun was actually shining for us...