Home
Showing posts with label baking. Show all posts

18 May 2015

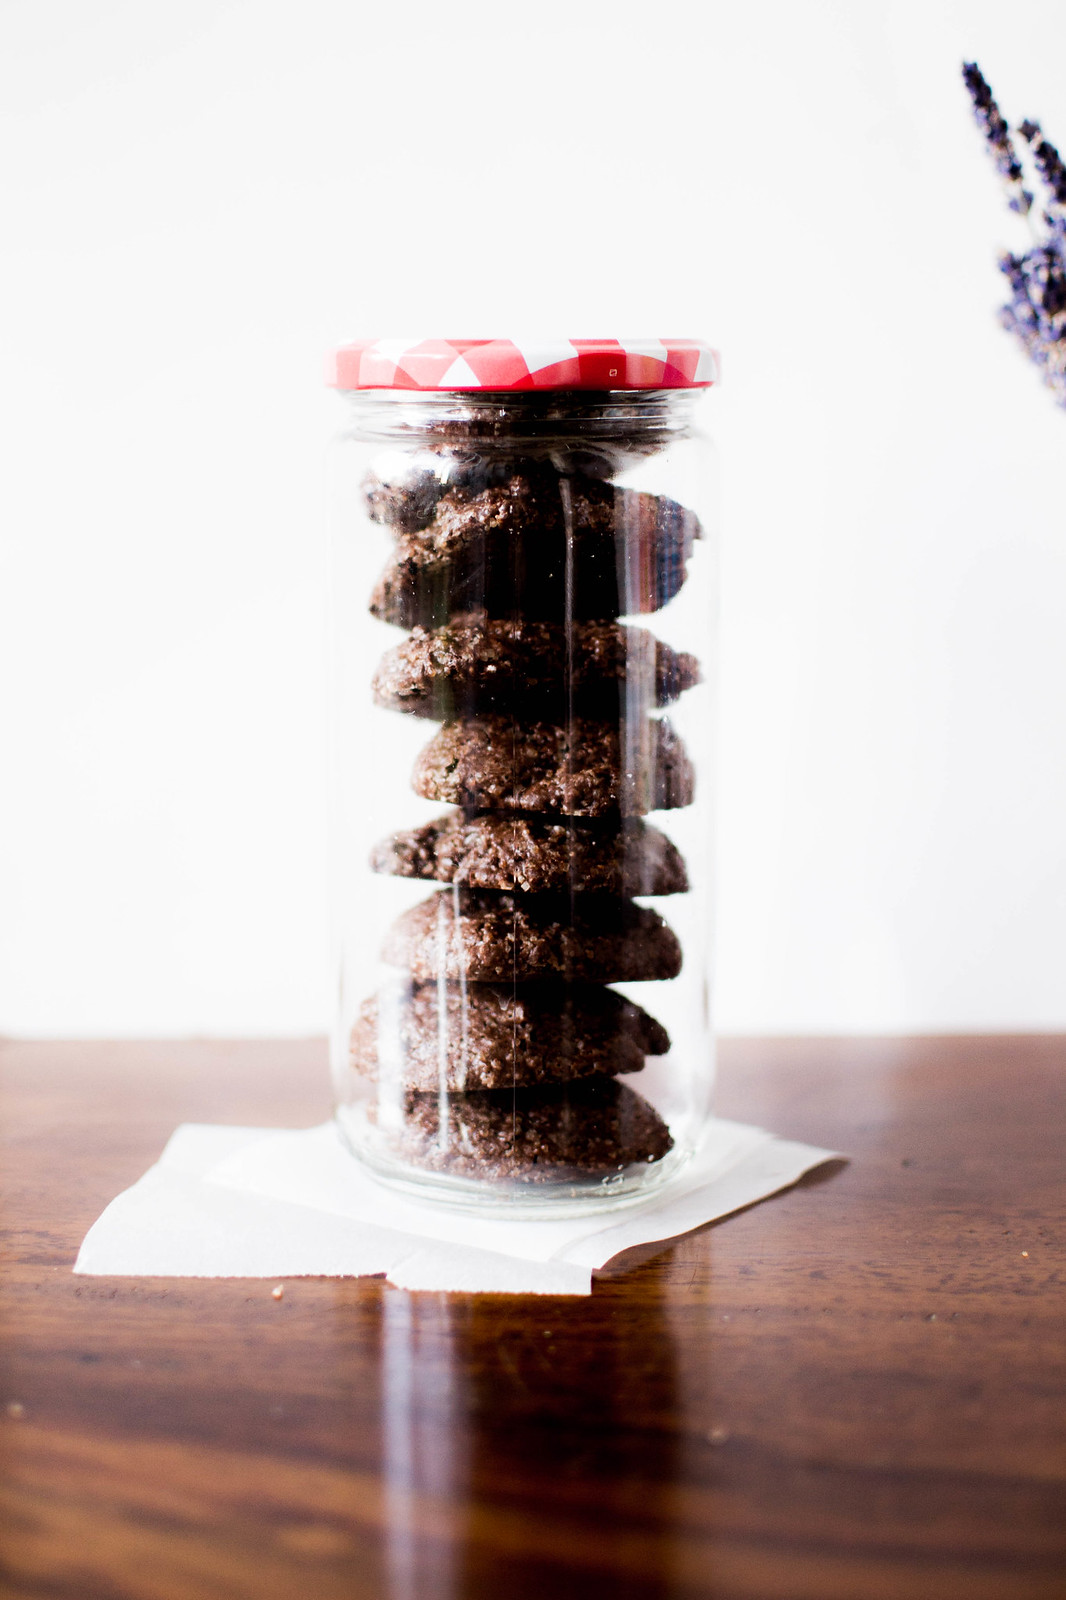
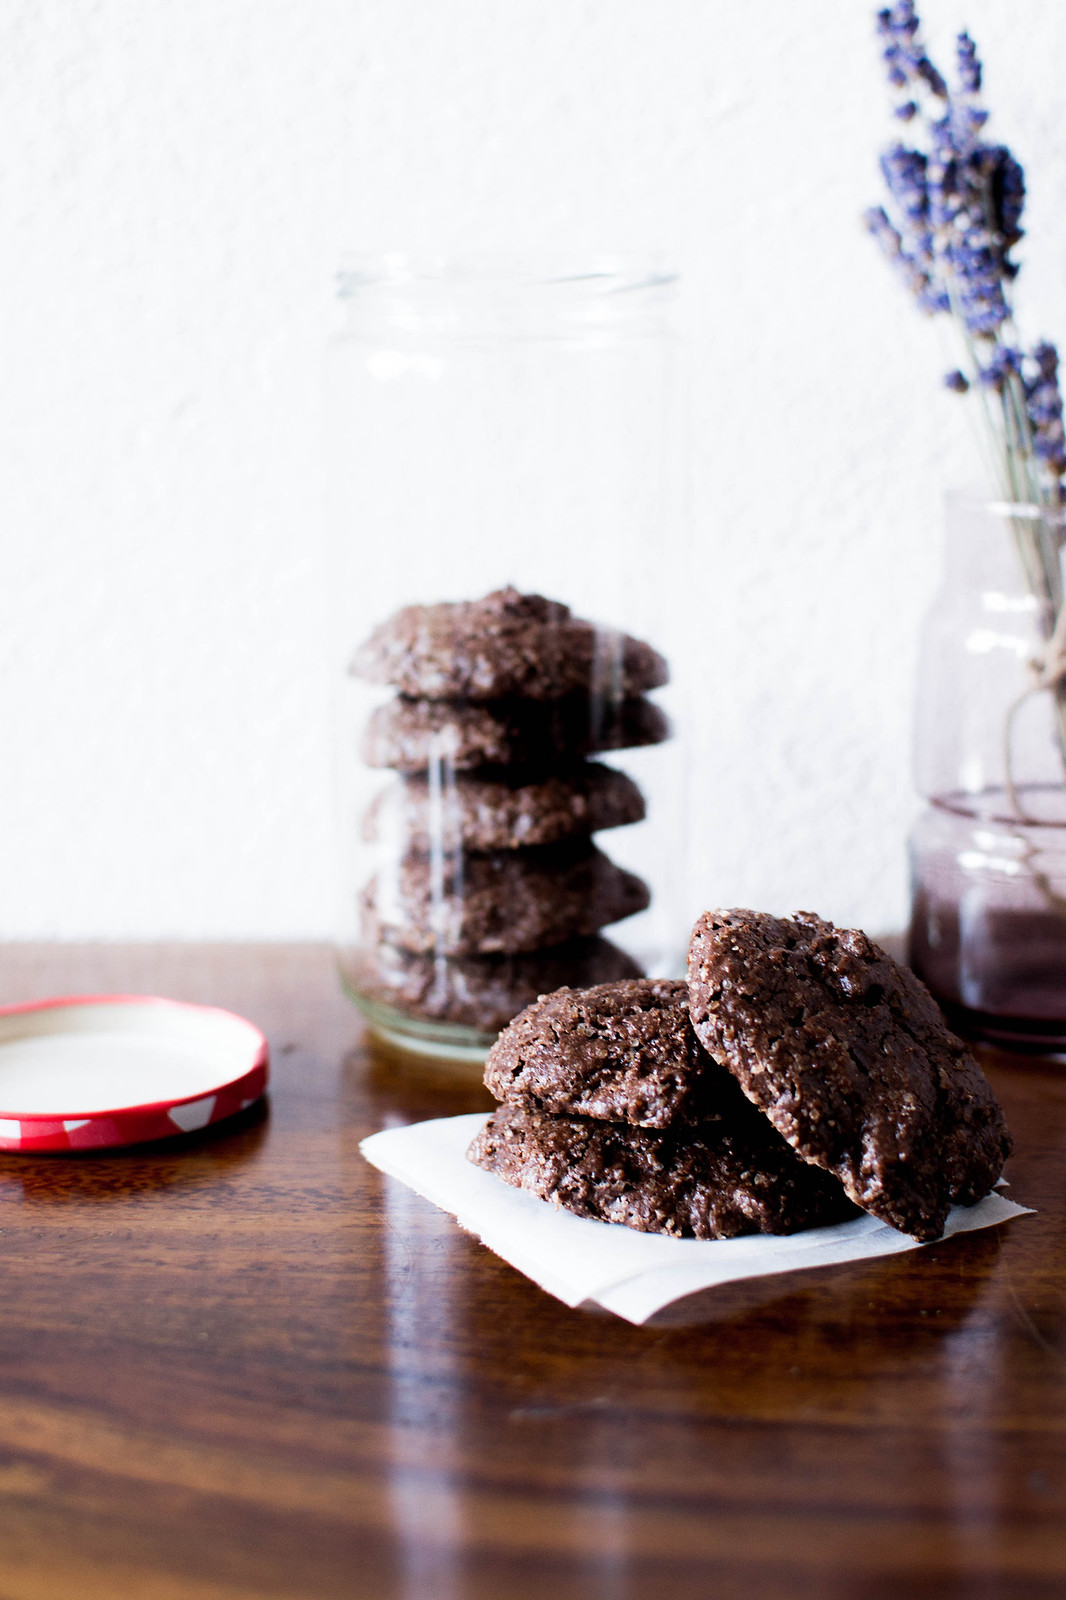
Tea shortbread covered in blueberry chocolate


I remember the taste of my step-mother's shortbread covered in Easter egg dark chocolate (that year we won a huge Easter egg, that huge that we made chocolate covered cookies for a very long period - not complaining, really) like it was yesterday, though I was probably not older than 13!

When a parcel filled with various flavours of Lindt Excellence Chocolate Bars (I bet you all have already spotted their extremely delicious dark chocolate line, right?!) knocked at my door last week, all I could think of were those shortbread cookies I used to eat from Easter to summertime when I was younger. I couldn't resist and made a slightly more creative version, and quite a summer-y one too, inspired by the blueberry chocolate that was loudly calling my name ever since.

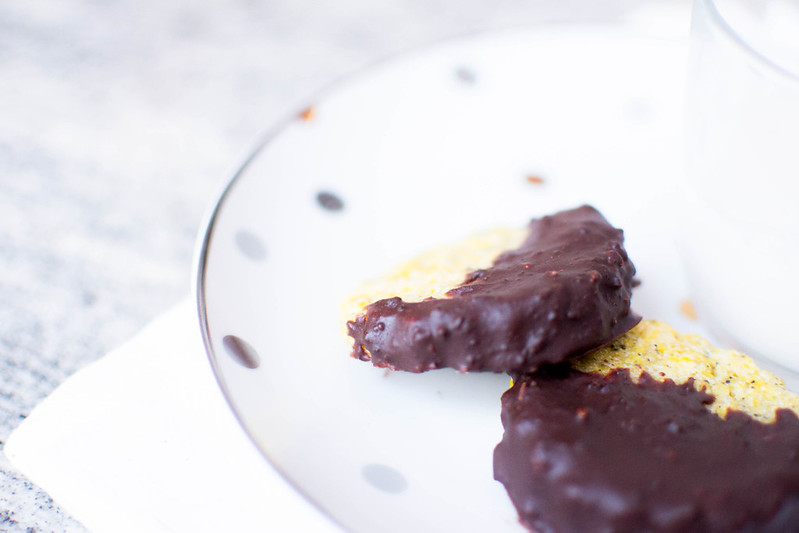
These cookies went down a treat and in less than 24h they were all gone. That's how good they were! I've used the classical english breakfast tea that I love if paired with lemon, which is such a good fresh fit for the blueberry flavour of the chocolate - but you can really experiment with different flavours of chocolate and tea with these!
Tea shortbread with Lindt chocolate
Ingredients for 12 cookies
150g white flour ; 80g white sugar ; 2 egg yolks ; juice of 1 lemon ; 90ml seed oil ; 1 English Breakfast tea bag ; 100g Lindt Excellence Dark Blueberry Intense ; 3 tsp butter.


1 :: Preheat the oven to 170°C. In a food processor blend together flour, sugar, egg yolks and seed oil until nicely combined.

2 :: Squeeze one big lemon (taking care of eliminate the seeds if necessary) and add the juice to the other ingredients while still blending. Cut open the tea bag and add the content to the other ingredients too. Blend well.

3 :: The ingredients should start to come together into a nice dough by this time. If yours is too dry, add a tiny bit of seed oil and blend well. Use your hands to shape a ball of dough and leave it rest of a couple of minutes.

4 :: Place the dough between two foils of parchment paper, then roll it out with a rolling pin until 1cm thick. Avoid to make it too thin or your cookies will be too dry when baked, also try to make them all the same thickness or some will cook more than others.

5 :: Remove the top foil of parchment paper and use a cookie cutter to cut your cookies out of your dough. Place the cookies onto a baking tin lined with parchment paper (it's not important to place them far apart from the other, as they won't spread out). You'll might need to roll the dough out a few times to cut more cookies out of it!

6 :: Bake the cookies for 15 minutes - do not overcook. They must be crunchy but also almost buttery soft, so you don't want to go for more than 15 minutes for them.

7 :: It's important at this stage that you remove your cookies from the oven and let them chill for 30/40 minutes until they've completely cooled down. Then you can go on and melt the chocolate in the microwaves together with 3 tbsp of butter. Make sure you don't burn it and give it a stir or two in the middle of the process until you are left with a very liquid mixture.

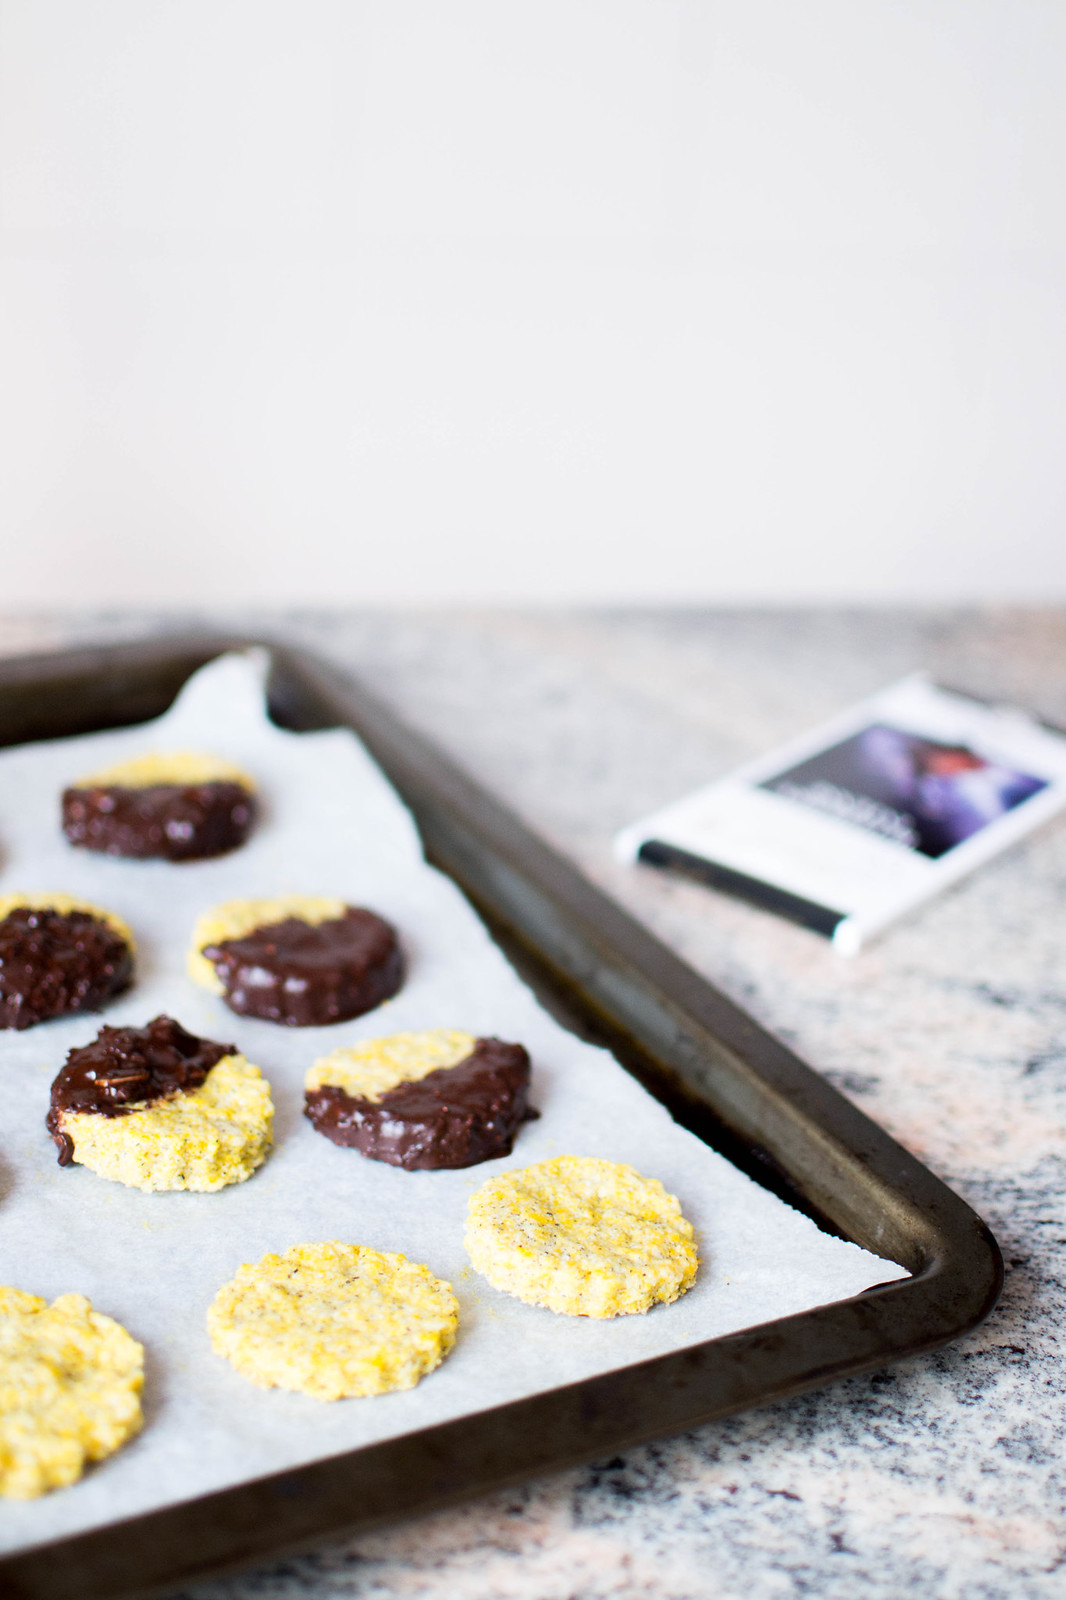
8 :: Dip the cookies into the melted chocolate to cover half of them with it. Use a spoon to help you add sprinkles of almond and blueberry from the chocolate mixture. Place the cookies onto parchment paper and let them cool down for a couple of minutes before putting the tin in the fridge for an hour or two.

9 :: Store the cookies in the fridge (especially now that it's starting to be warmer, they will melt if not in the fridge) and enjoy the fresh and fruity combination of flavours with your afternoon tea or just by themselves!
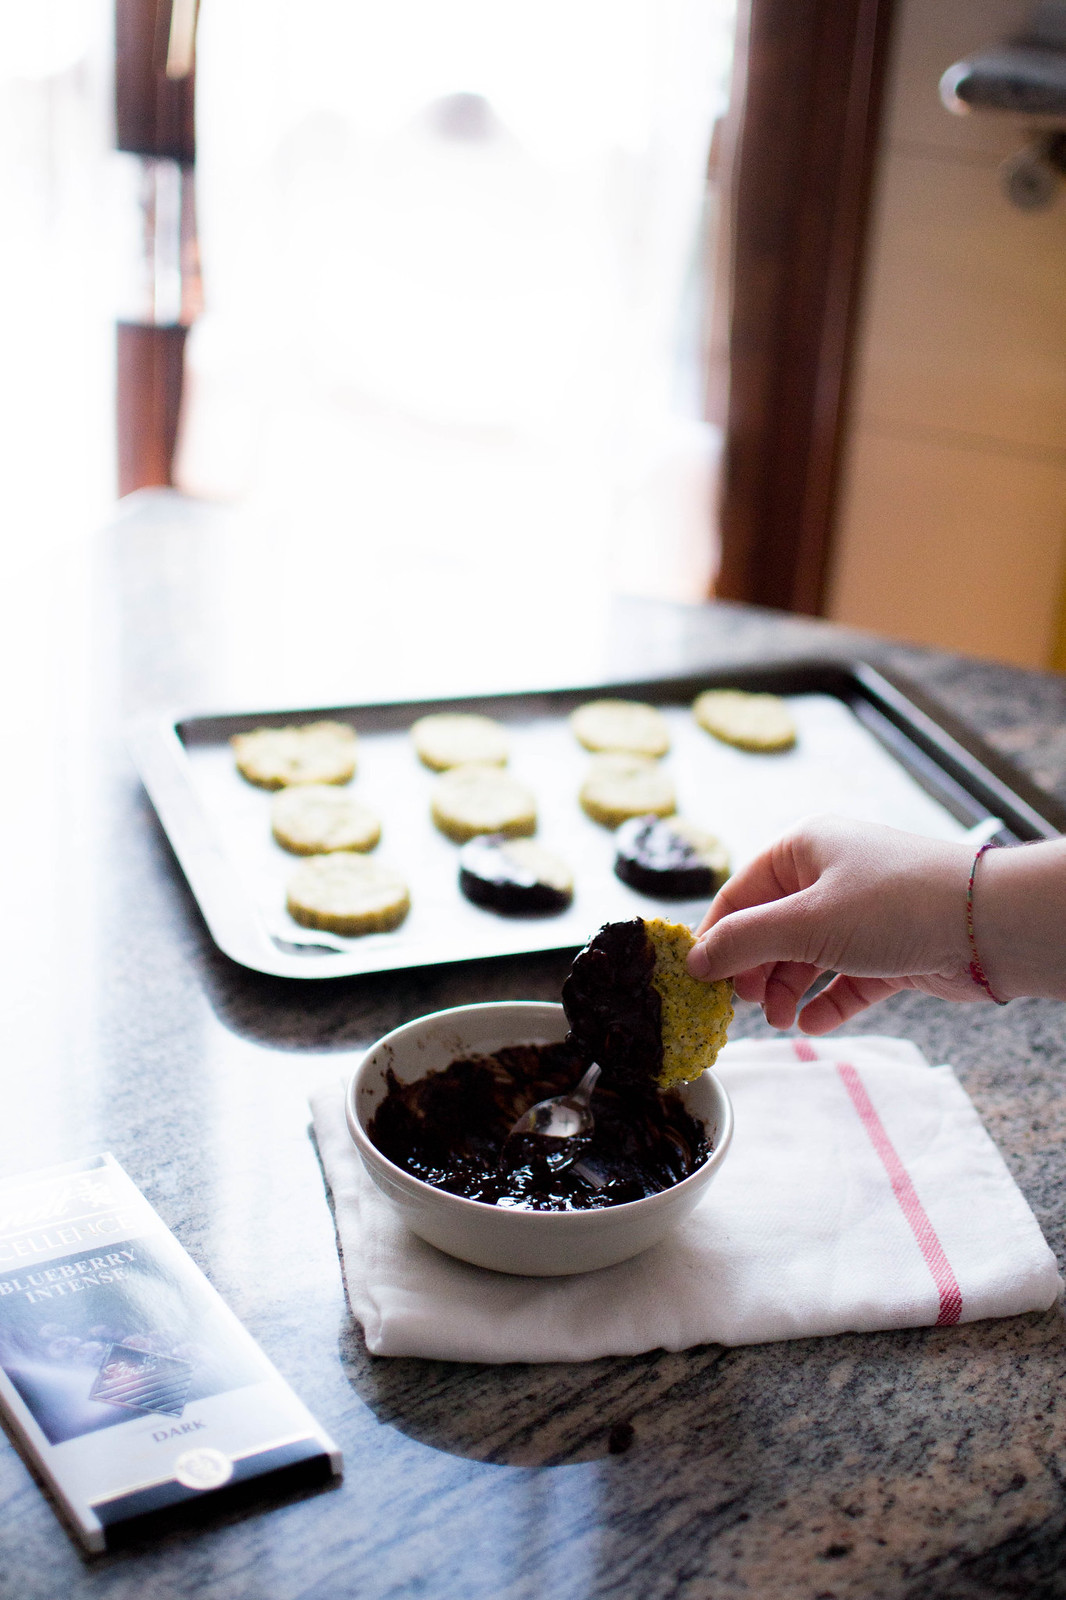
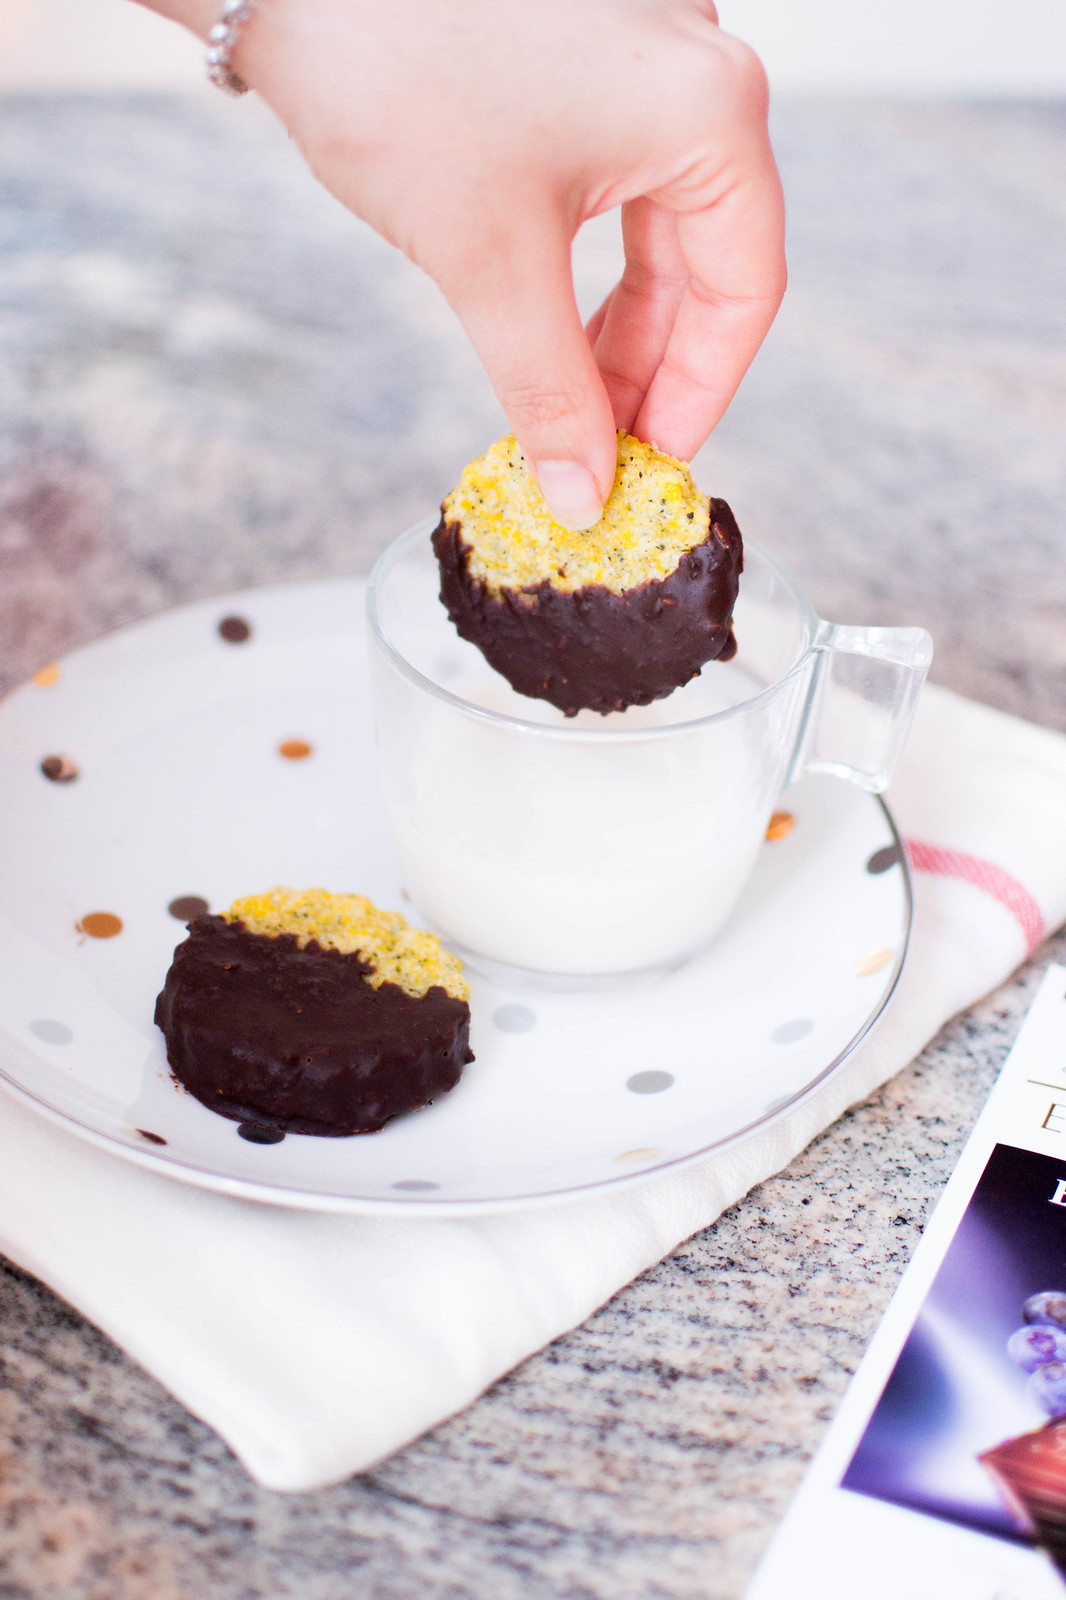
{ Enjoy! }

Tea shortbread with Lindt chocolate

This is quite of a different recipe, but I love it and hope you'll like it as well! Let me know if you give it a try! x

9 April 2015

Two ways to use up your Easter chocolate


Best thing about Easter? All the chocolate you're left with the days (and sometimes even months) after. Between chocolate eggs and the huge amount of chocolate bunnies Lindt spoilt me with this year I have a feeling that, for the first time in my entire life, finishing up my chocolate will be quite a hard work. Not sure anyone else is in my same position (as I've never thought using up my chocolate to be the problem) but when chocolate is around, I have two go-to recipes to finish it up, both very chocolate-y and indulgent and which are perfect ways to make use of your Easter eggs in a little different way than snacking on them when you're hungry or craving sweetness (which is an incredibly decent way of making use of them btw).

On a different note, does using healthy-ish ingredients make a cookie full of chocolate-y gooeyness healthy? Surely it does, right?

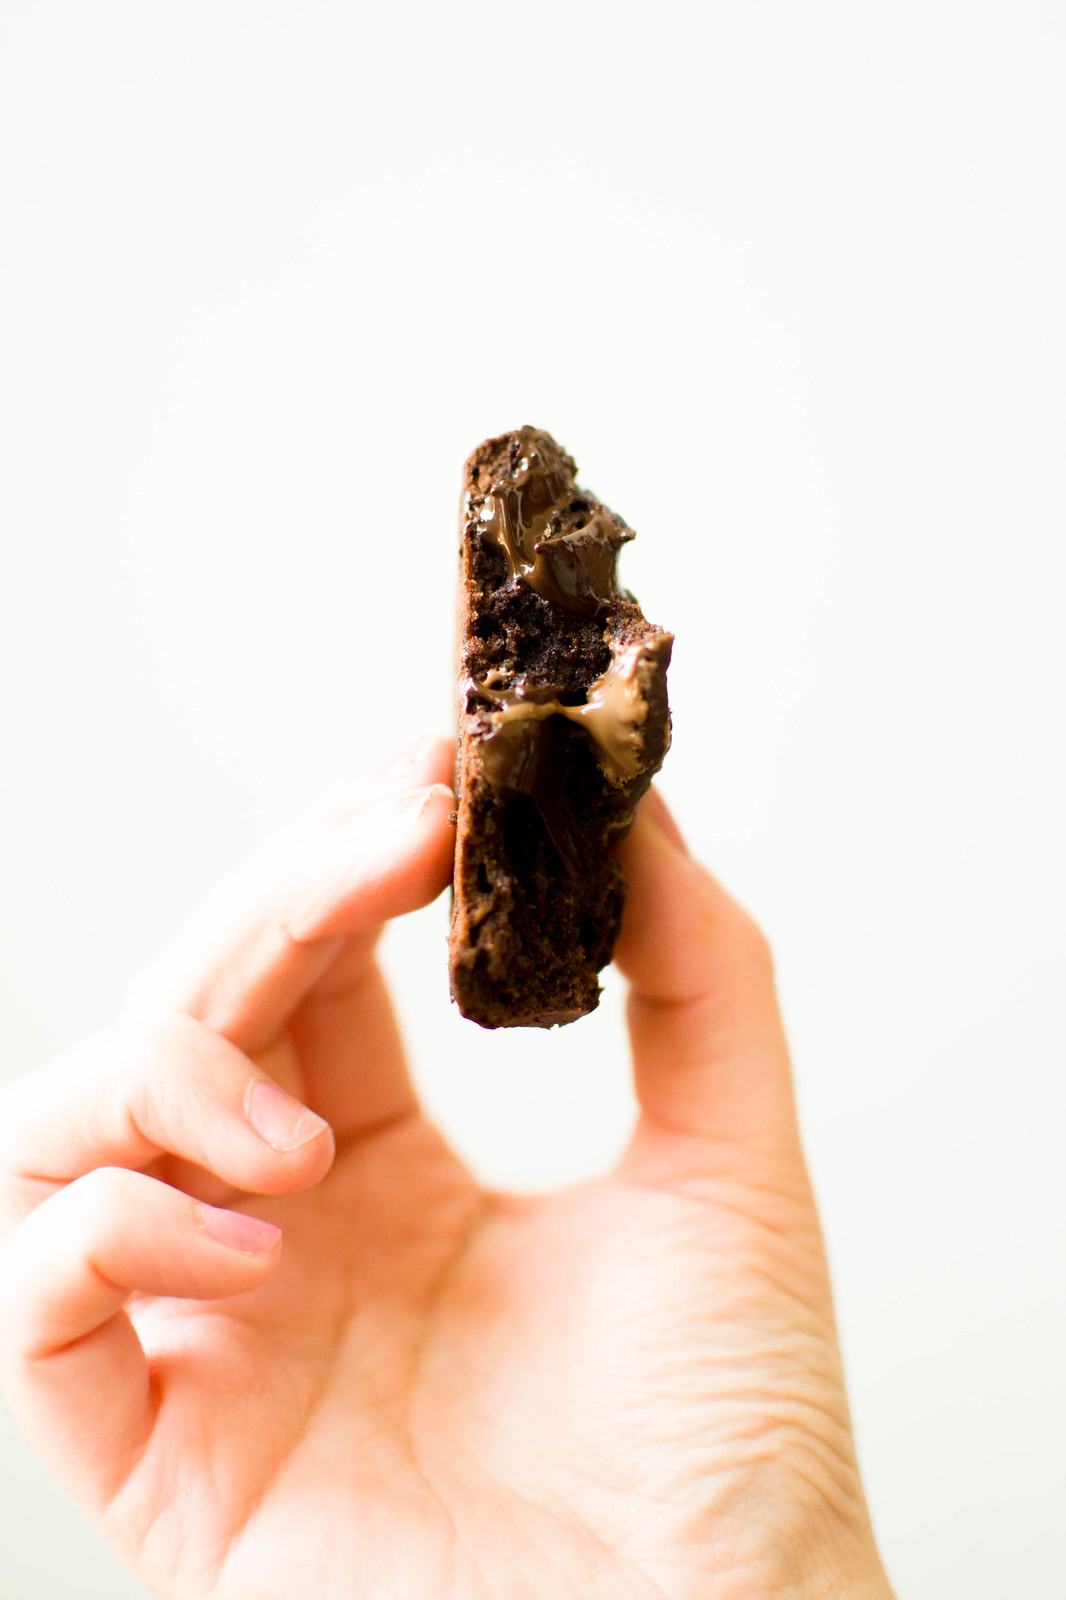
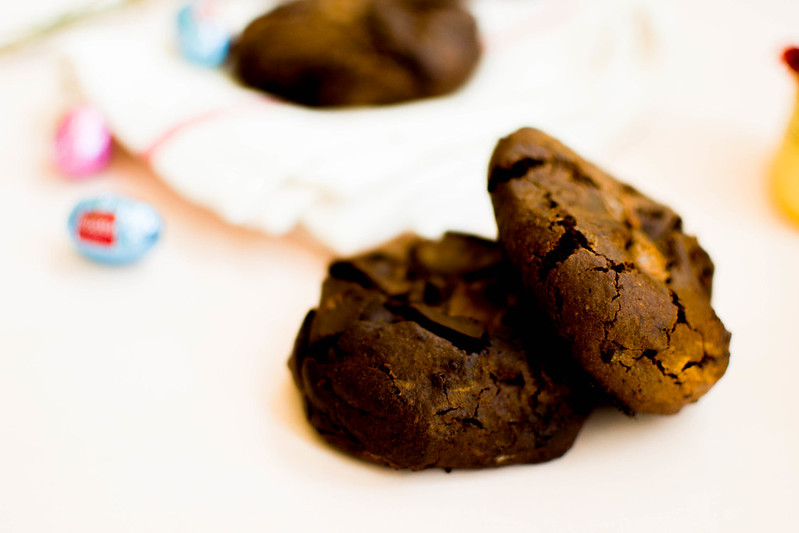
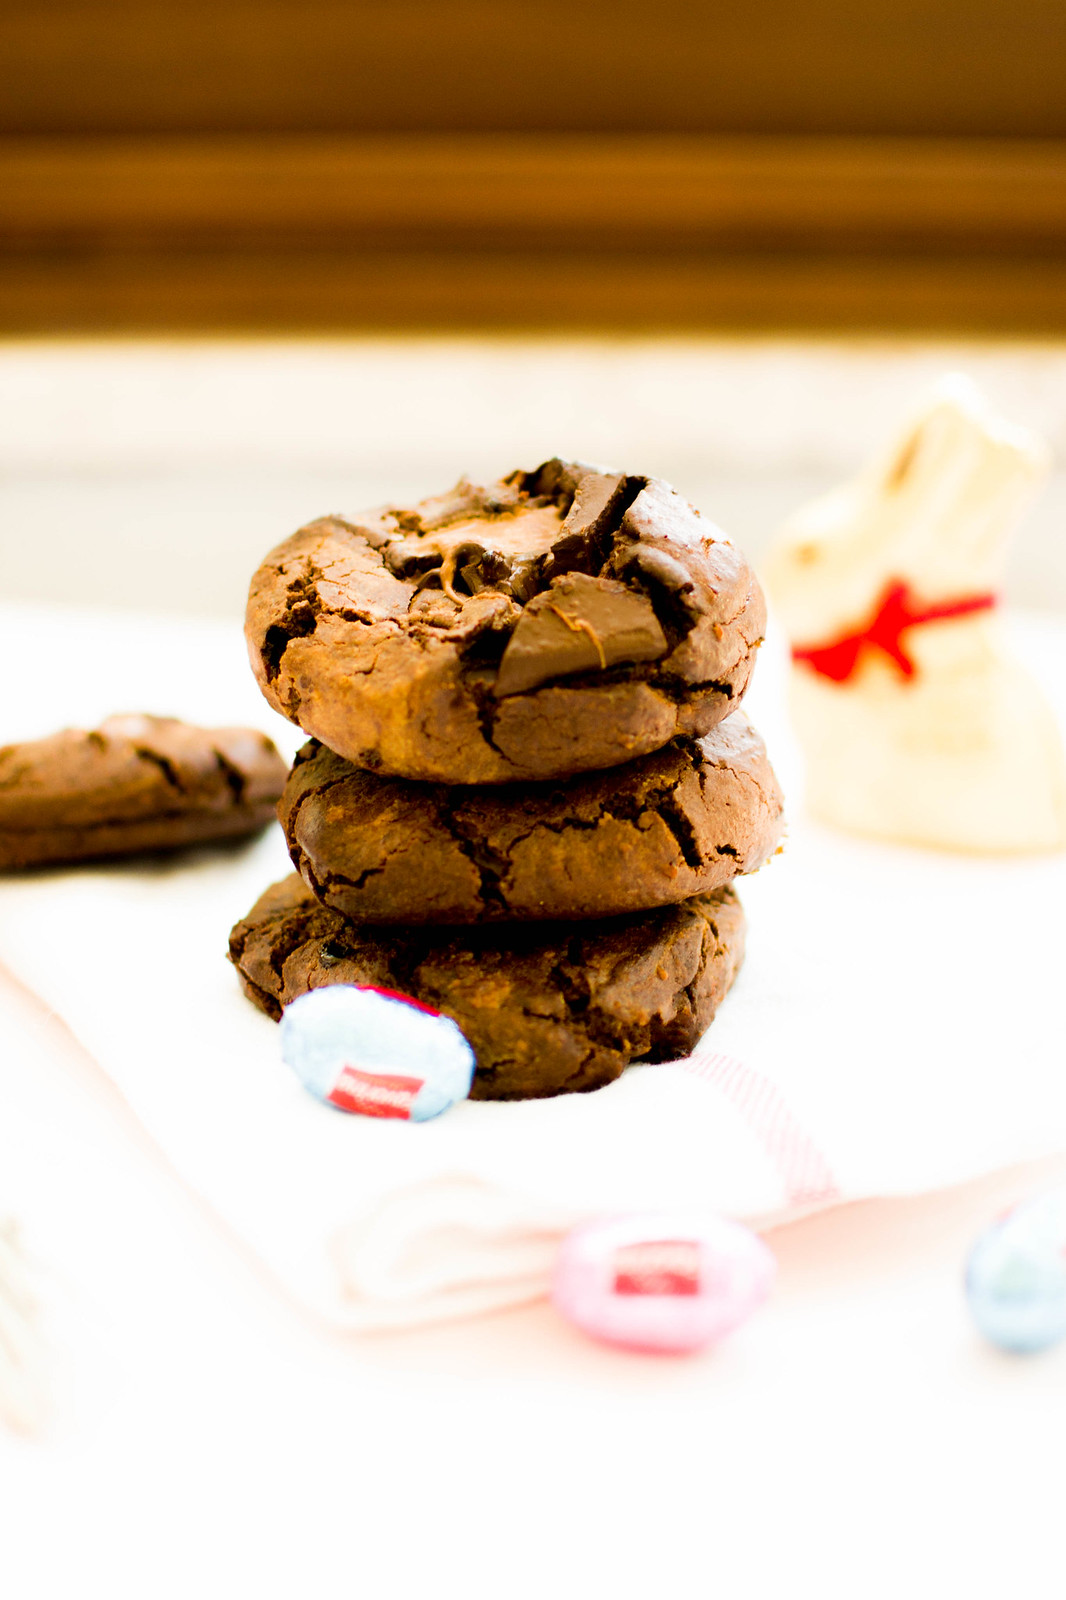
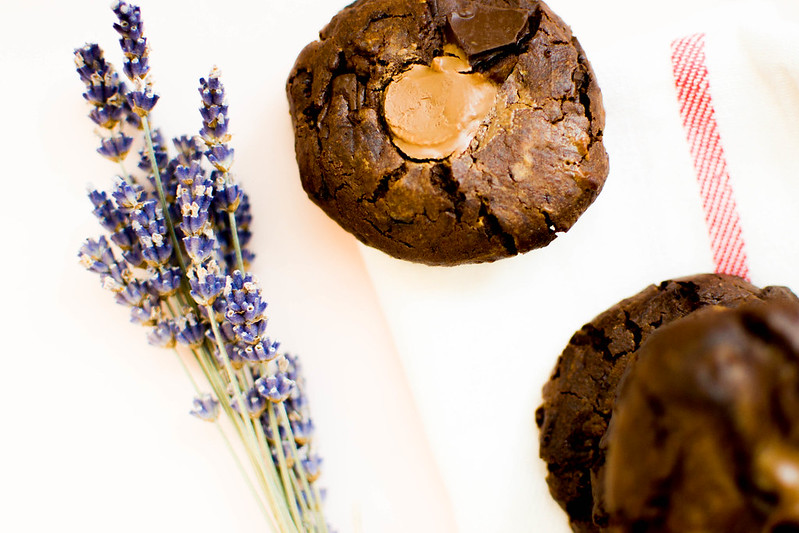
Double Chocolate Cookies Recipe

Double Chocolate Gooey Cookies.

Makes 6 | Ingredients:
100ml seed oil
1 egg
90g coconut sugar
25g cocoa powder
100g white flour
40g whole wheat flour
1 tsp baking powder
A lot of Easter chocolate (I used one of my Lindt Dark Gold Bunnies and some milk chocolate eggs)

1 :: Preheat the oven to 200°C.

2 :: In a stand mixer, blend the seed oil with the coconut sugar until well incorporated. Then add the egg and whisk well again.

3 :: Stir together all the dry ingredients in a large bowl, then start to gradually add them to the wet ingredients while the stand mixer is slowly whisking and blending them together. At the end you'll be left with a very thick cookie dough (if it's not thick enough to form a solid ball, then add some flour).

4 :: Chop the dark chocolate in little cubes and add them to the cookie dough and stir it with a wooden spoon to help the dark chocolate go everywhere in the dough.

5 :: Line a baking tin with parchment paper, then start shaping medium balls out of your cookie dough. You should get 6 cookies out of these doses. Place the cookies on the baking tin far apart from each others and flat the balls out a bit with the palm of your hand.

6 :: Chop the milk chocolate (I cutted my chocolate eggs in halves) and place some cubes in the middle of each cookie, pushing them down a bit to create a melted heart.

7 :: Bake in the oven for no longer than 10/12 minutes. Then remove from the oven and let them cool down almost completely (10/15 minutes) so that they can set but still be deliciously gooey. Serve warm-ish for a mealted heart!


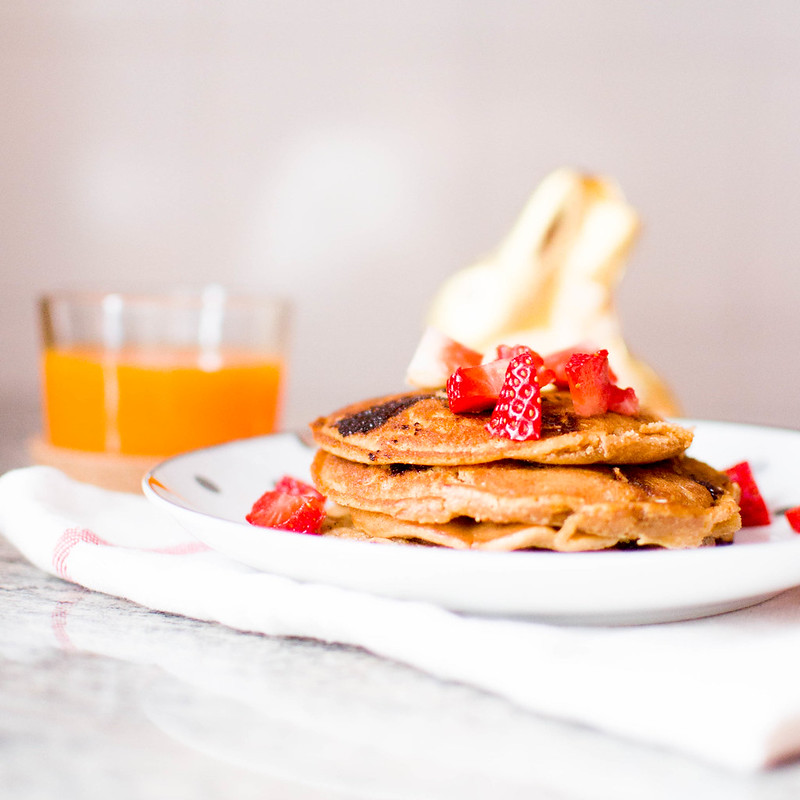
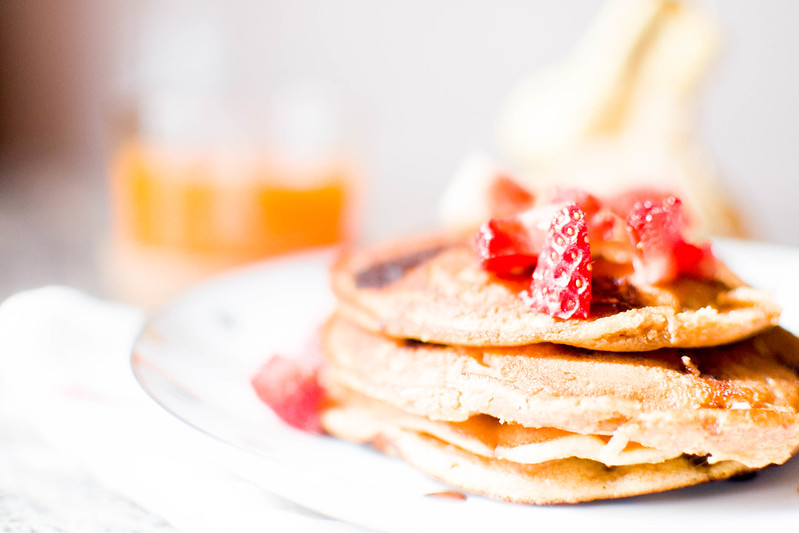
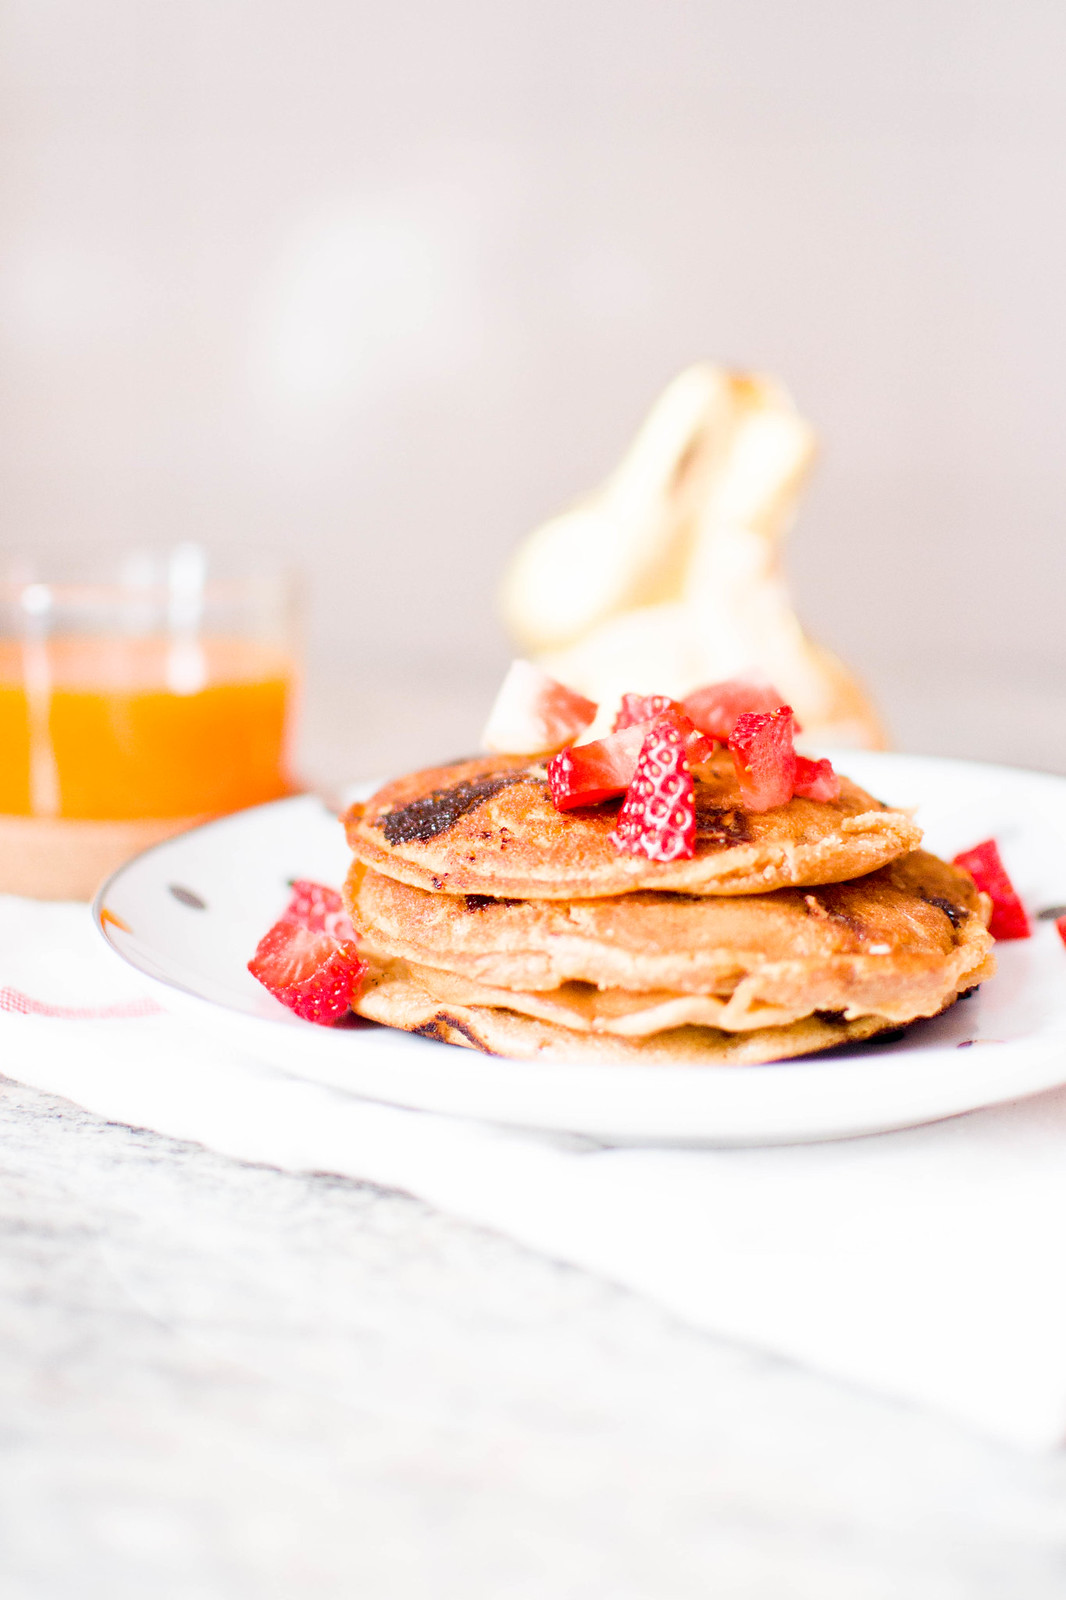
White Chocolate Morning Pancakes Recipe

White chocolate morning pancakes.
Original recipe from Minimalist Baker - adapted and edited by me.

Serves 2 | Ingredients:
1/4 cup whole wheat flour
1/4 cup white flour
2 tbsp coconut sugar
1 tsp baking powder
1/2 cup almond or soy milk
1 tsp coconut oil
100g white chocolate (I used my Lindt white chocolate bunny!)

Coconut oil to pan-fry
Strawberries to serve

1 :: In a medium bowl stir together the flours, coconut sugar and baking powder, then add the milk and stir well.

2 :: Chop 50g of white chocolate in a little microwave-safe bowl, add a teaspoon of coconut oil and melt them into the microwave for a couple of minutes until creamy.

3 :: Add the melted white chocolate to the pancake mixture and stir well, then chop the rest of the chocolate into tiny cubes and add them to the mixture.

4 :: Melt 1/2 tsp of coconut oil in a small pan onto a low heat. Place two tablespoons of pancake mixture in the middle of the pan and pan-fry your pancake on both sides.

5 :: Serve with your favourite syrup on top or some chopped fresh strawberries to taste!

{ Enjoy! }

***

Both of these recipes are super indulgent and delicious, but to balance out the fact I did put way too much chocolate in them, I tried to use as many healthy ingredients as possible for the rest of them, so hopefully they won't hurt too much on your diets!

Did you spend a lovely Easter weekend? Any chocolate-y recipes I should totally try? As usual let me know if you give this recipe a try! x
15 February 2015

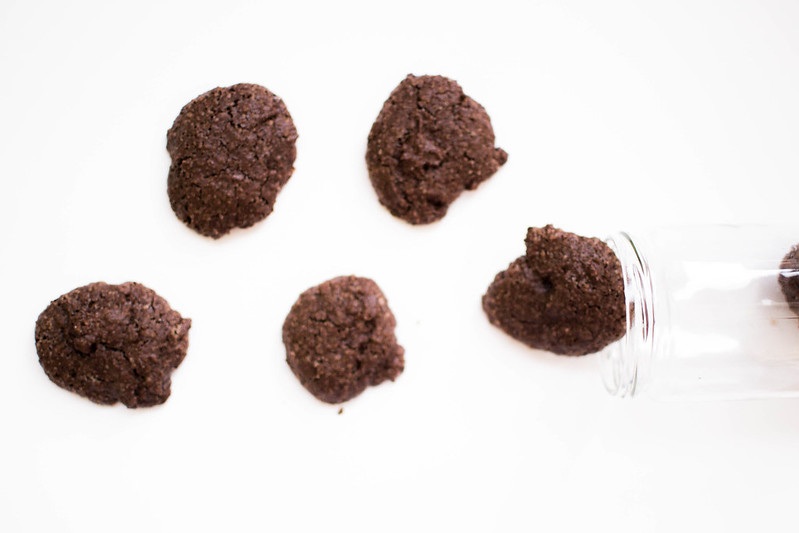
Peanut butter + cocoa healthy-ish cookies.

Peanut Butter + Cocoa Cookies

Even though a mainstream New Year resolution of mine was to try and achieve a healthier lifestyle, I'm actually gradually and consciously changing my food habits only recently. I'm trying to not make huge revolutionary changes all at once, and avoiding processed food as much as I can is one of my main priority; this obviously means I have to cook and bake most of my meals and it can be quite time consuming, but it's becoming very essential to me to know exactly what's in my food, and there's no better way than preparing it all myself. This also means I have the opportunity to try and test out new recipes and come out with new meal ideas almost everyday, and it's quite exciting if you ask me!

I'm trying to understand which food does what to my body and this is changing my approach to healthy food. Healthy doesn't always mean low in calories; I personally need an energizing breakfast and these cookies are being my first choice! One of these is good enough for your intake of healthy fats, fibers and minerals and to satisfy a sweet tooth - they make for a perfect start of the day! They're quite healthy not containing any dairy product and the smaller amount of flour - and yet they turned out super gooey, soft and delicious!

Peanut Butter + Cocoa Cookies

Makes 10 cookies | Ingredients ::
4 tbsp organic 100% peanut butter
3/4 cup brown sugar
1 egg
3 tbsp cocoa powder
4 tbsp whole wheat flour
1/2 tsp baking powder

1 :: Preheat the oven to 180°C.

2 :: Measure out 4 tablespoon of organic peanut butter and beat it together with the brown sugar using an electric beater.

3 :: Add the egg, flour, baking powder and cocoa powder and beat again until smooth. You should obtain a very thick cookie dough that hardly stays together. If too liquid or soft, add a little bit of flour.

4 :: Using an ice cream scoop or your hands, shape medium balls of dough and place them onto a baking tray lined with parchment paper. Use your palm to flatten them out a tiny bit. Place them quite far apart from each others because the cookies will spread out in the oven - for the same reason the balls of dough must be quite small.

5 :: Bake for 12-13 minutes in the preheated oven then remove and let them cool onto their tin for 10-15 minutes.

... as easy as that!
{ Enjoy! }

Peanut Butter + Cocoa Cookies

As always let me know if you try this recipe and if you enjoy it - also I'm curious to discover new healthy recipes! x
* Check out other peanut butter healthy recipes over here!

4 February 2015

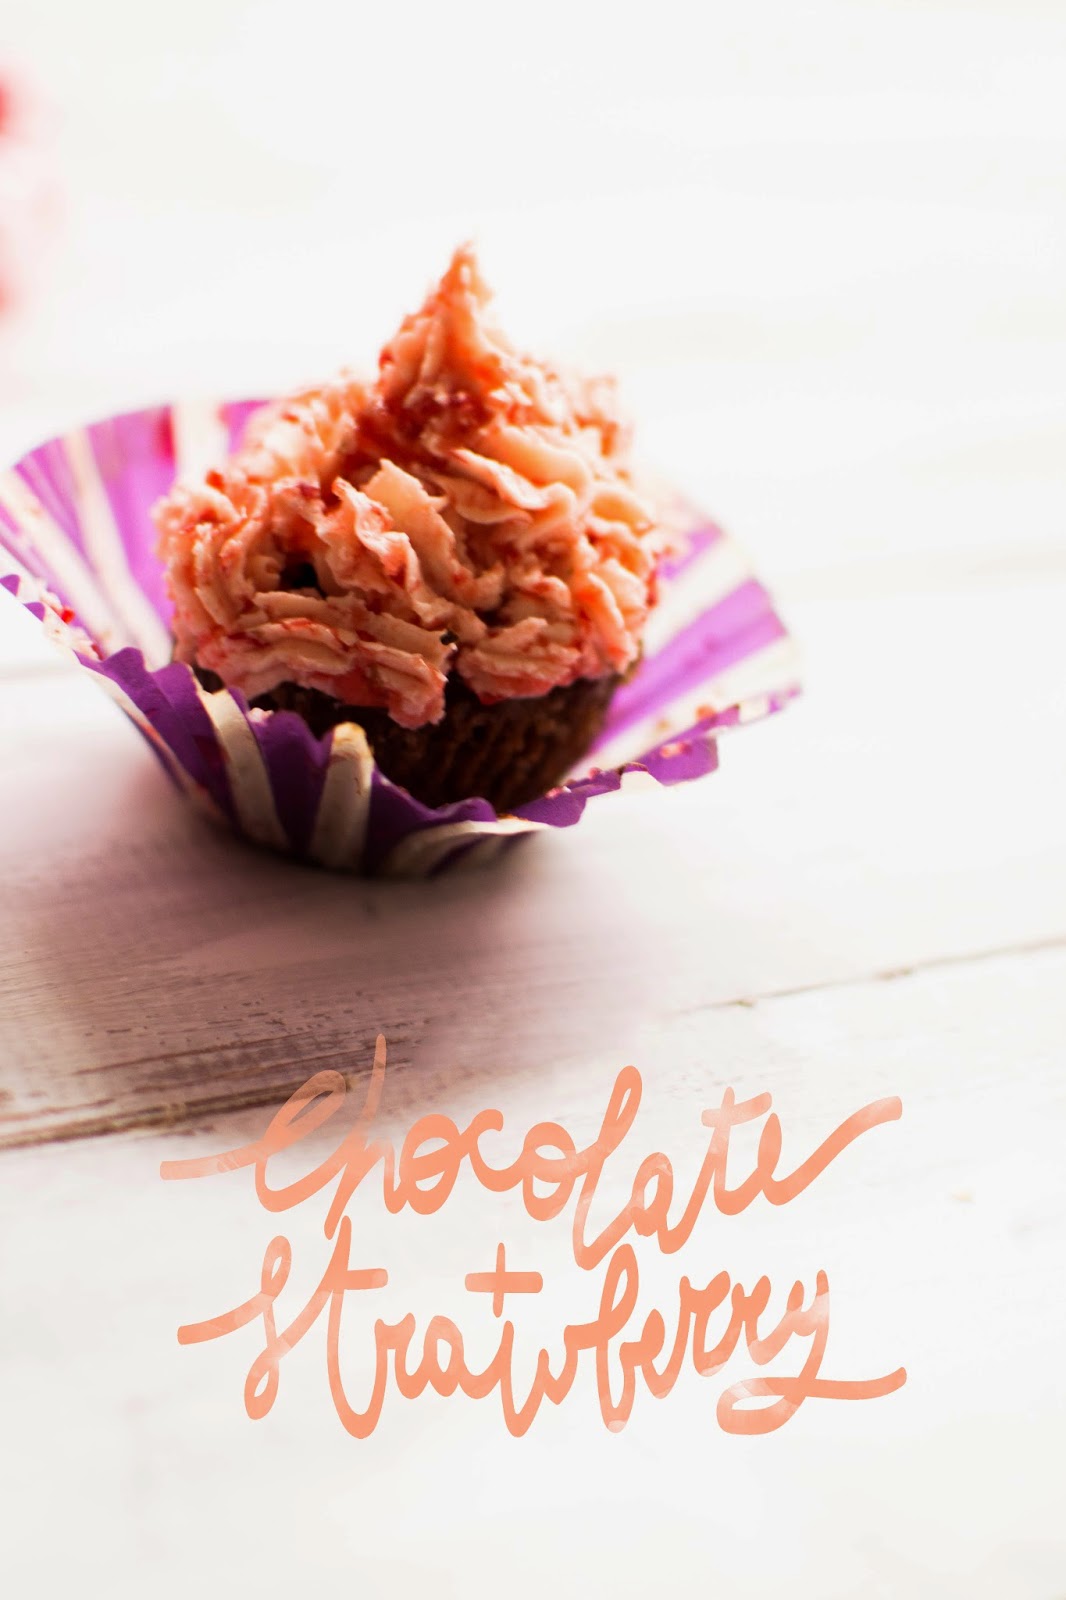
Chocolate + Strawberry Valentine Cupcakes { with Lindt }


- 10 days to the big day! Have you got something exciting planned?! Either if you don't want to plan anything, you don't have someone to spend your Valentine's Day with, you have planned to organize a nice dinner for two or something special like a romantic picnic lunch, I've got something for you!

A pair of years ago I discovered this cupcake base recipe and decided this was *the one*. These chocolate cupcakes always have the best, thick, nice texture that pairs amazingly with any fluffy frosting or creamy heart you might want to experiment with. I developed the idea of using a truffle to obtain a creamy center a few years ago and since then I use and play with this recipe every year around Valentine's Day, and every year I try it with different truffles and flavours. I've tried almost every Ferrero offering, but I'd say Mon Cheri and Ferrero Rocher were the most appropriate and my favourites so far, until a box full of Lindt Valentine treats was left on my doorstep...

Lindt's romantic Valentine's Day inspired offering are revisited Lindor truffles made out of white chocolate and a cream + strawberry smooth melting filling. Can anything else be more appropriate for this time of the year? I admit I had a few difficulties to avoid that all the Strawberries & Cream Lindor Truffles were gone before I had the time to properly shoot this recipe, and that I had to hide them away from myself too, but in the end the result was amazing, the creamy strawberry heart paired deliciously with the chocolate cupcakes I love, and the strawberry flavoured frosting on top was the perfect addition to the couple... I might need to buy a decent pastry bag and maybe obtain actual aesthetically pleasing cupcakes next time, but they were good, let me tell you this!

Valentine Strawberry + Chocolate Cupcakes { with Lindt }

Makes 6 cupcakes | Ingredients:
For the cupcakes:
85g white flour
1 tsp baking powder
1 tbsp cocoa powder
55g soften unsalted butter
55g white sugar
1 large egg
3 Strawberry & Cream Lindor Truffles

For the frosting:
125g unsalted butter
50g strawberries
70g white sugar

1 :: Preheat the oven to 190°C. Place six baking cups into a muffin tin.

2 :: Cut the cupcake butter into cubes and add it into a big mixing bowl together with the white sugar and beat with a spoon until soft and creamy.

3 :: Sift in the white flour and give it a nice stir, then add the cocoa powder, the baking powder and the egg and stir with a spoon until all the ingredients look nicely incorporated. You should get a thick and quite solid mixture. If it's too solid and you can't mix it with a spoon, add a splash of milk.

4 :: Place a tablespoon of cupcake mixture into every baking cup to create a base, then cut the Lindor truffles in half and place one half in every baking cup. Place another teaspoon (or a bit more) of cupcake mixture on top of the truffles to cover them up completely.

5 :: Place the tin in the oven for 20 minutes. The cupcakes will rise but still be quite thick and solid, and the truffle in the middle will melt to create a creamy heart. Once done, remove from the oven and set aside to cool completely or serve warm if you don't want to make the topping!

6 :: Meanwhile make the frosting: wash the strawberries and mince them in an electric mincer with a pair of teaspoons of water to create a liquid strawberry syrup. It will give the colour and the flavour to the frosting.

7 :: In a very large and deep bowl, cream the butter, sugar and strawberry syrup together using an electric beater until pale and fluffy.

8 :: Use a pastry bag to apply the buttercream on top of the cooled cupcakes.

{ Enjoy with your loved one(s)! }

... whether it's your family, your friends or your lover!

Valentine Strawberry + Chocolate Cupcakes { with Lindt }

Don't forget to let me know if you try this recipe in the comments and tweet me a picture if you do! Also share your favourite Valentine's Day recipes! I'd love to know! x
23 January 2015

Three healthy-ish ways with peanut butter.


The truth about New Year resolutions is that they're easy to list down, less easy to tick off. Especially if you have a big chocolate craving going on at every hour of the day. But I'm working on it! A few weeks back I in fact tweeted about having a big jar of peanut butter that needed to go and looking for recipes to finish it up, in particular ones that involved lots of sugar and chocolate. Now, I promise I'll try the delicious and mouth watering brownies that were linked to me, but since we're all trying to eat healthier and get fit, I thought it was fair to come up with a few healthy-ish peanut butter recipes instead and share them with you! I'm pretty proud of myself for having been able to limit the amount of sugar involved, mostly avoid chocolate, and use healthier ingredients than what I usually do, and also because all of these three recipes turned out to be super delicious anyway.

Also, the one thing that makes these recipes quite healthy-ish is that I used a no sugar, organic, virgin peanut butter. If yours has sugar in it, no problem, just try to limit the amount of sweetener (usually honey) involved for every recipe! Enjoy!

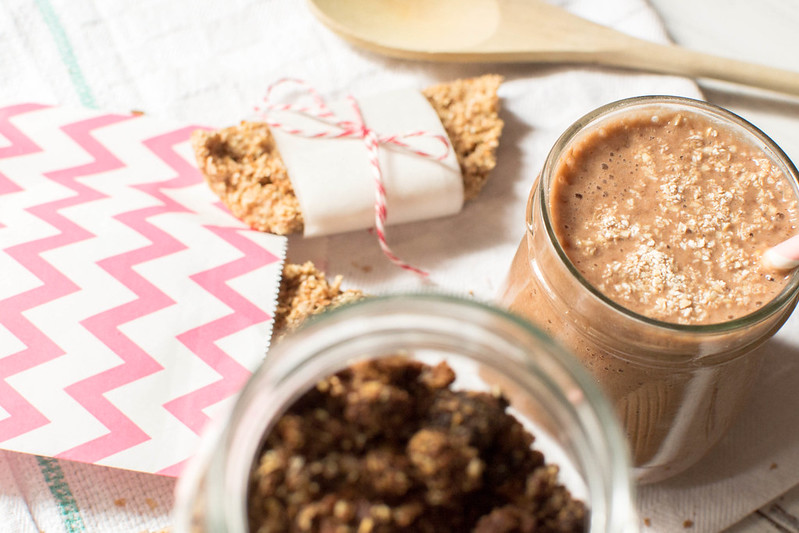
1 // Almonds, Walnuts, Peanut Butter Granola
Three healthy-ish ways with peanut butter

Ingredients ::
2 1/2 tbsp honey
2 tbsp peanut butter
1 tbps brown sugar
100g  oat bran
100g wheat bran
20g peeled almonds + walnuts

1 :: Preheat the oven to 200°C.

2 :: Place the peeled almonds and walnuts into a small frying pan and place it onto a very low heat for 5 to 10 minutes, until the nuts are toasted and smells very nutty. Place the nuts in a clean towel and, using a rolling pin, crack the nuts roughly.

3 :: In a microwaves safe little bowl mix together the honey, the peanut butter and the sugar, then put it in the microwaves for 30/60 seconds, just to allow all the ingredients to melt down and create a liquid mixture.
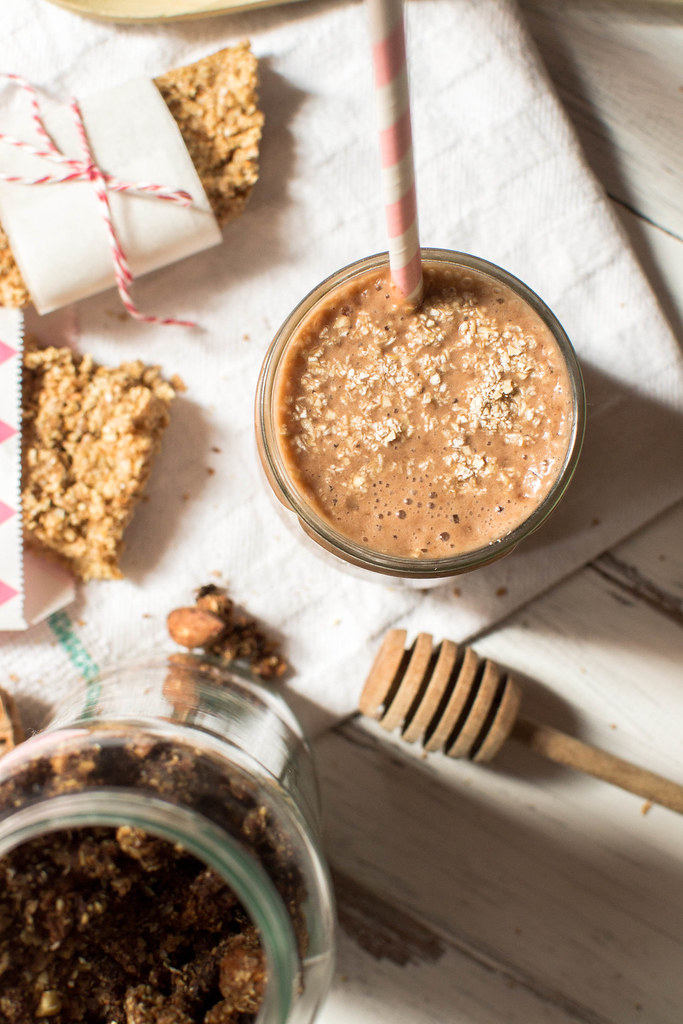
4 :: In a big bowl mix together the oat and wheat brans, the toasted almonds and walnuts and the honey + peanut butter mixture. Use a spoon or your hands to stir well and create a crumbling mixture.

5 :: Line a baking tin with parchment paper and place the granola in it, spreading it out as much as possible on the tin. Bake in preheated oven for 10/12 minutes, making sure to give the granola a stir half way through.

6 :: Remove from oven and leave it to cool in its baking tin for 20 minutes. Once cooled down it will be crunchy and delicious! Probably the best granola I've ever made so far!

7 :: Store it into a big jar and serve as desired: with yogurts, milk, or simply by its own!

2 // Banana, Peanut Butter, Chocolate Healthy Smoothie
Three healthy-ish ways with peanut butter

Serves: 1 | Ingredients ::
150 ml chocolate soy milk
1 banana
1 tbps peanut butter
1 tbps honey

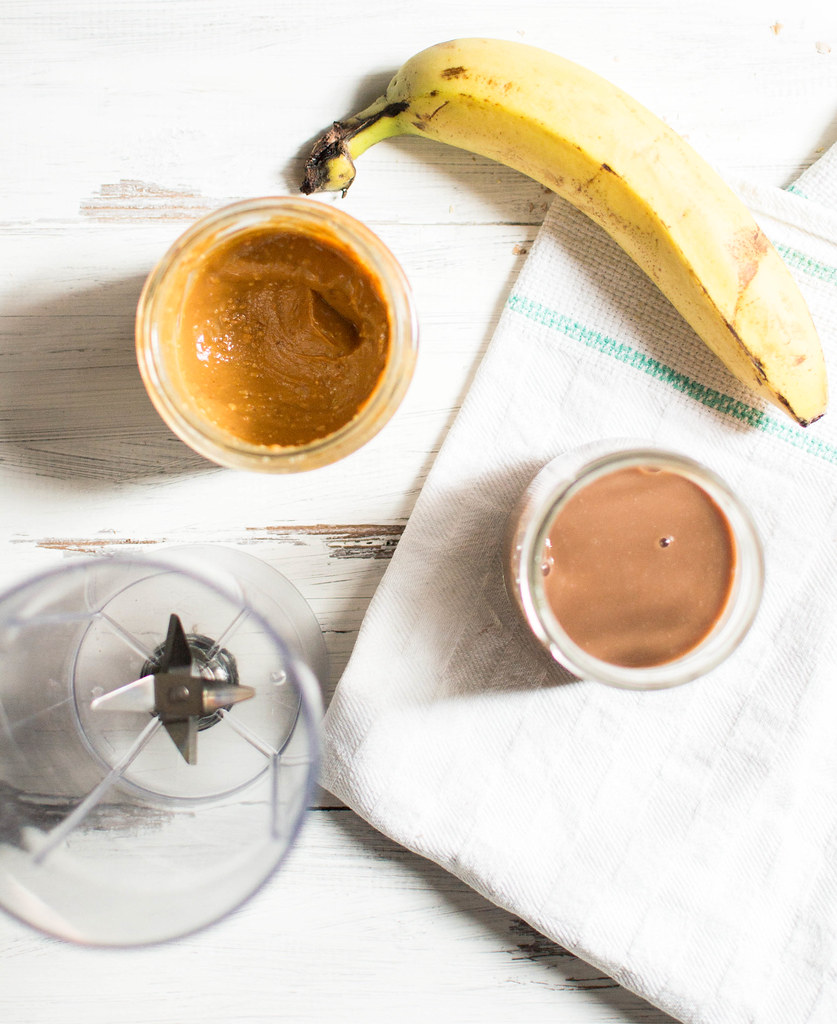
1 :: Cut the banana roughly then pour it into an electric blender together with the chocolate soy milk, peanut butter and honey. Blend away until smooth!

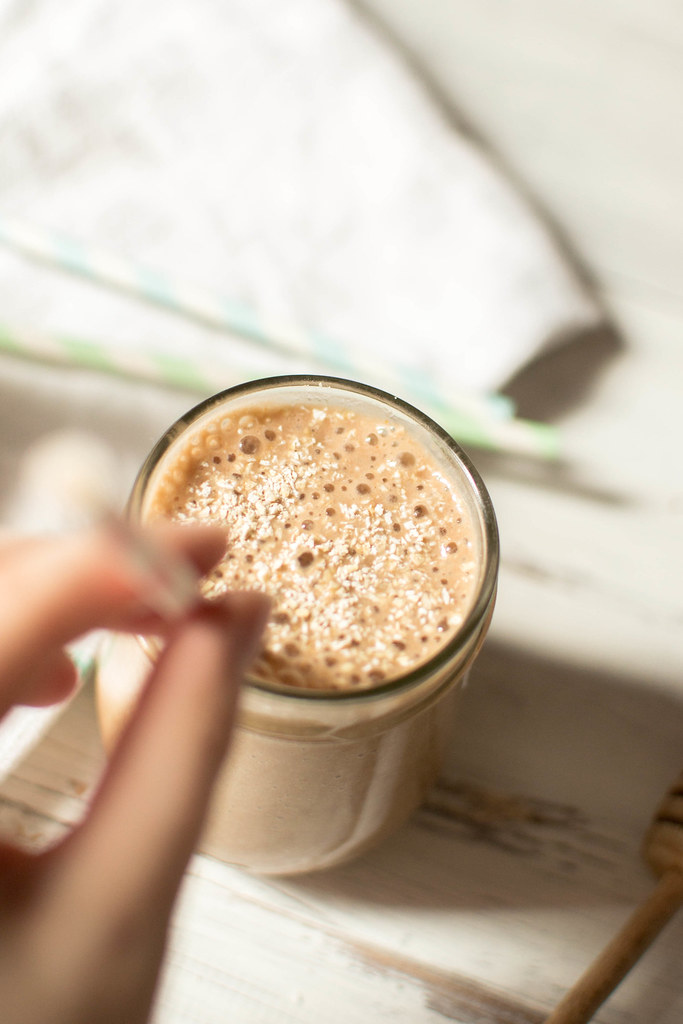
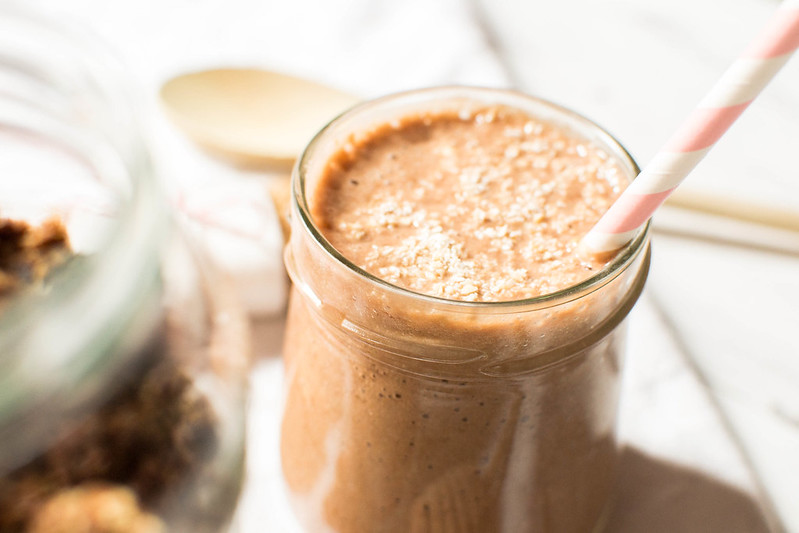
2 :: Serve in a glass or mason jar, top with oat bran and a paper straw and enjoy!

If you don't have the chocolate soy milk but only classic soy milk, you can just add a bit of cocoa powder to add a chocolate-y flavour to it, or you can go for any other non-dairy or dairy milk of your choice! If you add cocoa powder, you might want to consider adding a bit more honey.

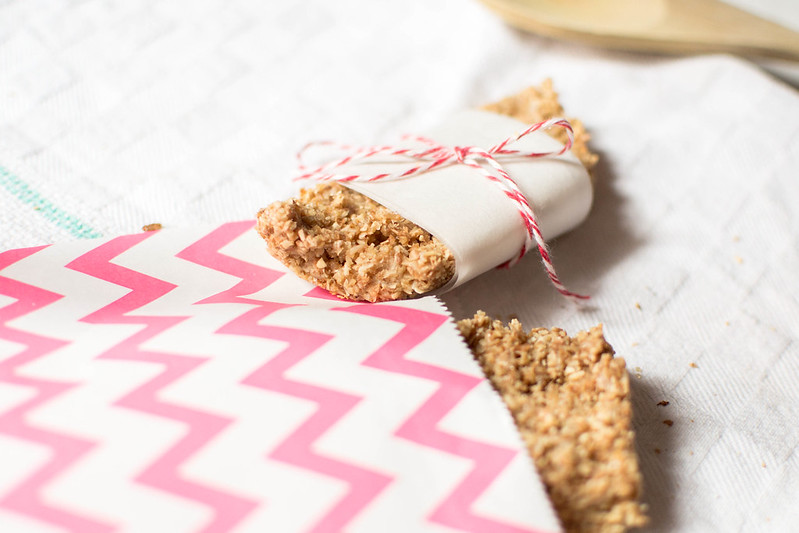
3 // Peanut Butter + Oat Energy Bars
Three healthy-ish ways with peanut butter

6 Energy Bars | Ingredients ::
10 tbps oat bran
4 tbps wheat bran
120 ml milk
1 tbps peanut butter
1 tbps brown sugar

1 :: Preheat the oven to 200°C.

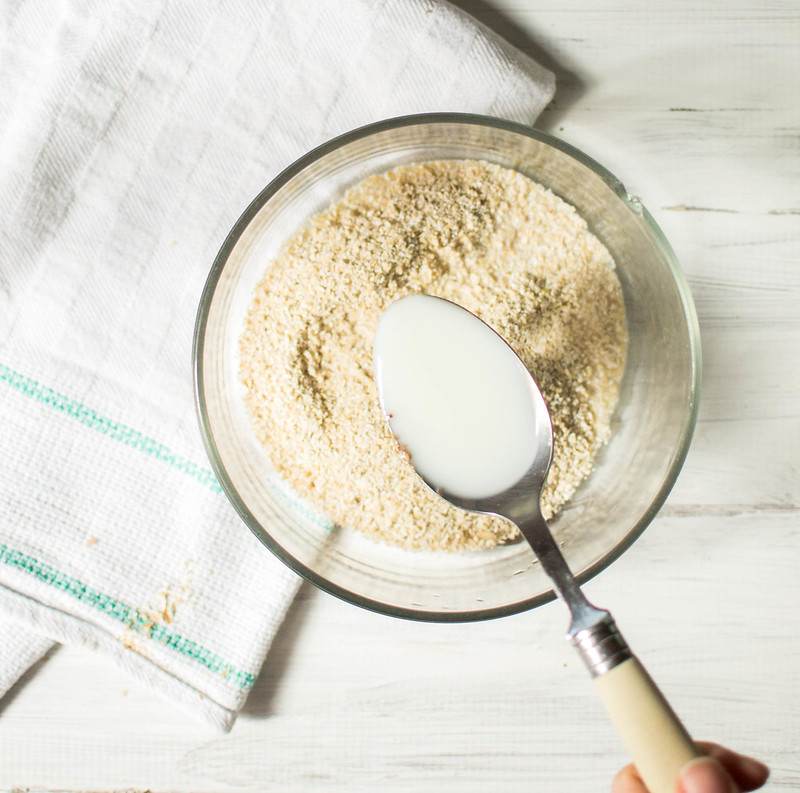
2 :: Mix together the brans in a large bowl, then add the milk a tablespoon at a time and stir in the meanwhile, then add the peanut butter (melt it in the microwaves if too solid) and brown sugar and stir well until all the ingredients are well incorporated.

3 :: Once obtained a wet and sticky mixture, line a small loaf pan with parchment paper, then pour in your oat mixture and use a spoon or your hands to flatten it down and create a quite thick big bar.

4 :: Bake in the preheated oven for 10 minutes, then remove from oven and let it cool down completely for at least 20 minutes.

5 :: Remove from the loaf pan and cut the big bar into six smaller bars. They'll be quite soft and deliciously gooey, enjoy!

Three healthy-ish ways with peanut butter

Believe it or not, I still have some peanut butter left that needs to go quickly, so please share your favourite healthy or not peanut butter recipes and I'll make sure to give them a try! And as usual, let me know if you try one of these recipes and tweet me a picture if you do! x

16 January 2015

A Recipe :: Almond Pastries


Right after New Year when our bellies have gorged on for days, my mum made this delicious almond pastries for the first time and we all started struggling with our new year resolutions since the very first days. And I'm sorry if you're trying to engage with a healthier lifestyle lately, but I can't really help but share when I come across a recipe that is that good that we went for a second round in less than 24 hours! The fact that January 6 was around the corner was the perfect excuse to experiment with the new recipe to be ready and well tested for when they'd to go in our stockings - I'm not quite sure this is a tradition somewhere else in the world outside of Italy too, but on the Twelfth Night after Christmas children are used to receive a stocking full of candies and sweet treats and this year my mum went for something more on the handmade side of things (which was lovely!) and of course I received a stocking too. After all, I'm 21, yes, but I feel 10 when candies and pastries come around!

30 Pastries | Ingredients:
145g almond flour
90g white sugar
2 egg whites
1/2 tsp almond extract
Icing sugar to top

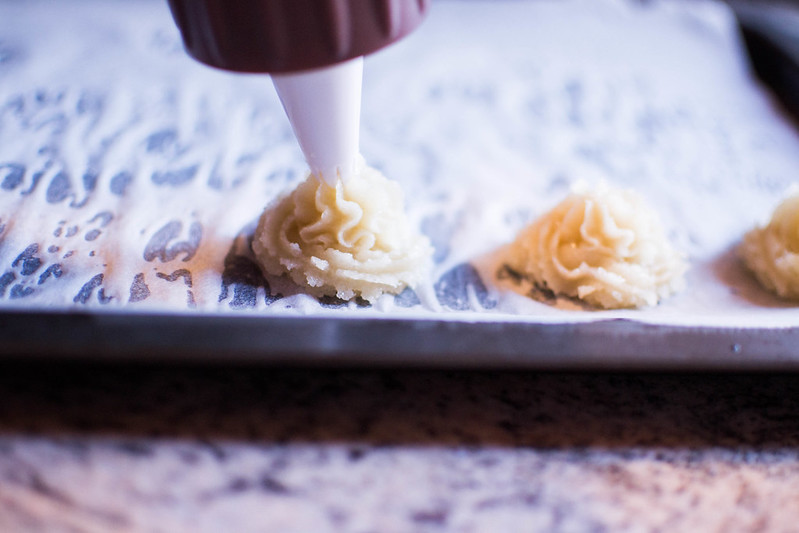
Almond Pastries | A recipe

1 :: In a big bowl mix together the almond flour with the white sugar until well incorporated.

2 :: Mix the egg whites with the almond extract in another bowl and stir well.

3 :: Pour the egg mixture into the flour and white sugar mixture and stir well until you'll be able to shape a quite firm but wet dough.

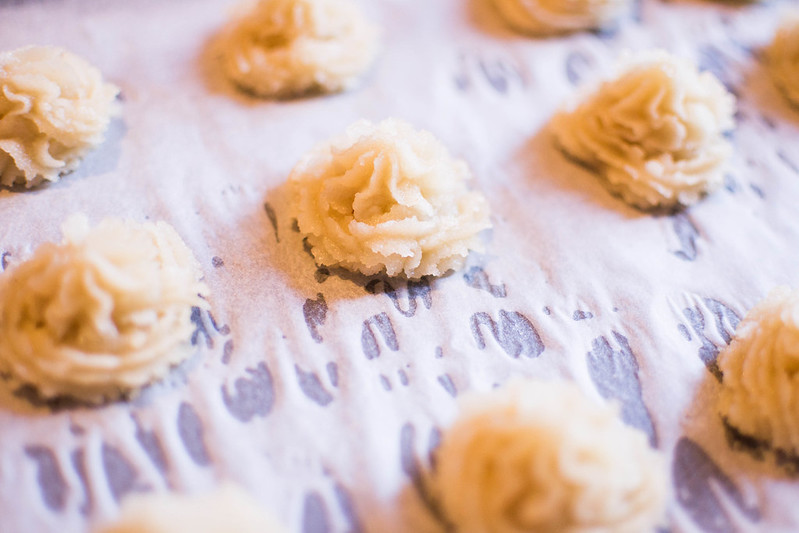
4 :: Put the dough into a pastry bag and using a closed star tip, create little meringues onto a baking tin lined with parchment paper by swirling the pastry dough into a circle and building up a tip on top. You should be able to shape around 15 pastries but not more.

5 :: Sprinkle icing sugar in abundance over all the pastries and let them rest on the tin for 15 minutes before moving on. In the meanwhile preheat the oven to 160°C.

6 :: Then bake the pastries in the oven for 10 minutes. Do not overcook - they might seem a bit too soft and not ready yet, but after 10 minutes remove from oven and leave them rest for 20 minutes or until they are completely cool and solid.

{ Enjoy! }

This is something a bit different from what I'm used to share on here, and I'm happy I stole my mum's recipe and experimented with almond flour, as I've always loved the taste of almond flour based cookies and pastries but never tried it myself! They are totally worth a try if you're a fan of almond and nutty flavours - probably one of the most delicious non-chocolate recipe I've ever tried! Experimenting with new recipes was one of my 2015 goals, now back to the boring 'be healthier' stuff...

These almond pastries will last up to 2 weeks, but I bet you'll have no difficulties in devouring them in less than a day! Let me know if you give this recipe a try and don't forget to tweet me pictures if you do! x

My mum probably found this recipe online and re-adapted it slightly, but I can't find the original source, sorry!

Almond Pastries | A recipe

24 December 2014

Festive Baking :: Chocolate Gingerbread + Merry Christmas!


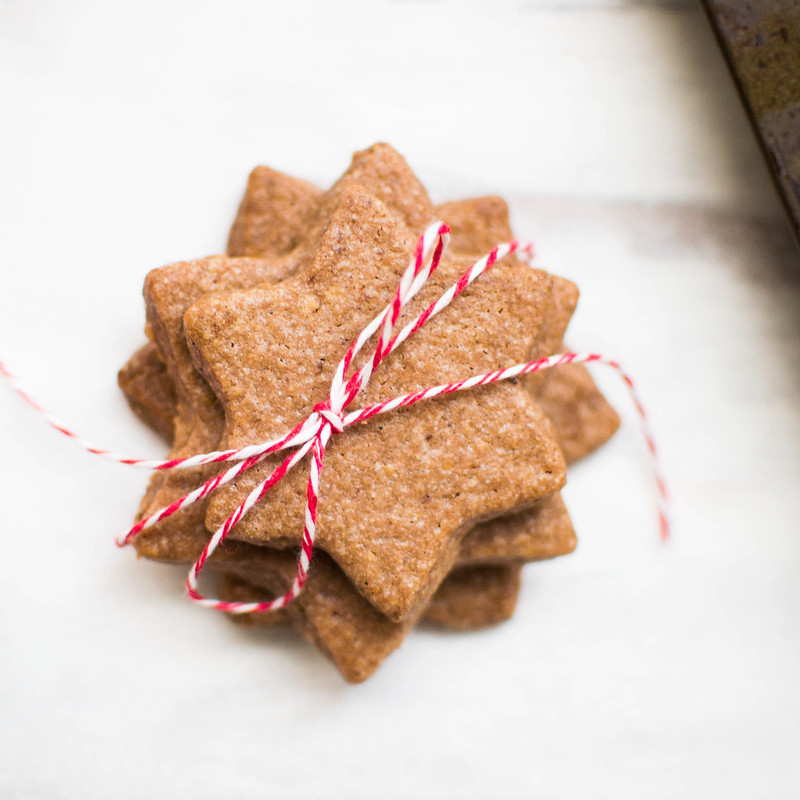
Somewhere in the world it's almost Christmas at this time (exciting!), so I thought I'd put together a very festive post to wish you all the best for Christmas day! Christmas eve calls for festive baking, let me tell you this: it's kind of a tradition now over here, the very last pair of days before Christmas I bring out the baking trays and make a huge gingerbread dough to crack on with festive baking. Side by side with sipping hot sweet tea while wrapping up all the gift in cute snowflakes-printed wrapping paper, baking gingerbread cookies brings out the best of the little Christmas fairy which is definitely in me and it's probably one of my favourite things to do that make me feel the Christmas atmosphere is finally around, especially if said cookies are meant to be given away to friends and family..!

As much as I love buying presents for my loved ones, freshly baked sweet treats are the thing I majorly prefer to give away! If I haven't convinced you yet to give handmade gifts this Christmas, maybe you'll be interested in baking some of these delicious chocolate gingerbread cookies to spoil yourself a tiny bit - but if I were you, I'd avoid to be selfish at Christmas and share them with others just so that you can keep all the rest of future baked goodies for yourself in 2015, because you know, you have been good at Christmas! Plus receiving cookies make people smile, and that's always a huge plus!

Make around 50 cookies | Ingredients :
200g unsalted butter or margarine
360g white flour
200g white sugar
4 egg yolks
4 tsp cocoa powder
3 tsp ground ginger
1/2 tsp baking powder

Festive Baking :: Chocolate Gingerbread Cookies Recipe

1 :: Soften the cubed butter in the microwaves for a couple of minutes without melting it down completely. Cubes are meant to be soft but not melted.

2 :: Mix together the flour, baking powder, cocoa and ginger in a big deep bowl until well incorporated, then add the egg yolks and whisk all up using an electric whisk.

3 :: Add the soften butter all at once together with the other ingredients and keep mixing until the butter has incorporated nicely with the rest of the mixture. It can take five minutes or more, but in the end you'll be left with a very thick dough you might want to shape into a sphere using your hands before covering it up with some plastic wrap.

4 :: Place the dough in the fridge and let it chill for at least 30 minutes before moving on.

Festive Baking :: Chocolate Gingerbread Cookies Recipe

5 :: Remove the dough from the fridge, and cut two big squares of parchment paper. Place the dough on one of the foils and cover it up using the other parchment paper foil. Using a rolling pin, smooth the dough over until 0.5cm thick. You might need to cut the dough in half and work on half of it per time as things can get a bit tricky with a huge dough!

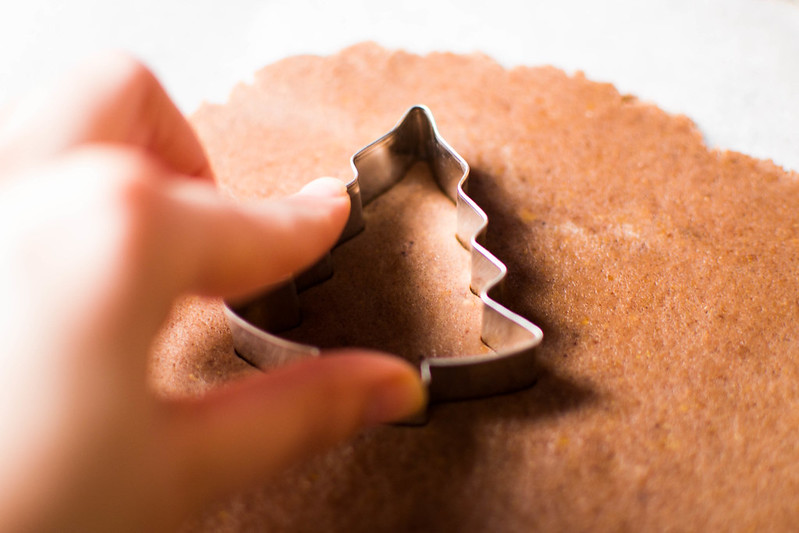
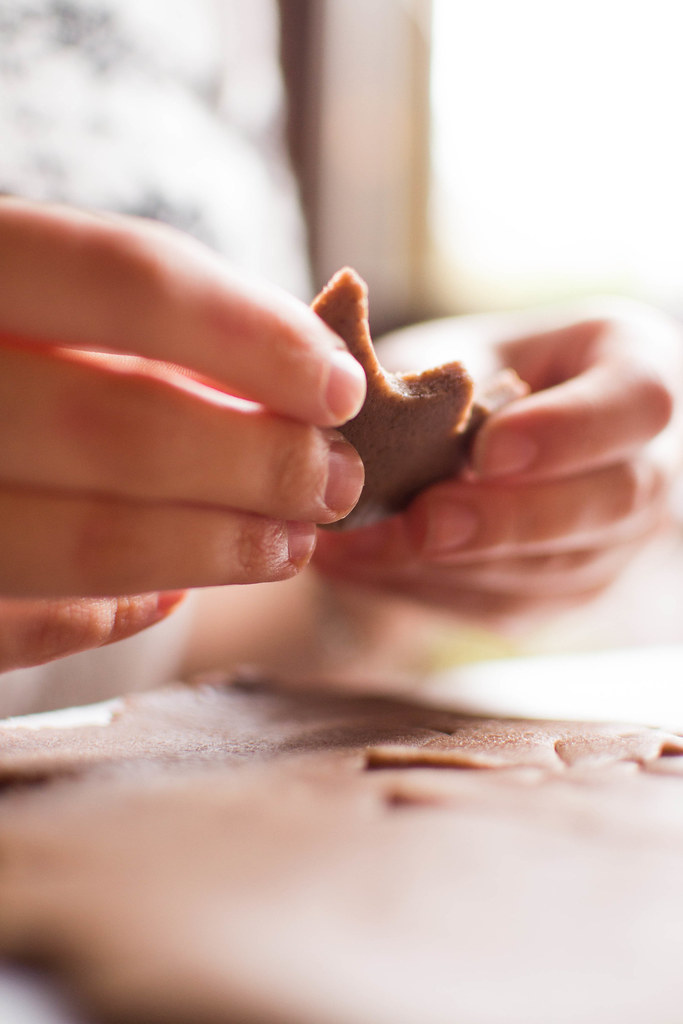
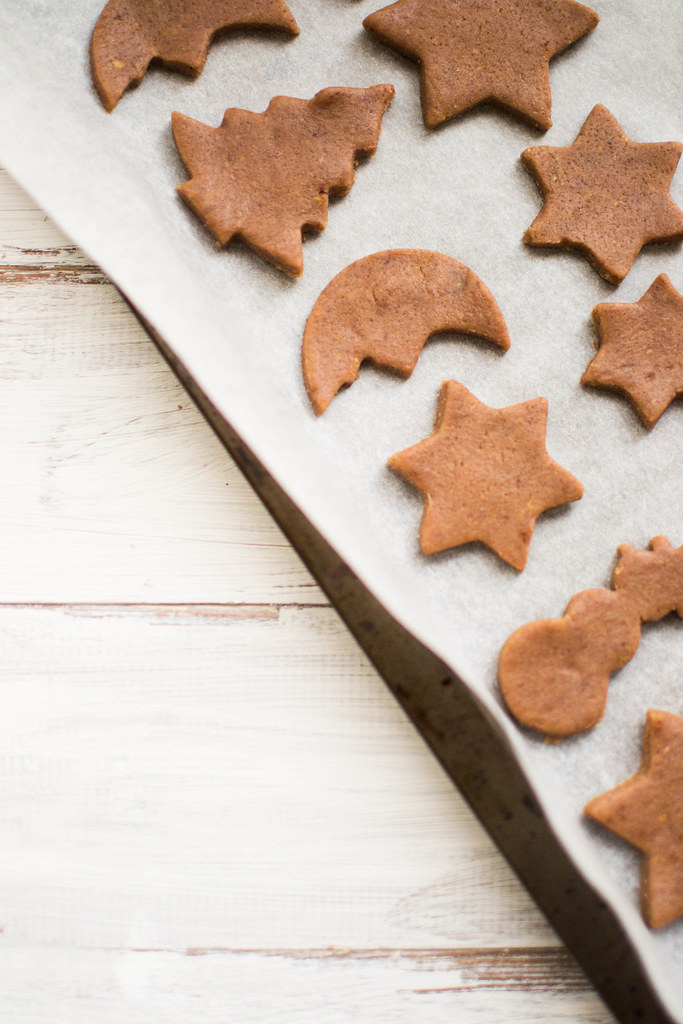
6 :: Shape your biscuits with some Christmassy pastry cutters and place them onto a baking tray lined with some parchment paper. Shape the leftover dough into a sphere and repeat the flattening and shaping until you're left with no dough at all!

7 :: Bake in preheated oven at 170°C for 20 minutes (15 if you like your cookies to be a bit more on the chewy side). Take them out of the oven and leave them chill and cool down on their tray for at least 5 minutes! - You'll notice you'll need more than one tray for all the biscuits, but you can still bake two biscuits trays at once in a fan oven, same temperature!

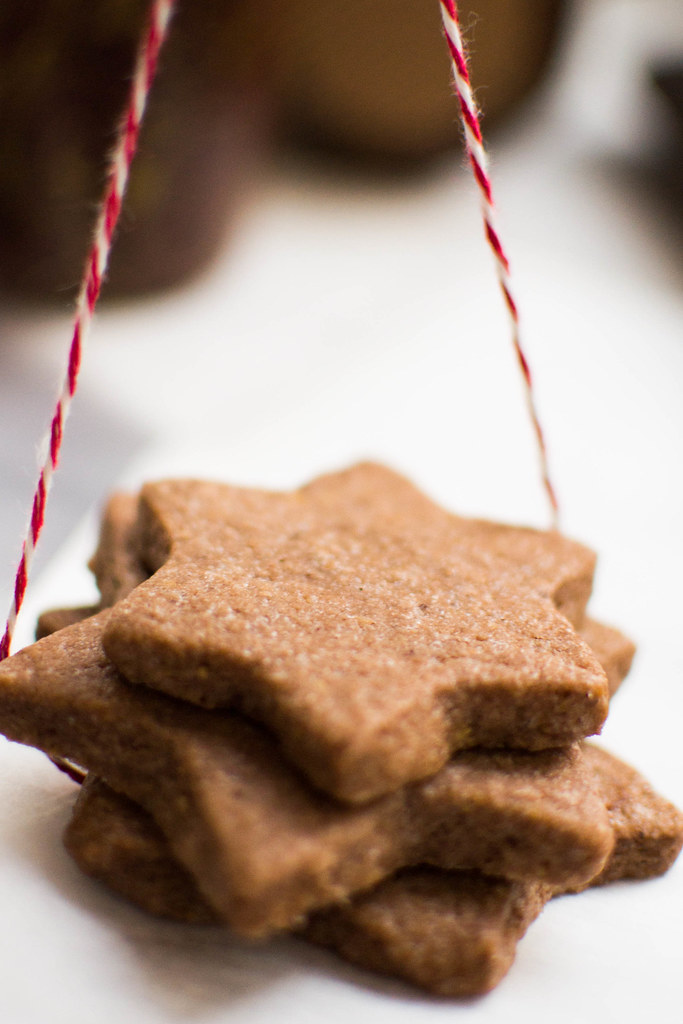
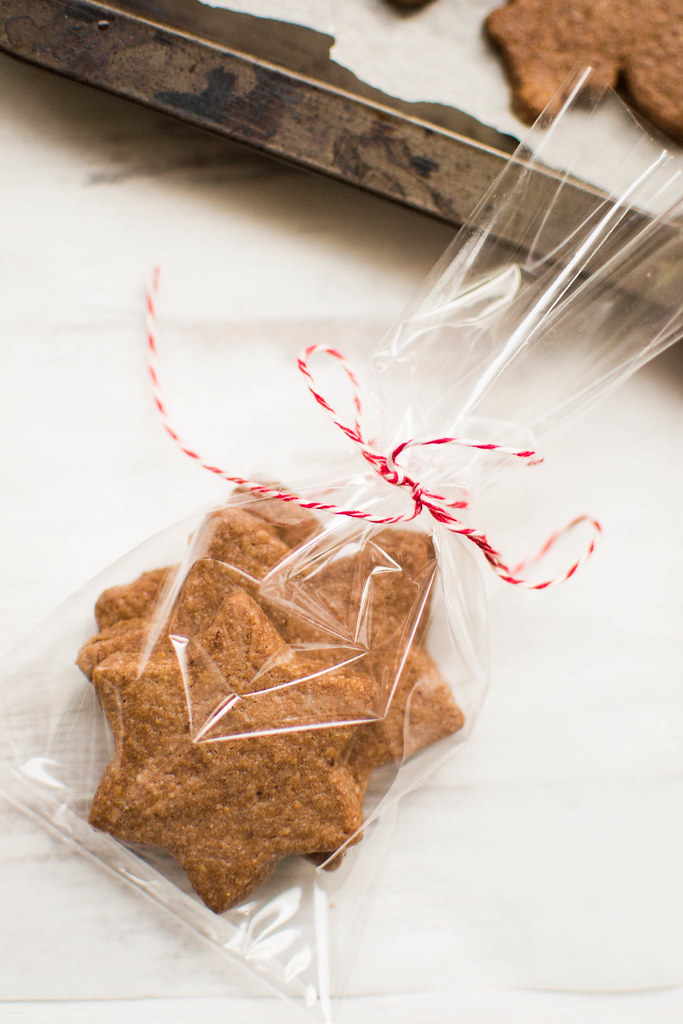
Once they've cool down completely take little clear food sachets and fill them up with a handful of cookies, then tie them up with a cute festive ribbon or some red and white twine, and you're good to go to friends and family and make them happy with some festive delicious treats! They'll love the fact you thought of mixing things up adding a chocolate-y flavour instead of going for the usual gingerbread recipe, and will be delighted by the huge amount of funny and cute shapes their biscuits have!

I hope you lovely readers are going to have a very merry Christmas, to bake a lot, to feel festive, to enjoy the delicious food and to share smiles with your loved ones... have a beautiful Christmas you lovely ones! x

Festive Baking :: Chocolate Gingerbread Cookies Recipe
VIEW OLDER
OLDER POSTS〉