Home
Showing posts with label hobby. Show all posts

15 April 2015

DIY Scented Candles


When I started my first blog years ago, I wanted it to be all about easy craft and DIY little projects as I was going through a period of my life where I was giving vent to my creativity by creating the easiest yet cutest DIY jewelry, homeware and all kinds of crafts really! Many years and a pair of blogs later, my initial purpose totally went lost along the way and, apart from some quick and easy ideas, I rarely share DIY projects on the internet anymore. It is quite sad to say, but the times when I used to spent hours in local craft stores shopping for glitters, tape, coloured paper and beads is now over, and yet I'm a creative deep inside, so when I was introduced to Sykes Cottages Simple Craft Guide, a beautifully illustrated guide put together by different talented craft bloggers, that easily guide you through the cutest and simplest craft projects, I saw my inner crafter being very excited about trying my hands at something new!

This isn't my first time at attempting to make a candle from scratch, yet it's actually the first real time the whole project turned out practically perfect! I remember doing my own researches about DIY scented candles and trying my best at making the wick stand by itself, yet it was a total failure, because both I didn't really have nose for mixing scents that complemented each other and the handmade wick wasn't exactly perfect... I decided to meet the challenge and give it another try, this time with proper equipment and an easy guide to follow that made it all a piece of cake!

DIY Candles with Sykes Cottages

Material
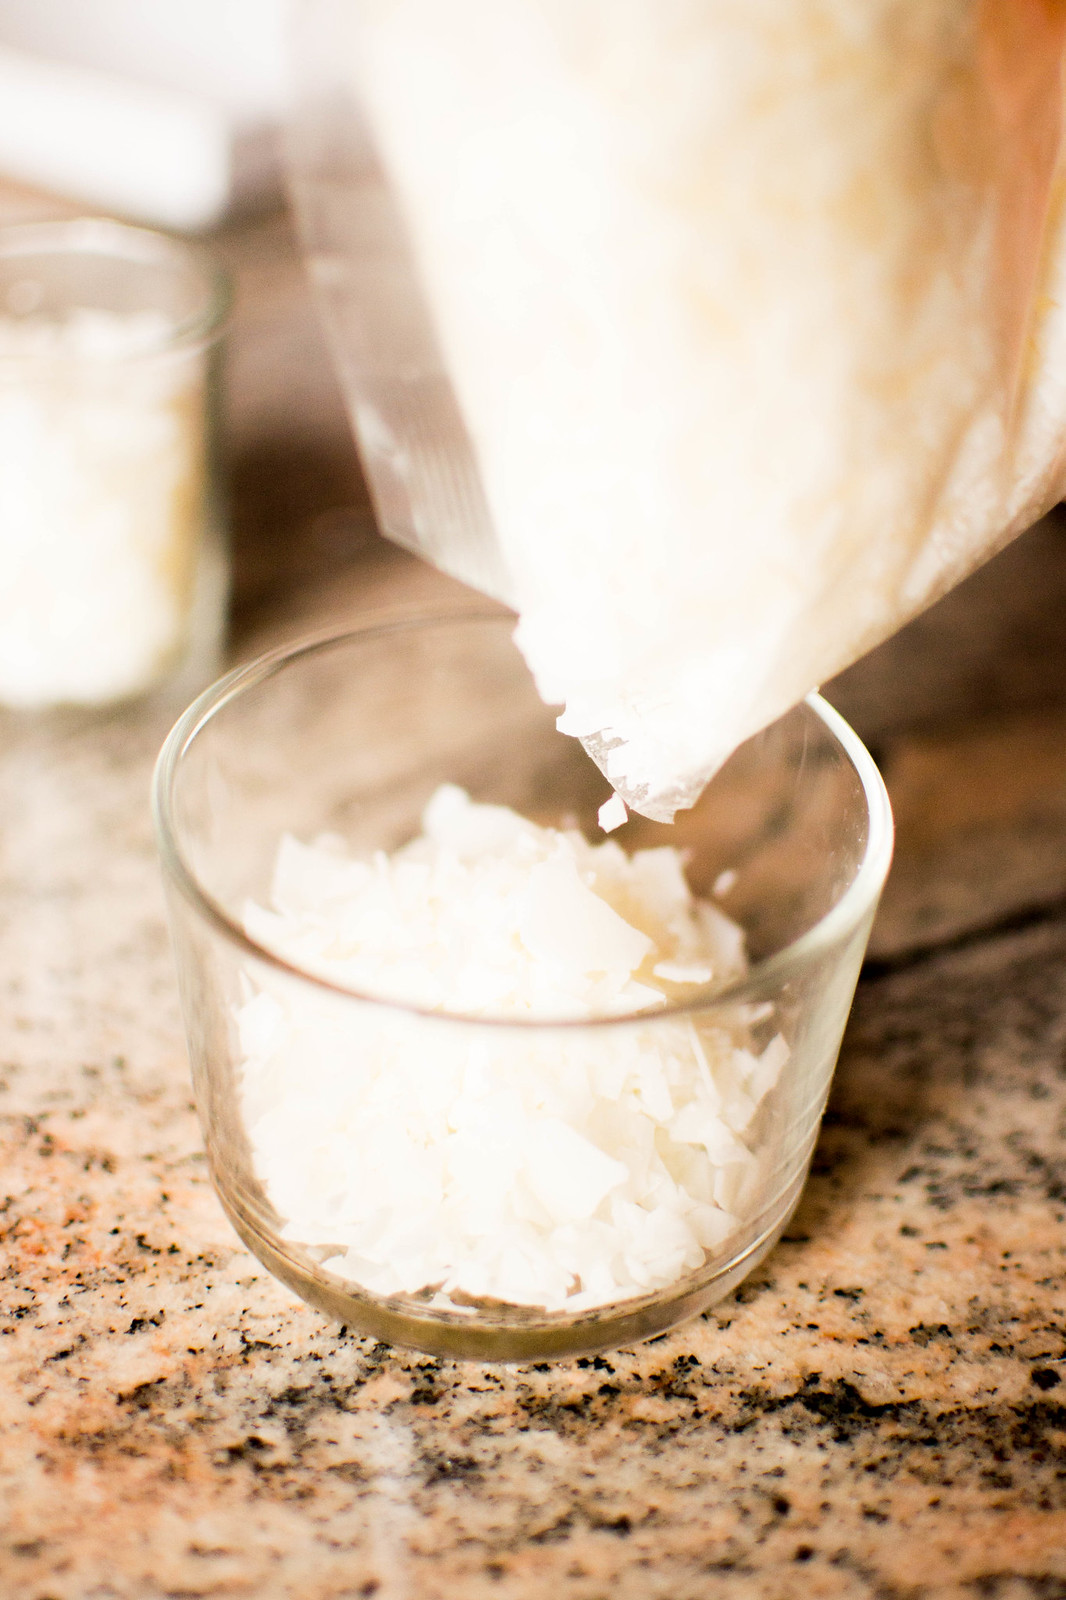
Soy Wax Flakes; Candle Wicks ; Funnel ; Wooden or Silicone Spoon ; Saucepan ; Scissors ; Essential Oils ; Wax Dye ; Jars or glasses (I used IKEA 365+ Glass + Coaster).


• Step by step guide •

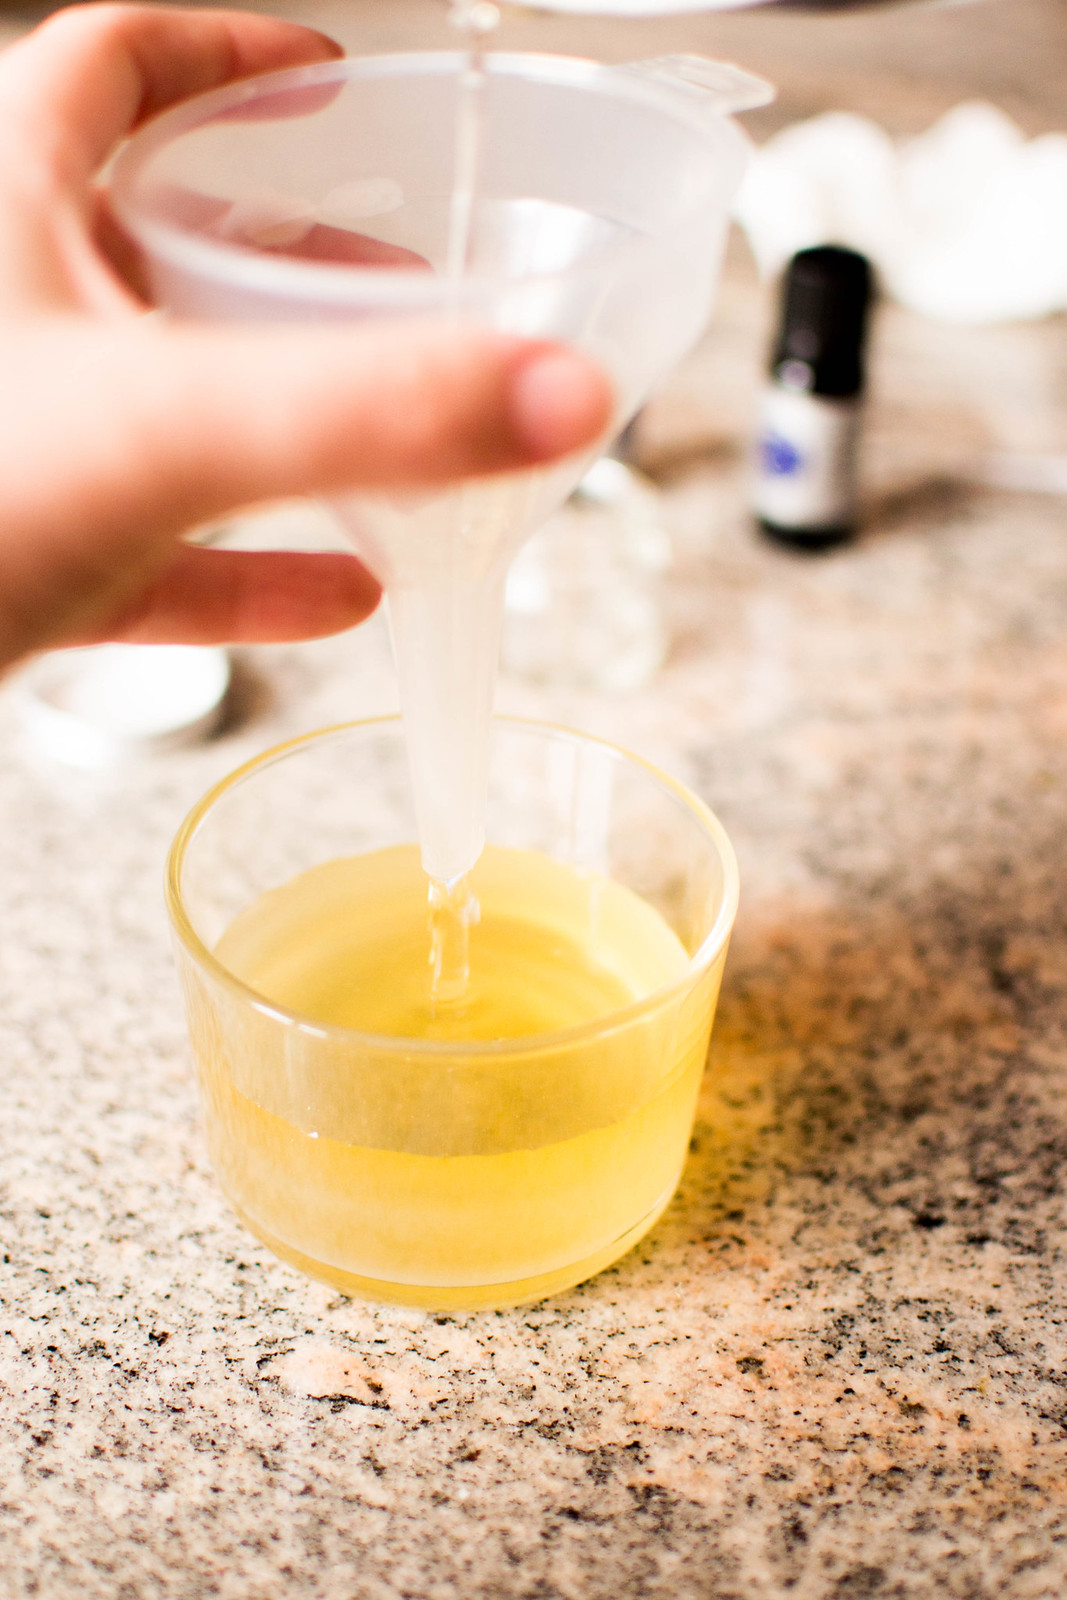
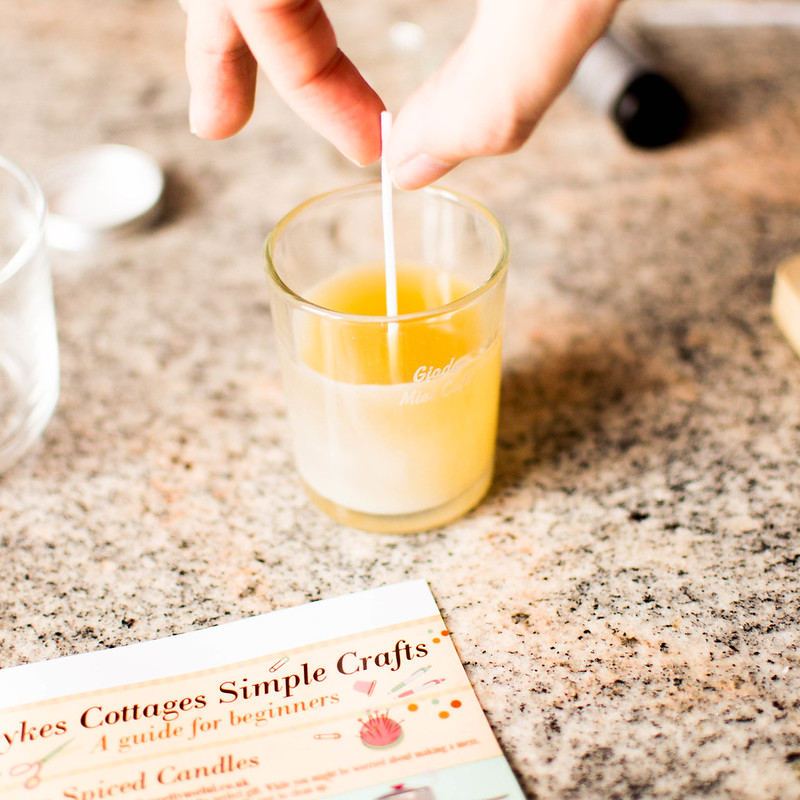
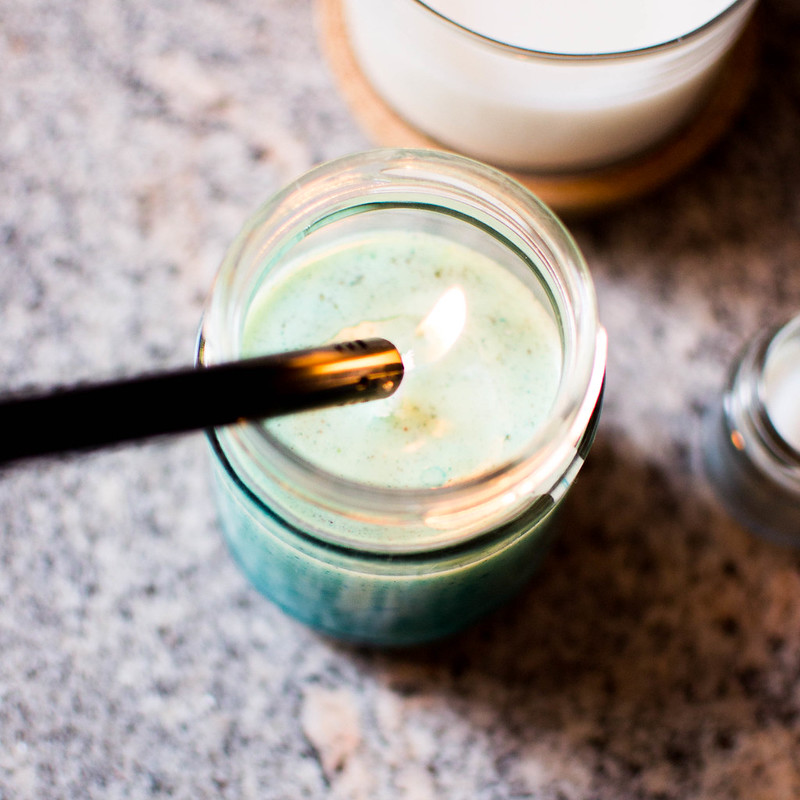
Melting the wax and adding essential oils and wax dye is the fun part! What I did wrong before and that I've learned now, is that once the wax has melted down completely, it's important to turn off the heat and let the wax cool down for a minute or so before adding the scents and colours. Also, the trick for a neat result is to use a funnel (and it's something so obvious but of which I've never thought of!) and to make the wick standing by itself, it's just necessary to leave the wax cool down a bit more until it starts turning opaque and cloudy. Lastly, you'll be surprised by the amount of drops of essential oils you'll need to add to actually make your candle smell intensely!

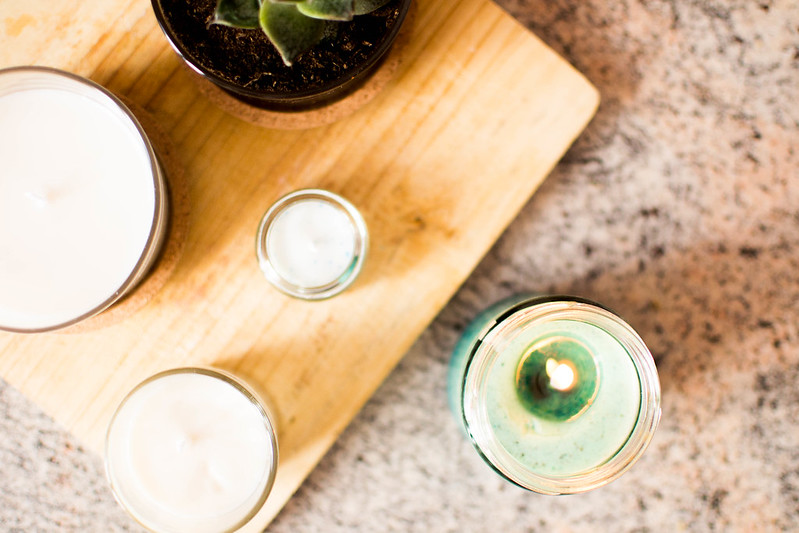
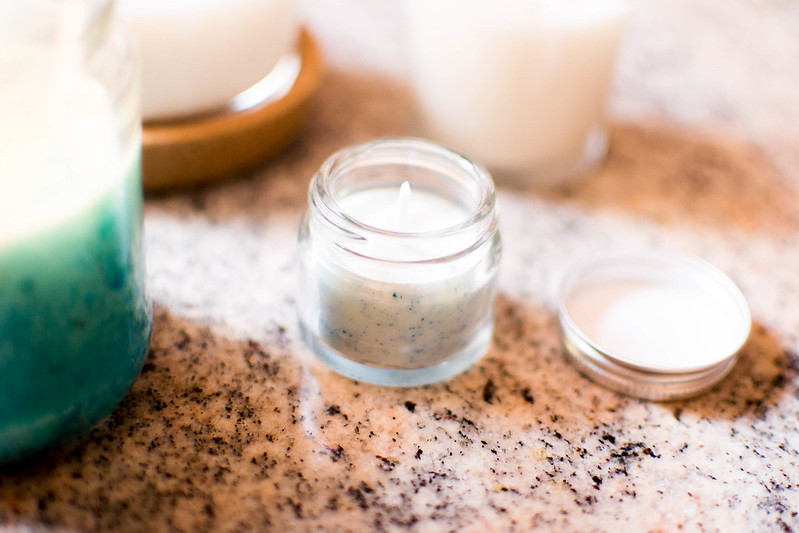
I made a pair of different candles with different colours and scents, but my favourites have to be the white coconut candle that looks so neat in my IKEA 365+ Glass, and the tropical fruits (a mix of mango, caribbean berry, melon and sweet rum) blue candle that looks and smells like a tropical cocktail!

By mixing the wax dye a little less and not letting it melt completely, I was able to achieve a speckled effect with my smaller candle, which looks pretty lovely too!
DIY Candles with Sykes Cottages

Simple Crafts: A Guide for Beginners features other five easy DIY tutorials that are thought to be simple to make, require inexpensive and low equipment and be ideal to make at home, on holidays or when you're away, and they're one cuter than the other! If you are itching for learning some new skills, I'd highly recommend giving it a peek!

Have you ever made your own candle? Or are you going to give it a try?


* THANKS TO SYKES COTTAGES FOR SPONSORING THIS POST *

11 March 2015

How to grow an indoor green thumb

How to grow an indoor green thumb

None of my thumbs are green, seriously, and I might be the least appropriate person to write a gardening tips post, but one thing I've learned this last few years, is that a green thumb can surely be grown! Plants I was buying used to die after only a pair of weeks and fresh flowers to be everything but fresh in less than two days, but thanks to a few tips I've learned these past few years, I've build quite a nice little indoor amount of greenery lately. I love the look of fresh flowers in clear vases around the house, as well as a touch of green here and there, it really brightens up the rooms and make them look more alive - and it's actually being very easy to take care of them all lately that I feel my green thumb might actually have grown a bit!

I bet I'm not the only one who didn't know where to begin with taking care of a green living being, so, even if I'm no expert at all, it might be useful to some of you to learn about those little tips that improved my plants and flowers life for the better! Now that spring is on its way, from a green thumb dummy to other dummies that want to grow a bit of indoor greenery, here is my fuss-free guide to keep plants alive for more than a pair of weeks!

How to grow an indoor green thumb

1 :: Polish and cut your flowers.
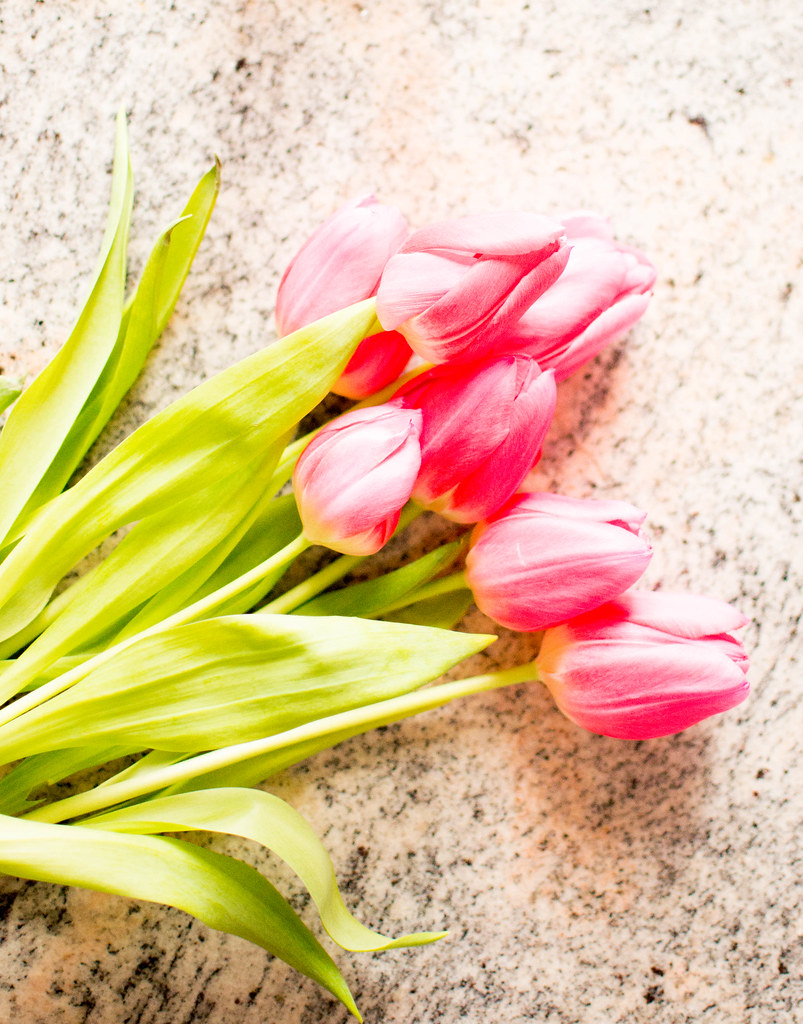
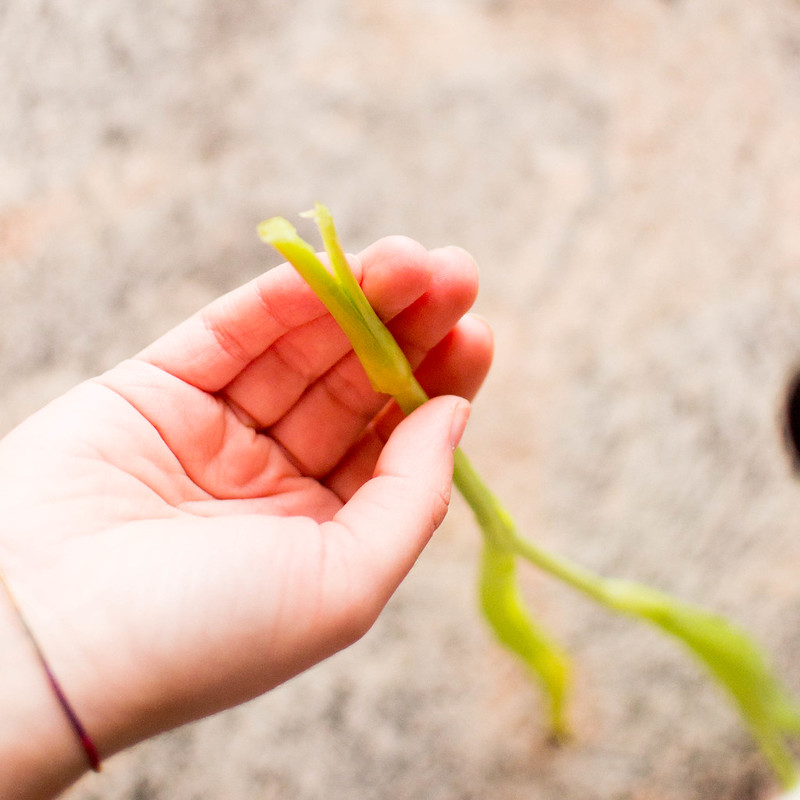
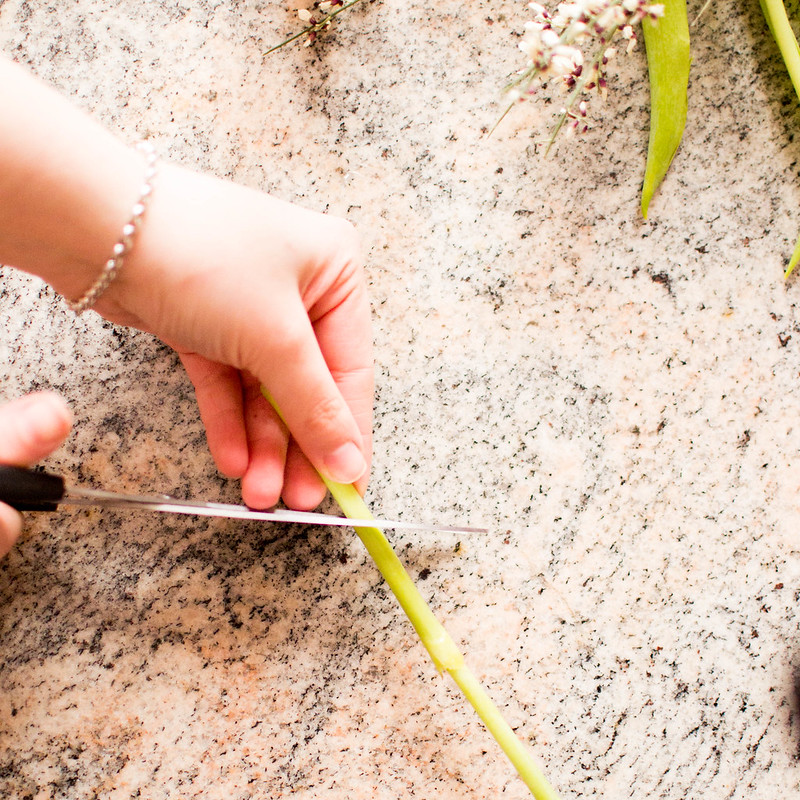
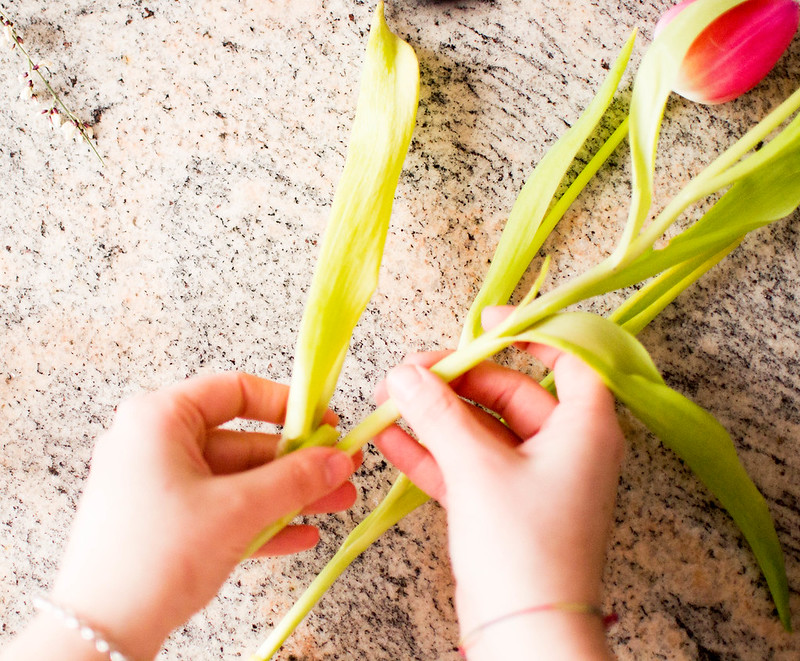
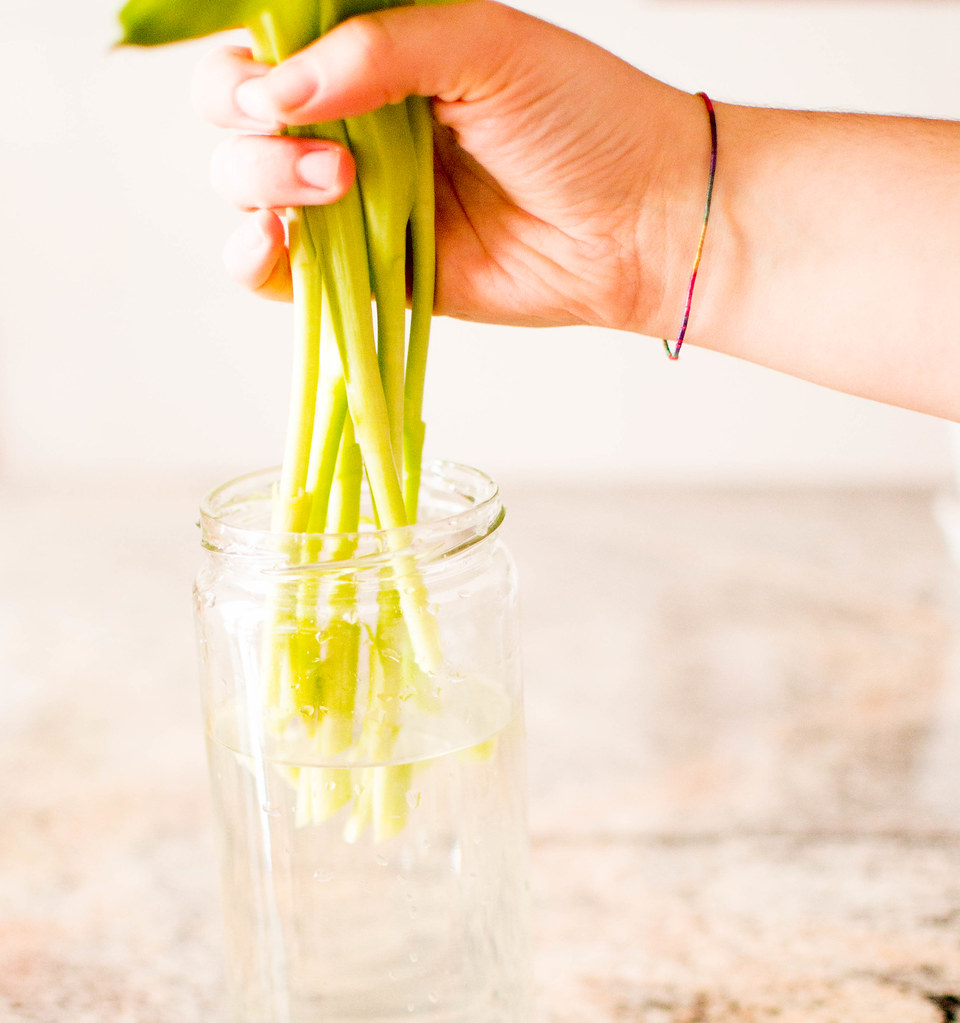
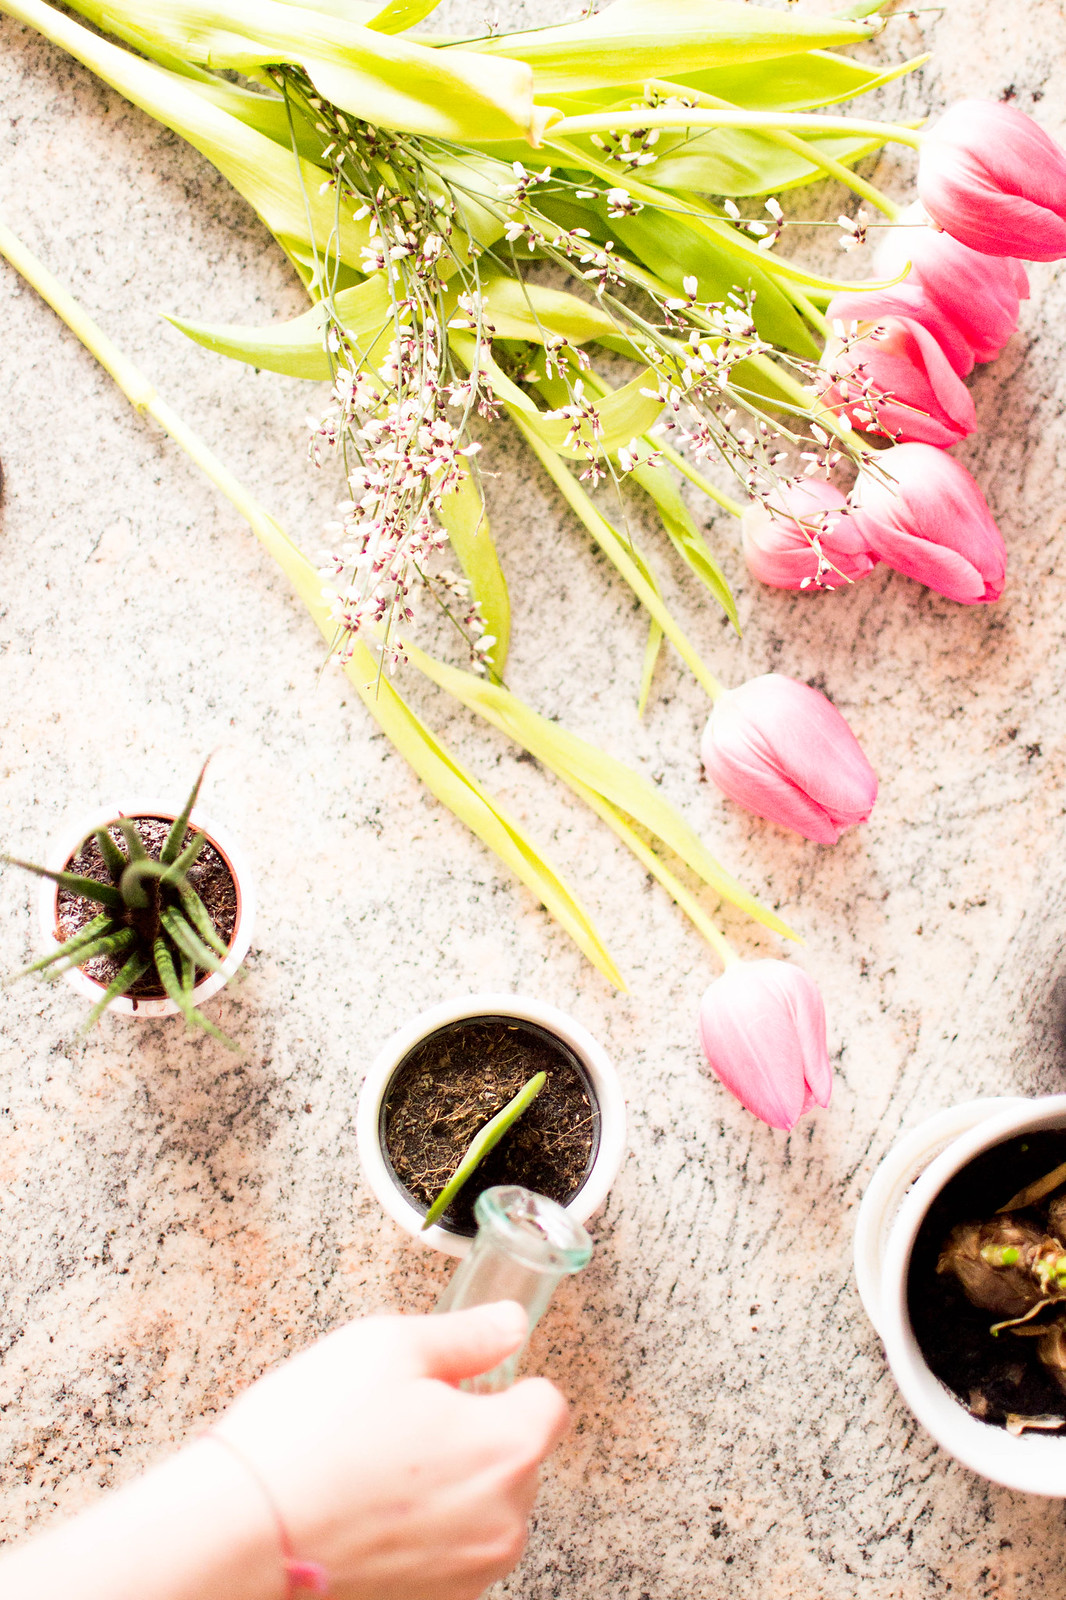
This makes a huge difference. When you buy a bunch of fresh flowers, don't simply dust off an old jar and put the flowers in there without ever worrying about it anymore. If you don't want to be bothered with taking care of them, simply don't even buy any! But instead, if you do like the look of fresh flowers on your dining table, take each flower and polish them by removing the leaves that might be broken or dry (which will only steal nourishment from the flowers which are what you *really* want to keep alive) and especially the ones at the bottom. It not only helps with obtaining an aesthetically cleaner and neater result, but will make your flowers last a lot more. Also cut a pair of inches of their stalks away with an oblique cut, and once done, cut the stalk a few inches up vertically. This will maximize the exposure of the stem to water and nourishment for the flower!

How to grow an indoor green thumb

2 :: Create a nourishing and disinfectant solution.
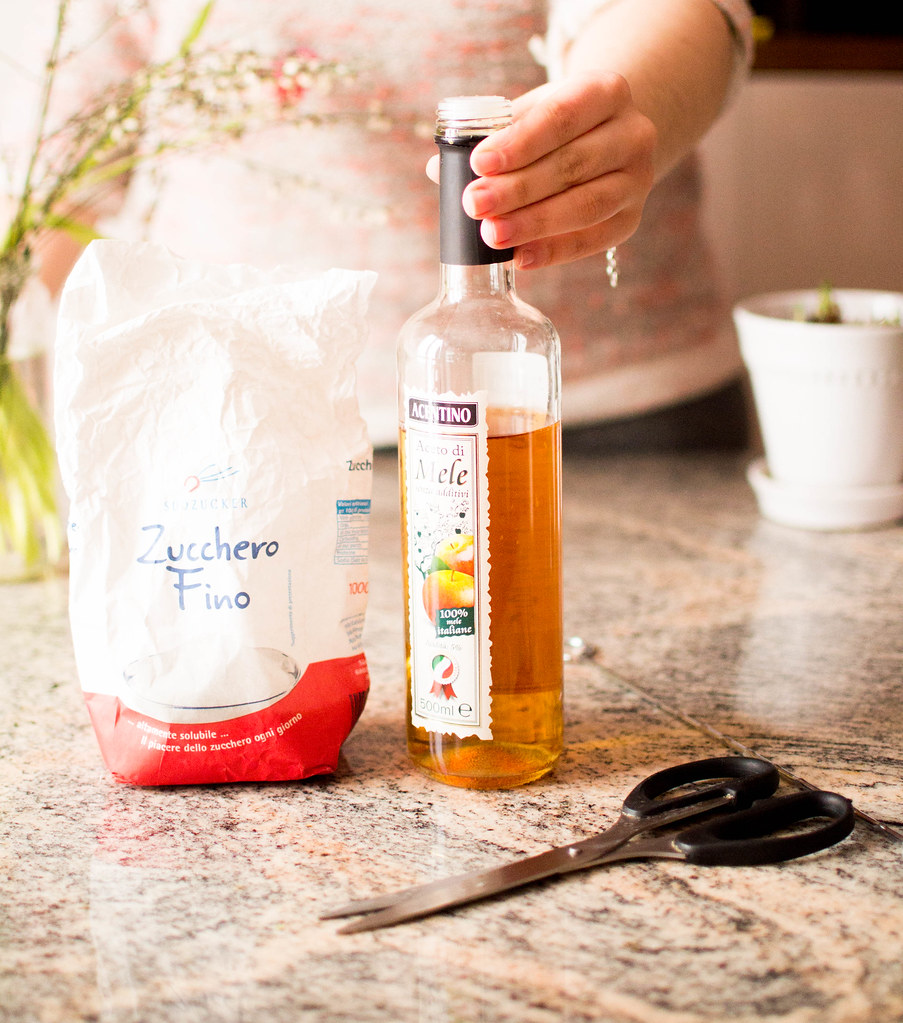
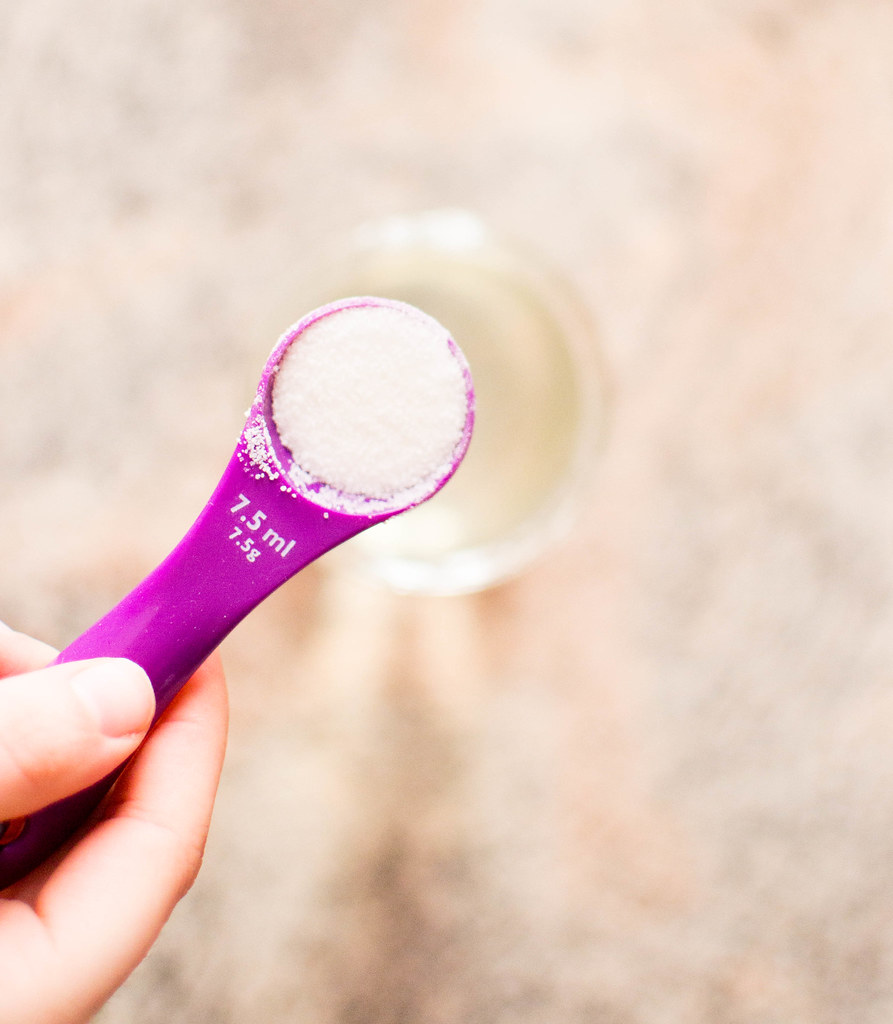
While filling your vase with water, try adding a tablespoon of white sugar and a teaspoon of apple cider vinegar to it. Mix well until both have completely dissolved in the water! The sugar will nourish the flowers and keep them beautiful, whereas the vinegar will make the solution disinfectant!

3 :: Change the water!
The water solution has to be changed every day or every other day! This is the best trick to make your flowers last longer. I used to forget about this, but now that I try and remember it, I was able to see my tulips as beautiful as when I bought them for more than a week!

How to grow an indoor green thumb

4 :: Pick cactus and succulents instead!
If you're not the best at taking care of greenery, instead of going for plants that require a lot of cares, try picking cactus and succulents! I love how little succulents look on my desk, they add a little bit of life to it and everything feels much more spring-like, plus cactus and succulents have to be watered only once a week in spring and summer, and only once a few weeks in autumn and winter, which reduces the commitment to the minimum!

How to grow an indoor green thumb

5 :: Don't throw away your bulbs!
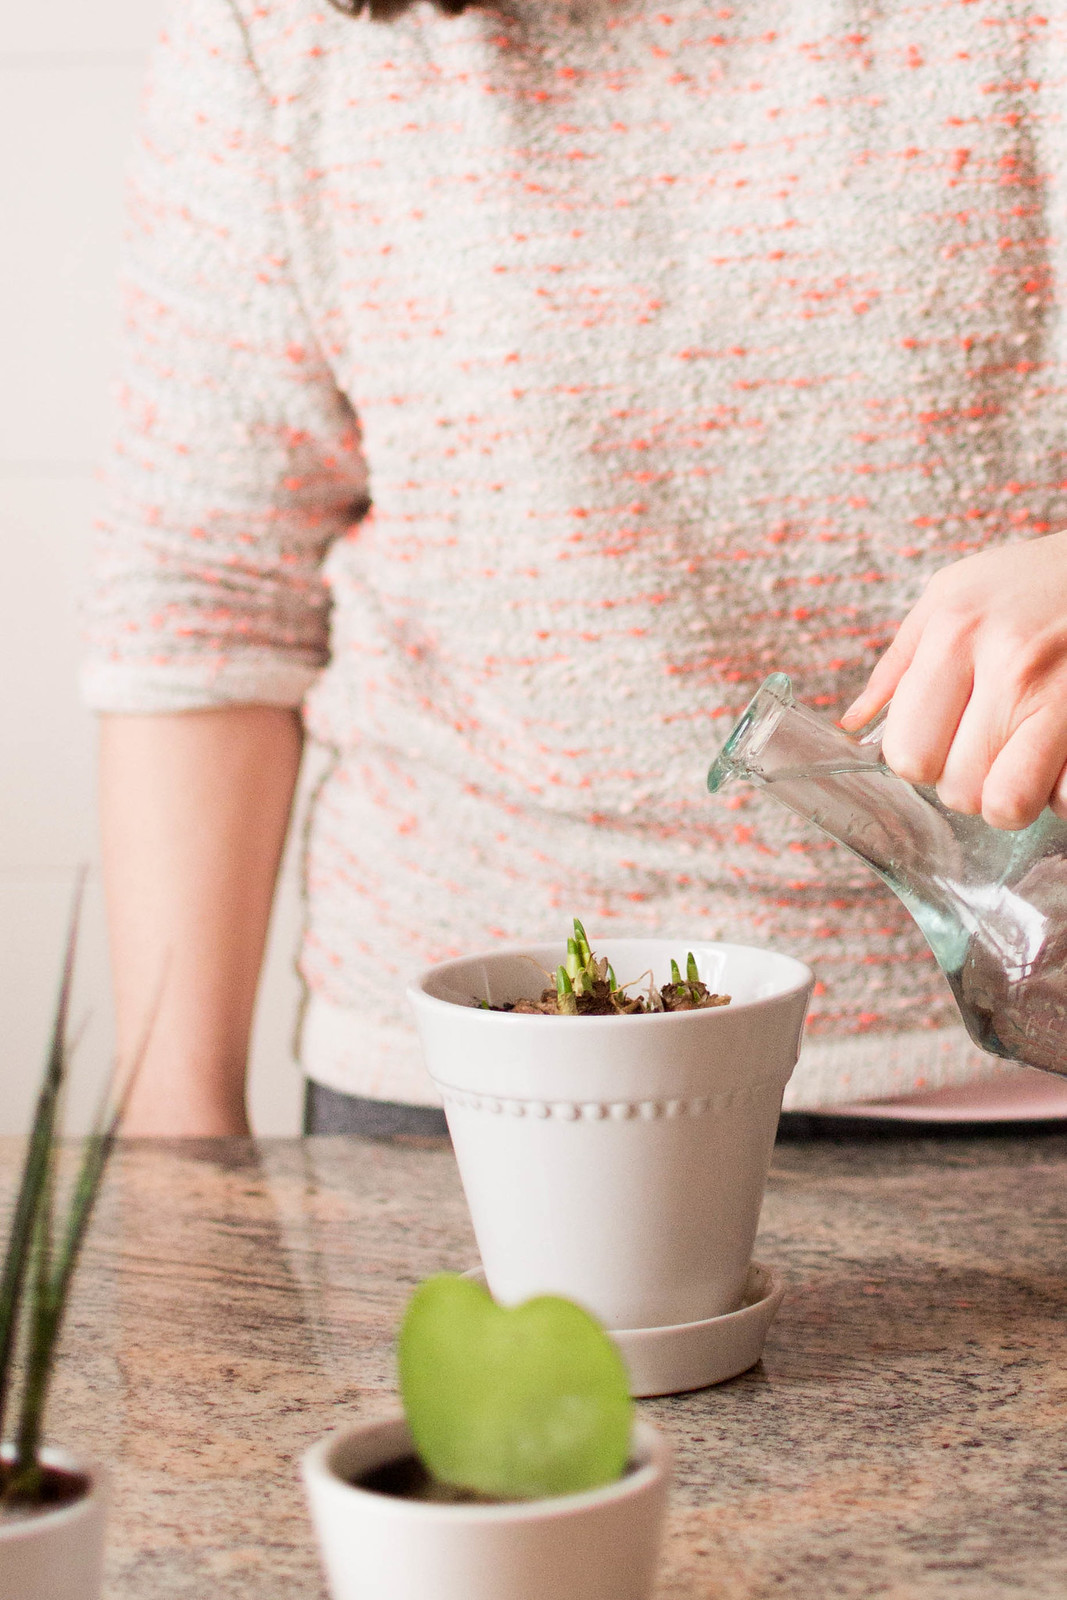
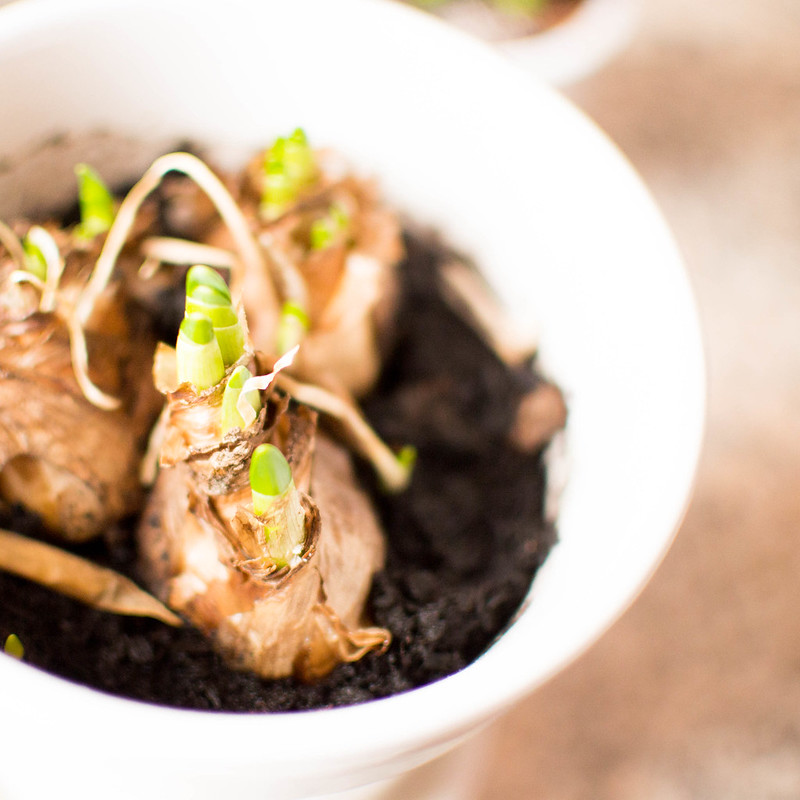
I've bought a little plant of daffodils last year and I loved seeing the flowers come to life once a week, but it didn't last too long and once the flowering has finished, all the leaves and flowers dried out and everything looked quite dead! But fear not, bulbs can be kept with minimum (if not none) cares until the next year, and they will grow again! So don't throw away your bulbs, you can keep them in their vase and leave them there during summer and winter, and comes springtime, your flowers will bloom all over again - just remove the dead leaves and water once a week if the topsoil is dry in spring!

*

That's it! Those are the little tips that changed my plants and flowers life for good! If you have other beginner tips for me, I'd love to hear about them! x

16 November 2014

Try This :: Vintage Tea Cup Birdfeeder

Try This :: Vintage Tea Cup Birdfeeder

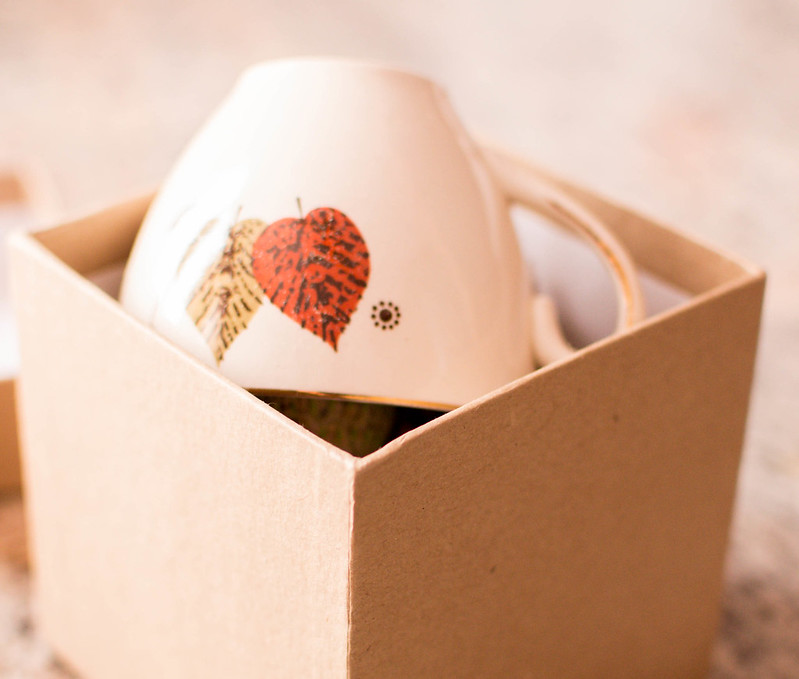
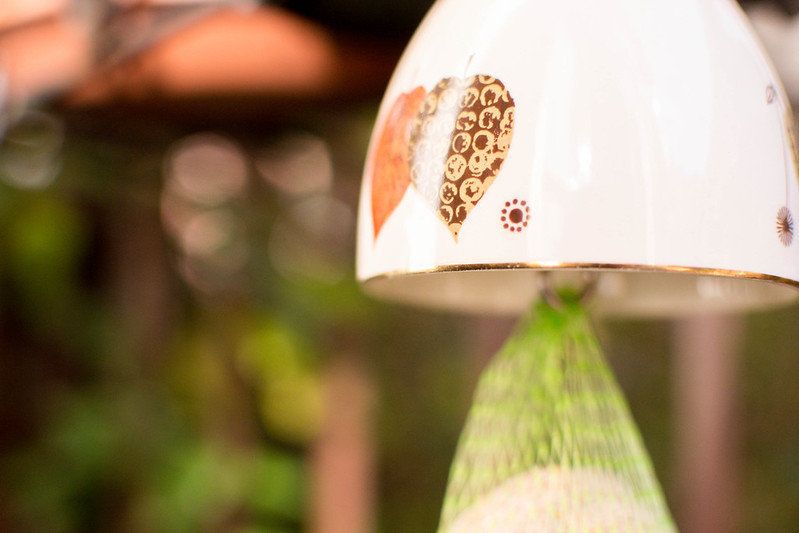
I might not be the biggest china hoarder, but I could spent hours browsing through a fascinating ceramics shop and adding tea cups to my list of things I need to buy when I'll have a home for my own. Especially if we're talking vintage. Anyone else? Anything that looks cute and vintage-y would make for a nice piece of decor in my opinion, but this Vintage Tea Cup Birdfeeder is not only that, in fact it repurposes vintage ceramic as a birdfeeder to hang in your garden between the branches of a high tree, or somewhere else that is very quite. I've not been super lucky until now and haven't still spotted any bird to take a picture of, but I bet it will come handy later in spring when the weather is nicer and it will be much more pleasant to stand outside and wait quietly. But I do love the idea of trying something like this as soon as spring comes, and yet I've already hung my cup outside just in case some little birds want to enjoy in these last sunny days as well! Definitely something to add to any list of things to try.

Try This :: Vintage Tea Cup Birdfeeder

2 August 2014

A Hobby of Patience


Last week we stayed at my boyfriend's sister place and she had this beautiful 1500 pieces pasta puzzle to be finished and hung in her kitchen; I never thought I could be a puzzle fan, but I loved making it (and I'm also pretty good at it, ha!), it was pretty relaxing and never ever enervating in the slightest, it allowed us to just have super long chats all together and stay far away from our techs for a few days and, even though I love the internet so much, it was very nice to temporarily switch off.

I should have known puzzles were my kind of hobby being that I'm pretty patient, quiet and creative and love to build stuff and see the final result. It took us three days to finish it completely and the final result was breathtaking, such a beautiful and well made puzzle I would love to hang in my own kitchen as well, when I'll have one by my own. The boyfriend loved making it too, so I just can already see us making so many puzzles together in the future!

Do you like puzzles?

5 July 2014

The Garden Tour

One thing I love about spring and summer is seeing my garden becoming a colorful paradise when flowering starts. A few days ago I woke up pretty early in the morning and went out and found this amazing heaven of flowers right after a summer night storm - I don't know about you, but I think flowers look even better right after the rain! I coulnd't help but take a few pictures and thought to share them on here for your delight. Can we talk about how beautiful those colourful hydrangeas look? And that little melon that it's quickly growing on the ground? Not to mention how proud I am of that big red strawberry that grew right under my balcony! And you may can spot a little helper between the pictures... Matisse is always so enthusiastic when someone just starts wandering around the garden - like a good helper, he follows you around wherever you go and starts showing off his jumping and climbing abilities (he practices everyday on the trees waiting for that quick moment of glory)!


Hope you enjoyed!

10 May 2014

Gardening


Springtime makes me think of nature, my own garden filled of flowering trees and seeds and potting soil and vases and gardening. If you were planning to have your little herb garden, whether in a vase or in the ground, spring is definitely the best time to start and even though I'm no expert at all here are a few tricks and tips I've learned...


Depending on what kind of little garden you want to build, you can buy seeds from your local grocery store or your most loved florist and if you plan to make it in a big vase, remember you need some potting soil too. Although you definitely can keep the seeds from the fruit you actually eat and leave them dry and dehydrate in the sun, you can only plant them the next year. Some great example are tomatoes, melons, eggplants and zucchini. For making things easier you can buy and transplant some little buds which is what my mum does with tomatoes and peppers. You'll need to really take care of them and watering them very often.


Whether you're planting a bud or some seeds, to remember what will grow in that particular spot of ground, try using some wooden sticks and writing with a permanent marker the name of your vegetables so that you can always know where will grow what and the caption will never go away even if watering your plants very often.

Also even though spring is definitely the best time to start your little garden, you should always keep in mind all the seeds have to be planted in particular and different times of the year and they will take different timings to go bigger depending on their features: leek, zucchini, celery, tomatoes, salad need to be planted during spring and the majority of them will grow fast within a few months, but strawberries, grape, melons all have different timing for being planted and growing and the better way to know all these informations is always directly ask to your florist or read the seeds packaging.


Having a little herb garden is something that can come pretty handy as you won't need to buy any herb anymore for you cooking and you can use what grows in your little kitchen garden. Something on a longer term prospective is planting a little fruit tree, which could be an issue if you don't have a garden, but I love seeing them flowering during springtime and eating some freshly harvested fruits is one of the most satisfactory and healthier feelings.


Having my little own garden is pretty satisfactory as a hobby and pretty healthy as well as you know exactly what you're eating and it really is a good feeling going out in your garden to harvest some of your own vegetables instead of going out and buying them already done from the grocery store. Also you'll notice your vegetables and herbs will all have a different flavor and if you love cooking like I do, having your own rosemary, basil or sage can really make the difference in your dishes.

Do you have your own kitchen garden? Any tips?
VIEW OLDER
OLDER POSTS〉