Home
Showing posts with label homeware. Show all posts

11 May 2015

A Workspace Update!


A few months ago I've shared what my workspace looked like at that time and you might remember I was on the market for a desk update already then. I've been thinking about giving my workspace a little twist ever since - at the end of the day it's the place where I spend the majority of the hours of my days, so I felt it was about right to make some changes in order to achieve a more functional and inspiring space for me to work in! I wasn't happy with my huge wooden desk - it feels even weird right now to go back and look at those pictures and think that was one of those days when my desk actually looked tidy! Apparently I didn't really know what tidy means. I've been itching for a clearer, minimal work station for a while now, and only recently I realized my previous furniture disposition would have never make the cut for what I was looking for.

The thing with doubling up your bedroom as your "office" (and when said room is small by itself) is that you can't really afford a huge desk. It took away space that could be used to store things in a much less cluttered way! Plus I'm such a hoarder (can you tell?) and I pretty often feel like useless things are apparently all I need or will need to survive. That's one of the main reason why I came to realize the more space I have to pile useless things up around me, the more I'd do it, and the solution to see an end to it was reducing my space drastically with a way smaller desk than what I was used to. It seemed kind of extreme and for months I've pondered the decision, but in the end I was extremely sure about the change I wanted to do, and things are going pretty awesomely on the organizational front so far. I seem to really have achieved what I was pursuing!

You might want to stay tuned until the end for a little bonus article by me on how to keep a small desk organized and inspirational at the same time, avoiding to over clutter with a three easy step guide! But here's my new workspace...
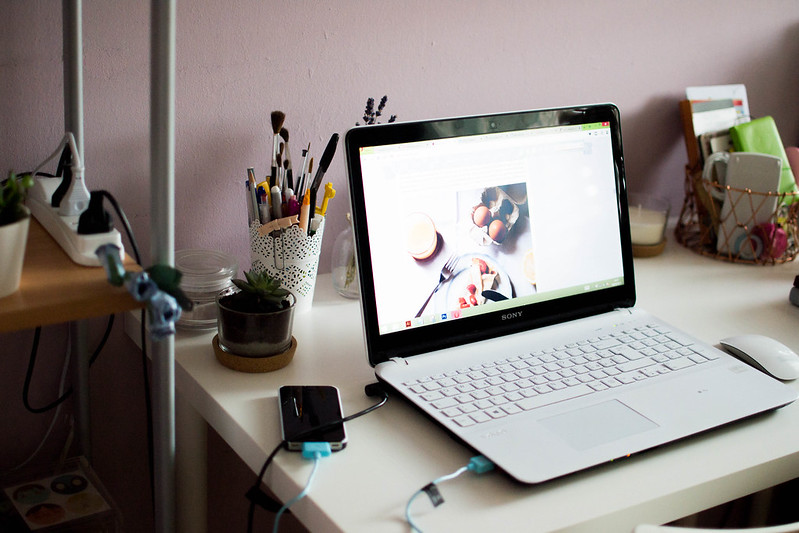
A workspace update.

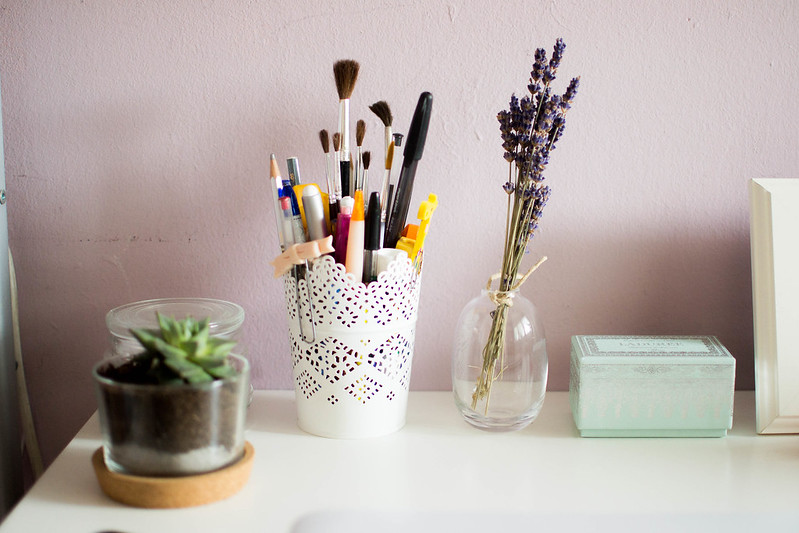
IKEA DESK ; IKEA PHOTO FRAME ; H&M MINI VASE ; IKEA CANDLE
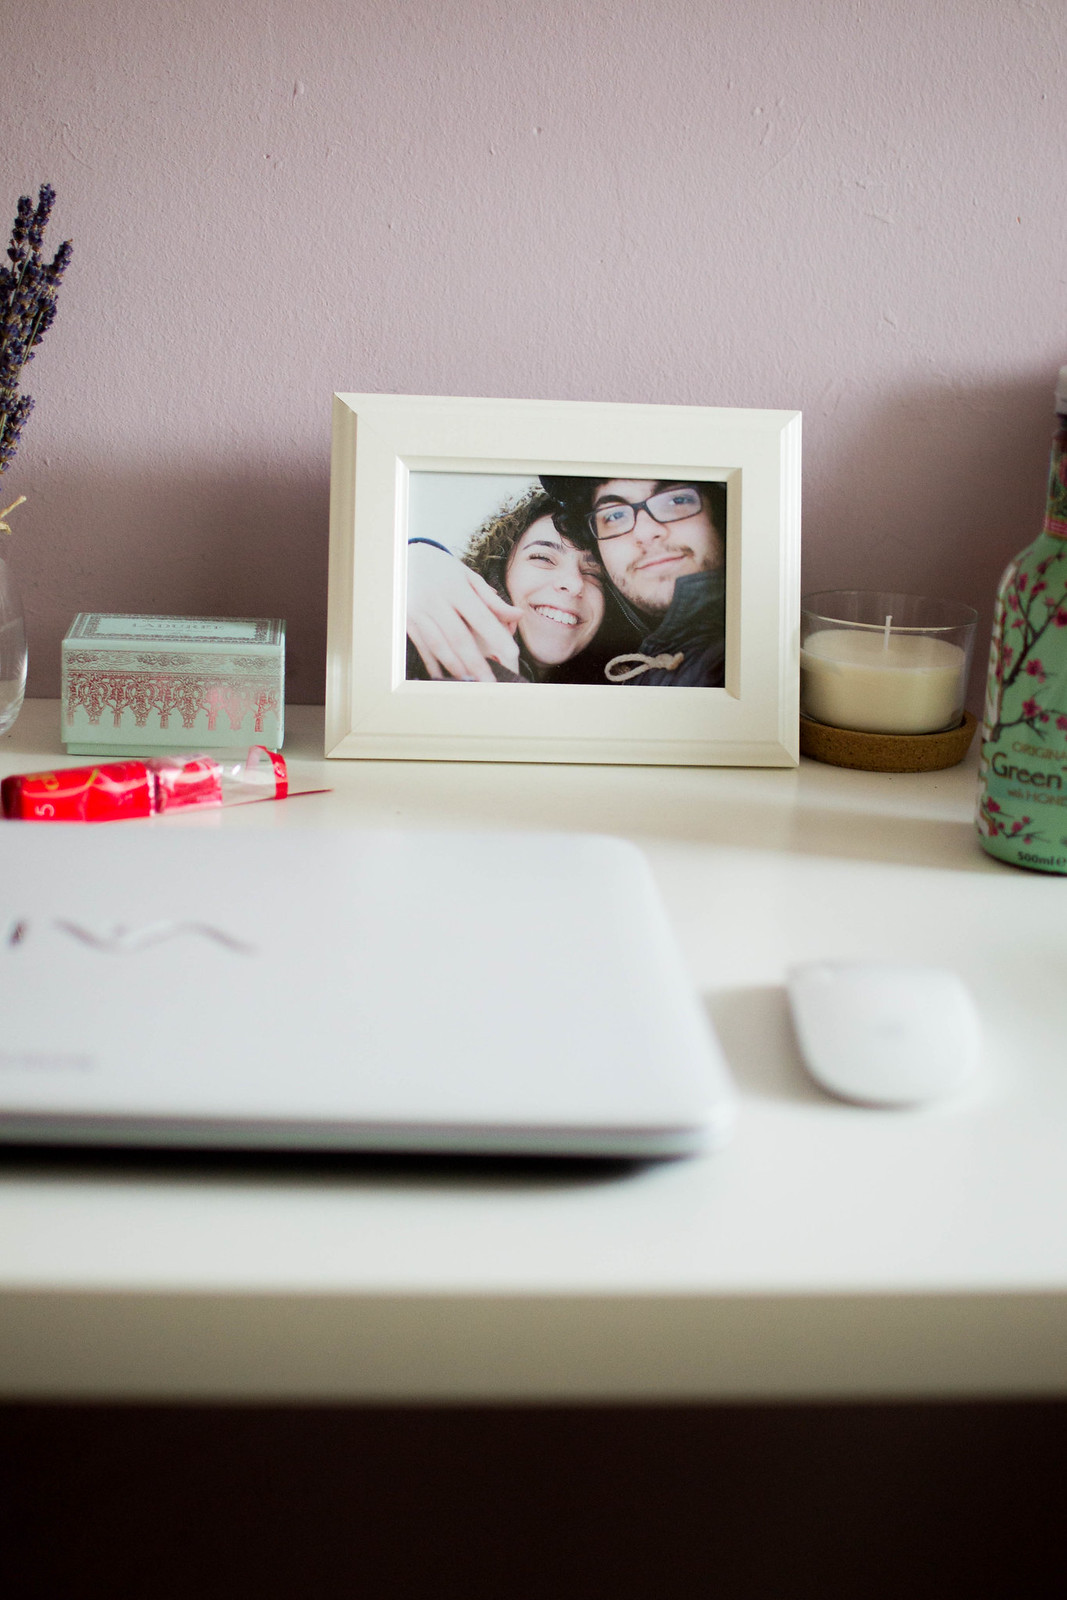
A workspace update.
A workspace update.
A workspace update.

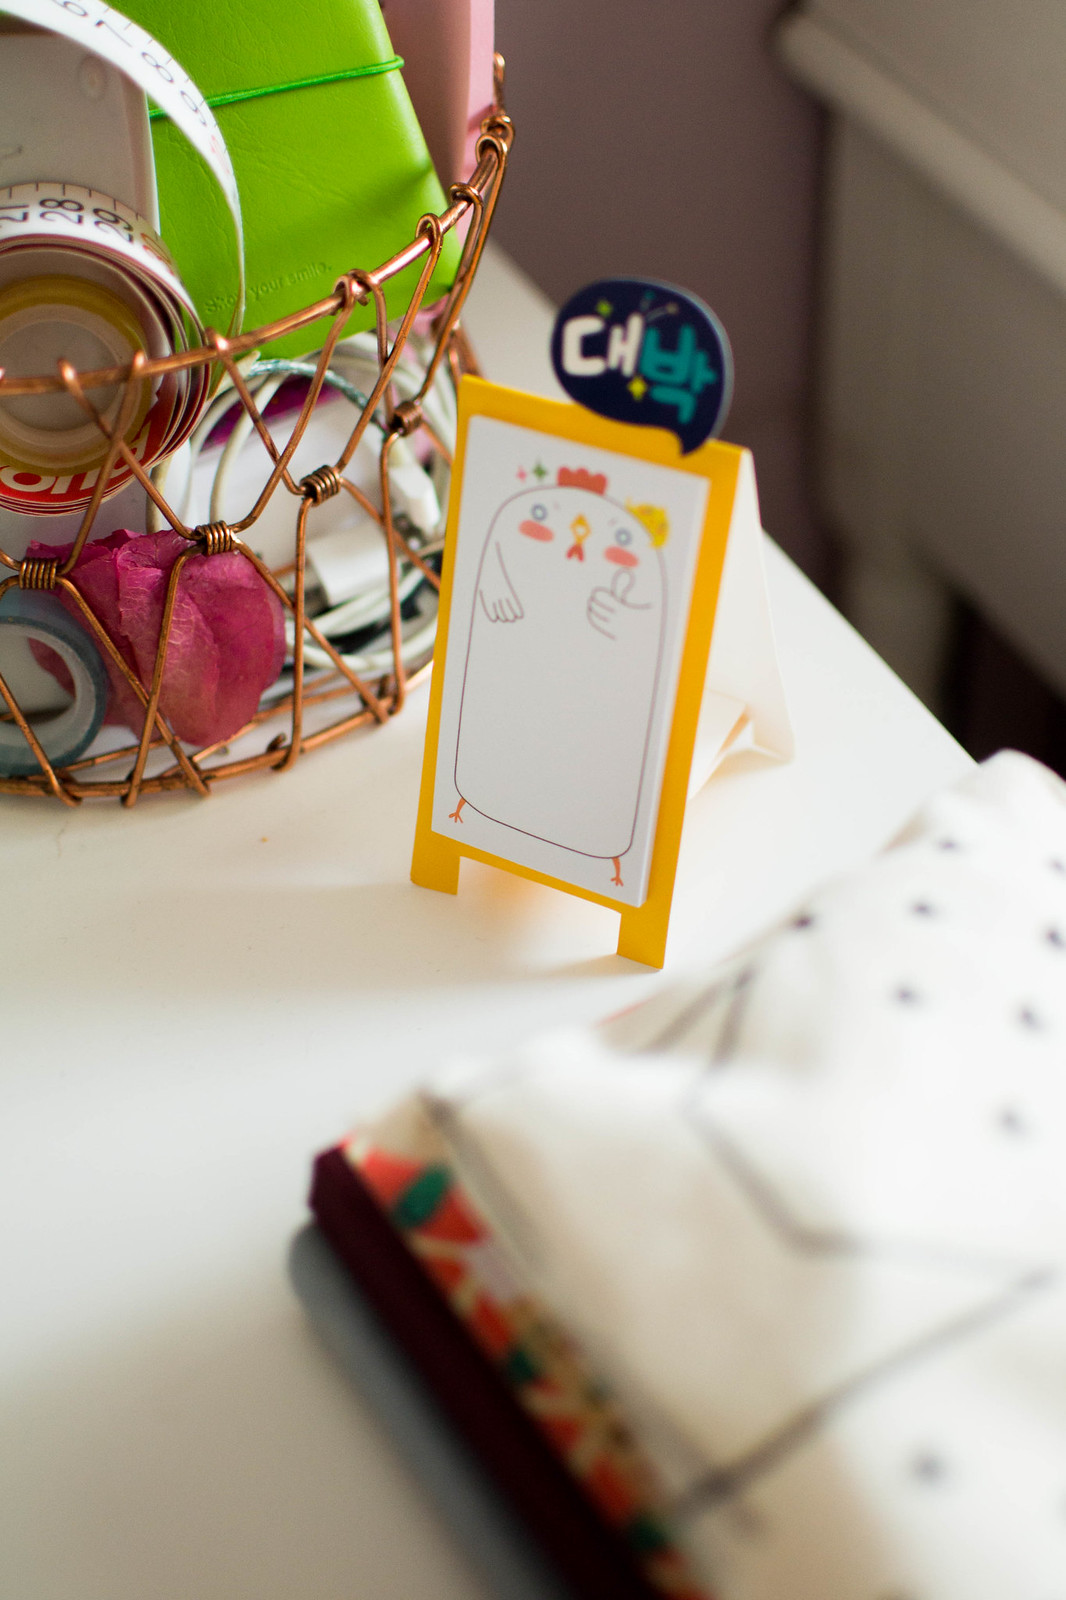
IKEA GLASS + COASTER ; IKEA CANDLE HOLDER ; STANDING STICKY NOTES ℅ BORNPRETTYSTORE*

*Use code CAFEG10 to get 10% off on Born Pretty Store. They have the cutest, cheapest stationery!

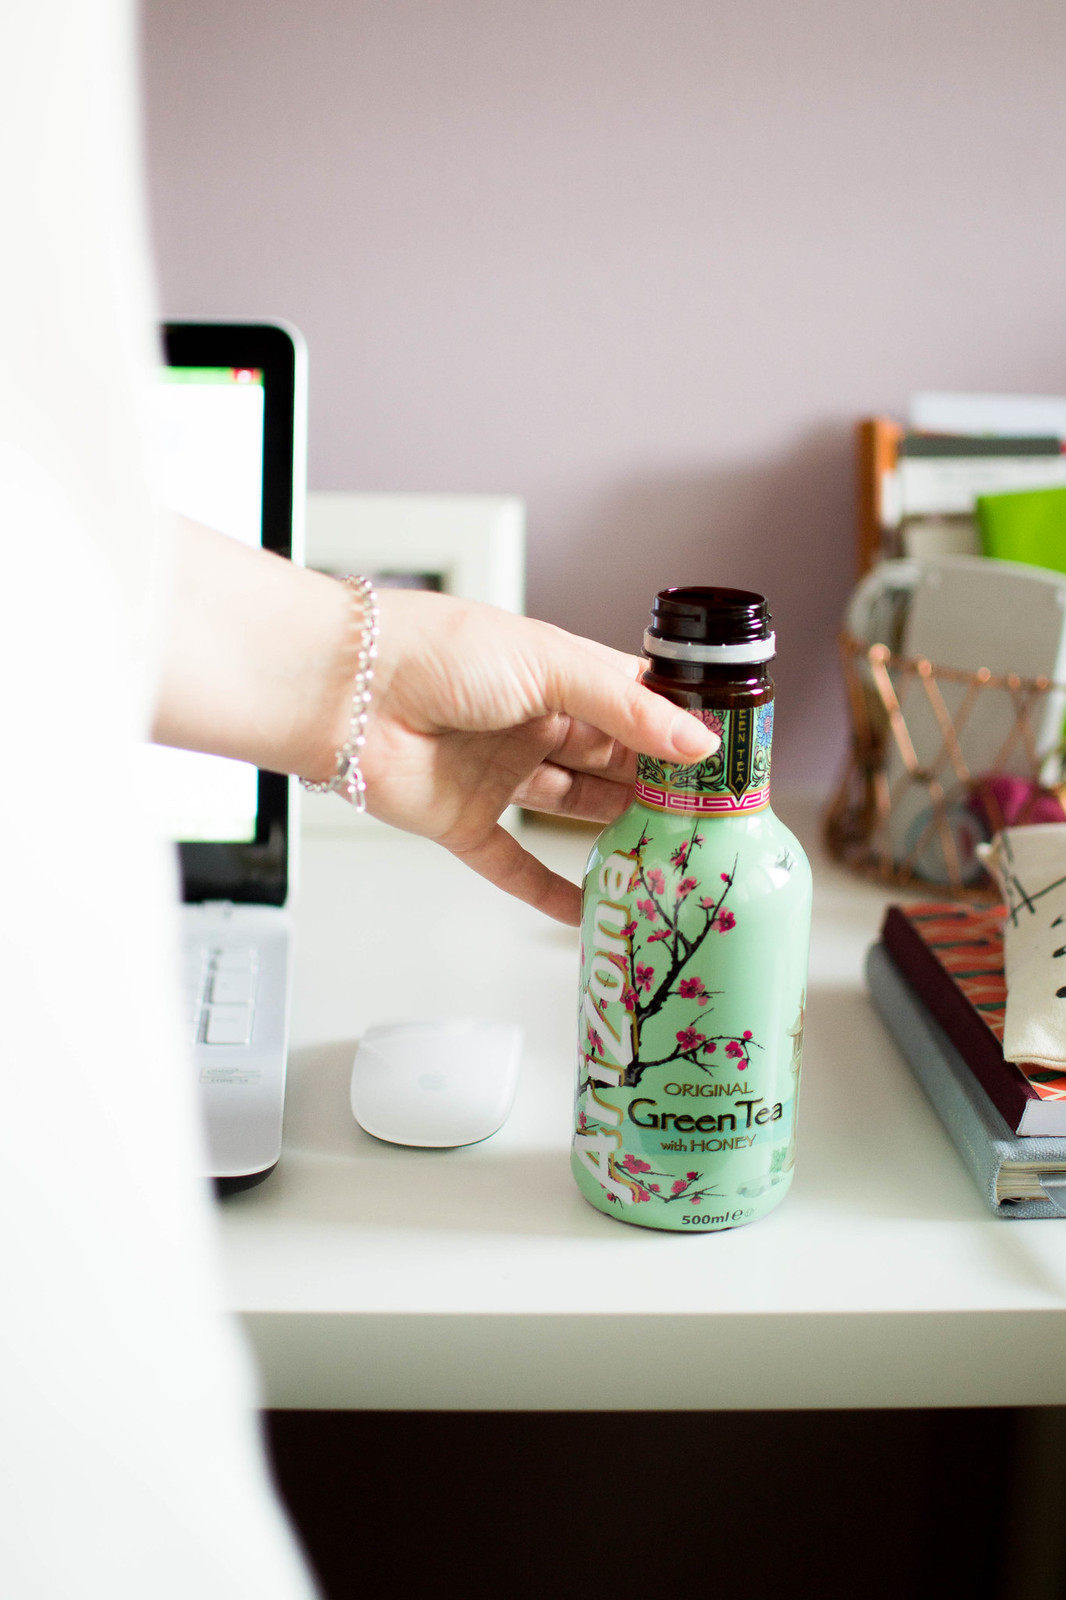
My new white desk is from Ikea and you'll never believe me if I tell you it was only £34! I KNOW! Yet it feels and looks such awesome quality. The desk top comes separately from the legs, so you can actually pick your favourite combination out of a bunch of different styles and colours for your desk legs, which I found pretty lovely! However I went for a simple and minimal white top + white legs combination, and I'm pretty happy with it!

You'll find out more about what I think about decorating a small workspace in the extract you can find at the end of the post, but I've added little personal touches with simple, white and minimal objects that not only make my desk look pretty, but which I also find inspiring and motivational, such as photo frames, little vases, my amazingly smelling little lavender bunch I've picked last year from a field, a vanilla candle I love burning on a Sunday and little succulent plants to add a touch of greenery to the space.
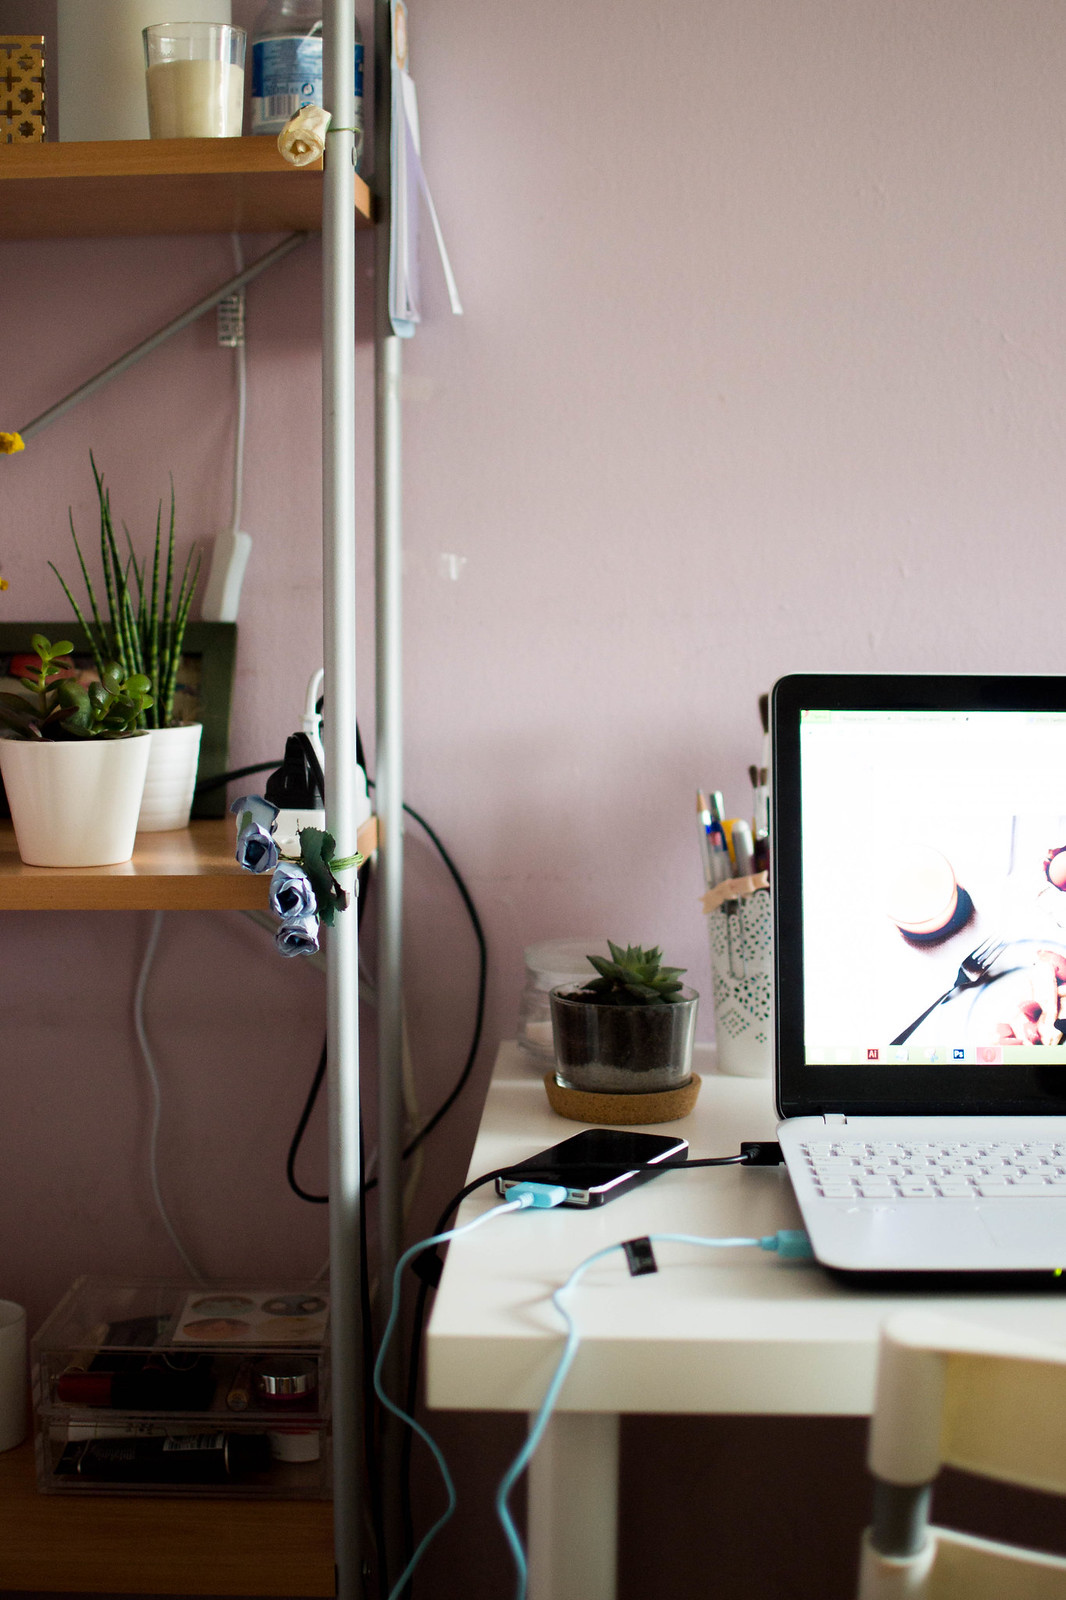
A workspace update.
A workspace update.
A workspace update.

IKEA POTTED PLANTS ; MUJI 2 DRAWERS BOX


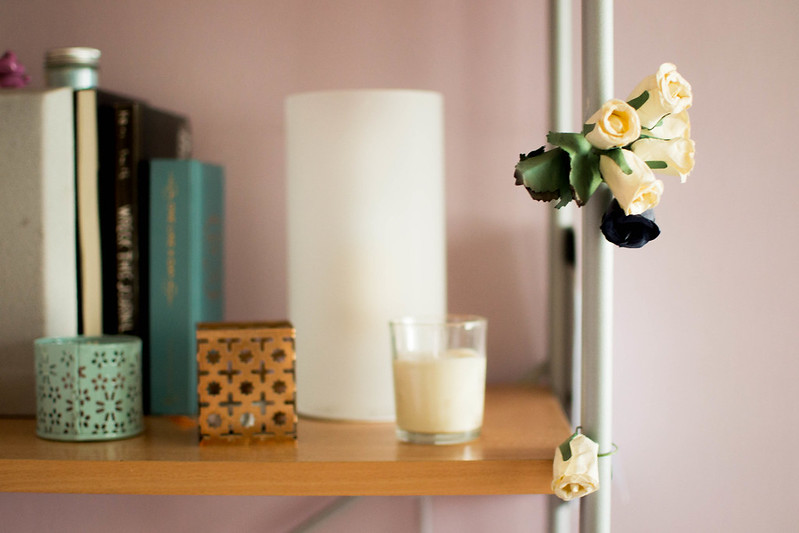
Getting a smaller desk means there's so much more space now and I was able to move my furniture around and change its original disposition to a better looking and more spacious layout. I've moved my old bookcase (that originally was hidden behind the door) right next to my desk, and completely rearranged and decluttered it all, adding touches of greenery and cute Provencal homeware even there. The plan with it was to paint the shelves white when summer comes, but I'm actually pretty pleased with how it looks even now, so maybe the light wooden shelves will stay like that for a bit longer.

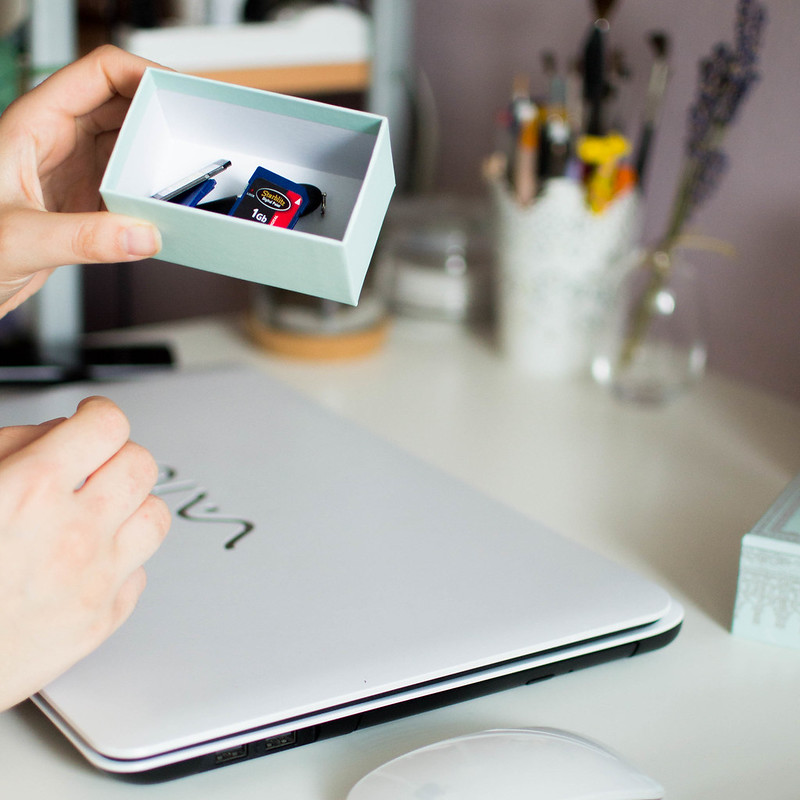
You'll be surprised by how many multi-functional storage solutions you'll find. I was hoarding empty Ladurée macarons boxes without a real purpose, until I realized the smaller one was perfect for storing my USB pen drives and SD cards! I've also arranged all my pens, pencils and brushes in what once was a candle holder and it looks pretty great!

A workspace update.

MUJI NOTEPAD ; MUJI 0.5 PEN ; PETITE MILA CAT POUCH
A workspace update.

H&M CANDLE HOLDERS


While tidying things up, my stuff was drastically reduced, which means my shelves can now actually look minimal and tidy instead of a cluttered mess. A great solution to store what you don't want to eliminate but not keep visible, is to store them in storage baskets. I've recently bought a couple of these flower patterned storage baskets in lilac and white, which not only pair amazing with the colour scheme of the entire room, but are also great to be placed on the floor right under the last shelf of the bookcase and store everything you need to keep in them.

A workspace update.
A workspace update.
A workspace update.

IKEA SIDE TABLE ; H&M COPPER WIRE BASKET
A workspace update.

WOODEN TRAY { SIMILAR } ; H&M MINI VASES


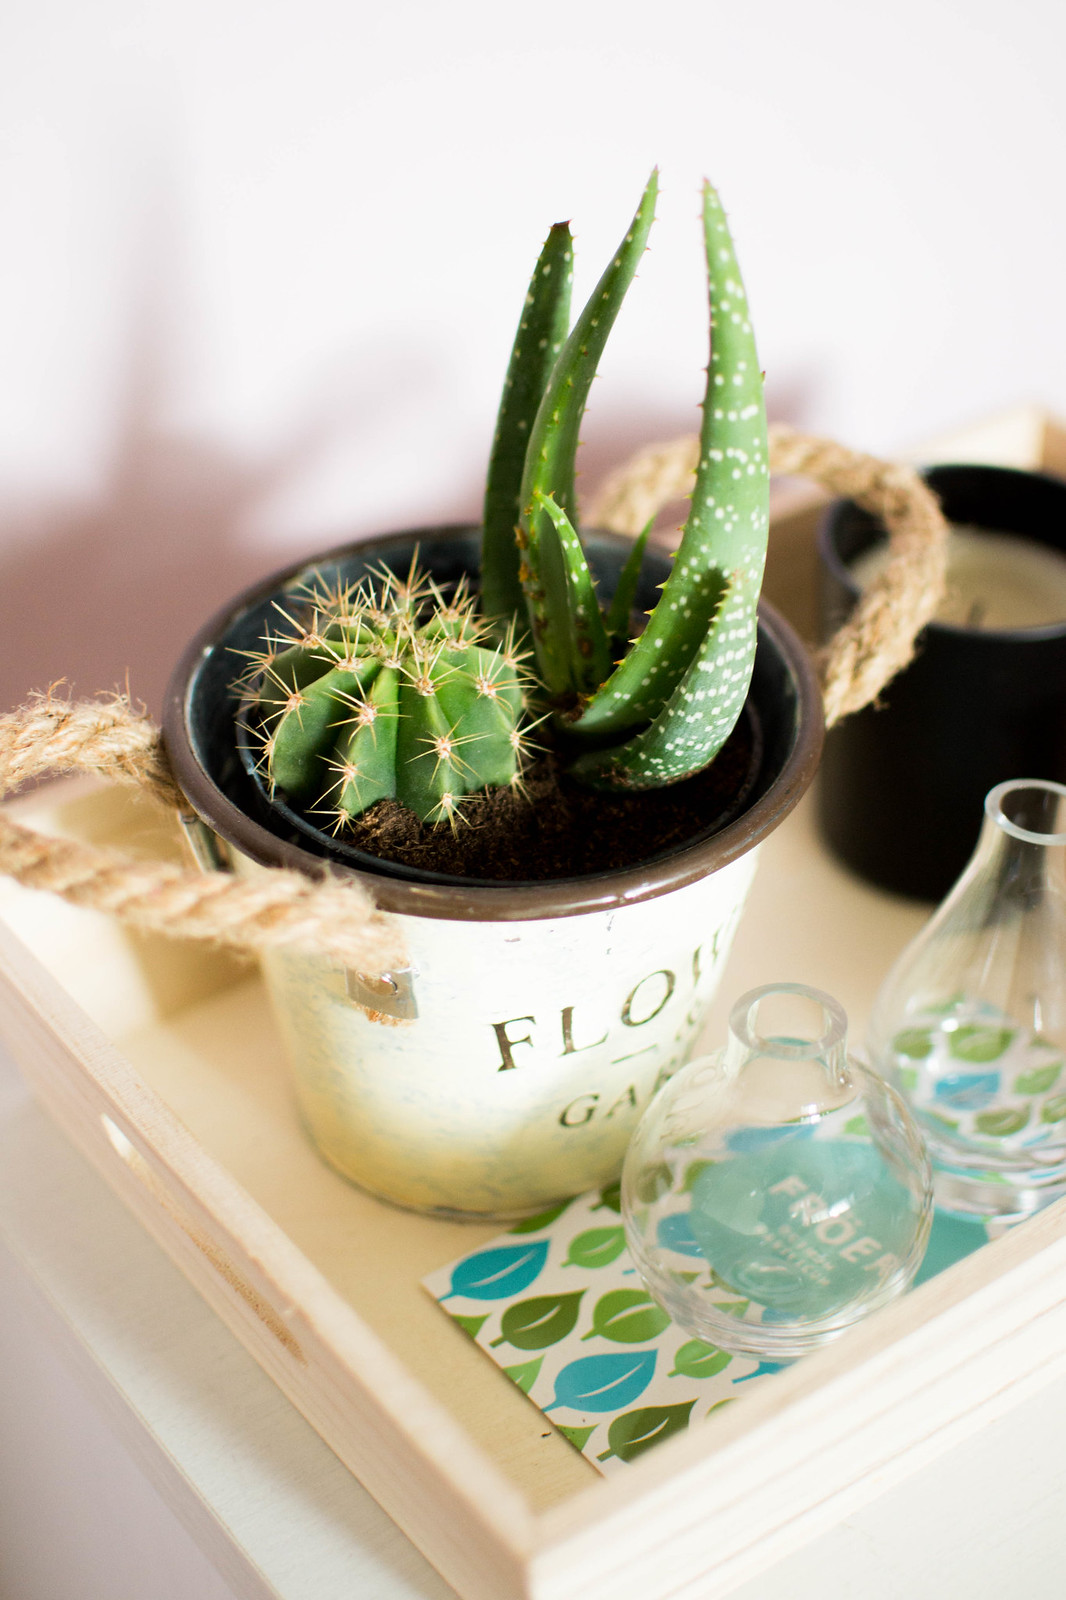
I can finally have a well deserved solo space for my small side table that I use and have always used to store things, but that was hidden under my huge desk until only a month ago, and it was such a pity! It's a beauty against a wall by itself, and even better with the little wooden tray I had no idea where to put only a few weeks back. I've placed in there a couple of candles I love, together with the vase I was using to store my pens and pencils before, with actual plants in there for once, succulents actually! I love the touch of transparency of the little vases I've recently bought, which are great homes for flowers picked from the garden too. I have a thing for clear glass but also copper homeware, if you haven't already noticed!

***

And there you have it, my new work station! I'm very proud of how it turned out and I wish I could share a before and after if only I wasn't too ashamed of what a mess my desk looked like before to take actual pictures of it... sometimes a change is highly required, you know! I hope this post can inspire those of you who aren't happy with their current work station to change things up if you can (it really only took us 9 hours and £34 to do it!), because I truly believe an uninspiring workspace has something to do with lack of creativity and productivity.

Also, I've put together a little piece of article about how I manage to keep a small desk inspiring and clutter-free with three simple steps. If you want to download it for free, you just need to hit the newsletter subscribe button below and an email will be sent to your inbox with the download link!

Subscribe to download!

A free download of my "3 Steps Guide to Maintain a Clutter-Free Inspiring
Small Desk
" will be sent to your inbox immediately!


Let me know what you think and, if you download the extract, how you're getting the most out of a small desk (if you have one)! ;) x

30 April 2015

In April I've Loved...


Along with the banana, strawberries, honey and lemon smoothies I'm getting into the habit to drink every afternoon, these are the things that I've loved in April...

Beauty.

In April I've Loved...
Yummy Mummy Shower Gel & Body Conditioner ℅ Lush.

My skin has been so sensitive, itchy and problematic that I'm blessing the existence of gentle natural body products, the only ones I can actually put on my skin nowadays! My favourite shower combination of the moment comes under the name of Yummy Mummy, in both shower gel and body conditioner form: the range is available now at Lush exclusively for Mother's Day, and I can't think of a better gift to give to a mum! The scent is sweet and floral with geranium and orange notes, the shower gel has some pretty silver glitters in there (which doesn't stick to the skin, but shine while you're foaming it up on your body) and the body conditioner contains organic cocoa butter which makes it such a good moisturizer without feeling sticky or thick on the skin. I probably need to stock on these two before they're gone!

In April I've Loved...

I've always been such a fan of Bioderma that I wasn't able to think of switching it up with something different one day. I haven't changed the typology of the product at all, but one day, in desperate need of a makeup remover that was a bit cheaper than my usual choice, I picked up the Garnier alternative - this is how I got to cynically try the Garnier micellar water to discover it's actually a valid alternative to other expensive offerings. It's as gentle as Bioderma and as good to remove my makeup (even though I'll always be partial to my beloved Bioderma, you know!).

As I said, my skin is being very dull and problematic over all my body, so it came the day when I stopped using all those alcoholic deodorant that were just a torture to me and got back to my Natural Organic Deodorant by Earth Conscious. It smells like lavender and comes in a creamy consistency that is extremely easy to apply. It doesn't last as long as other non-natural deodorants, but it doesn't ever cause itchiness or redness on my skin, which is a huge bonus!

Style.

In April I've Loved...

I remember featuring these shoes in my first spring wishlist this year: I've spotted them months ago and kept my eyes on them ever since, until they went on sale and I received a 10% off coupon via email - it was meant to be. Not only they turned out to be the cutest shoes I own, but also the comfiest softest pair I could ever wish for! They're made of soft real leather, and there's something about the colours that make them perfect to be paired with any spring outfit really!

Home.

In April I've Loved...
IKEA 365+ Glasses & Coasters.

Since the day I've spotted and bought this glass set, I've been obsessed: they even inspired a couple of DIY projects, but not only that, they're also super pretty to drink coffee or smoothies in! I love the simplicity of the clear glass and the cork coaster combination, so much that I have a feeling I'll be adding more similar homeware to the collection!

***

These are my favourites for the month of April! I'd love to discover new things in the next month, so let me know what you've loved this month! x

20 April 2015

DIY Mini Terrarium

DIY Mini Terranium

Two DIY posts in less than a week? Yes I know, it feels kind of strange to see that many crafts on here, but I've been itching to try my hands at something different than typing blog posts and twitter status all day, and I'd love to introduce more DIY tutorials on the blog again too! Secondly I've been rearranging my room lately and it kind of needed a touch of greenery and life to it now that it's all tidy and white, and since cacti and succulents are not only good-looking but also very easy to take care of, I decided to add some more to the collection.

IKEA is a place of inspiration, that's the truth. Everytime I'm in there I'm inspired to restyle my home, dream a new one and build, make, create. Even some glasses can inspire a craft project sometimes, and when we spotted their 365+ Glasses we couldn't think of a better place where to build a small terrarium for our new succulents!

DIY Mini Terranium

Material
Small Cacti or Succulents ; IKEA 365+ Glass & Coaster ; Topsoil ;
 Decoration Sand ; Gardening Gloves.

DIY Mini Terranium
DIY Mini Terranium

1 :: Start by placing a thin layer of decoration sand on the bottom of your glass.

2 :: Remove the plant from its original vase and place it in the middle of the glass, then using the topsoil, fill the rest of the terrarium and press the plant soil down with your hands until it's stable and in the middle. If your glass is big enough you can even place two or three little plants together.

3 :: If you like, place another thin layer of decoration sand or stones on the top.

4 :: Style on a tidy desk and place a cork coaster under it. Seldom water once a week in summertime or after a pair of days that the soil is dry.

DIY Mini Terranium
DIY Mini Terranium
DIY Mini Terranium

Any other succulents and cacti hoarder? x

* don't forget to enter my blog's first birthday giveaway! *

15 April 2015

DIY Scented Candles


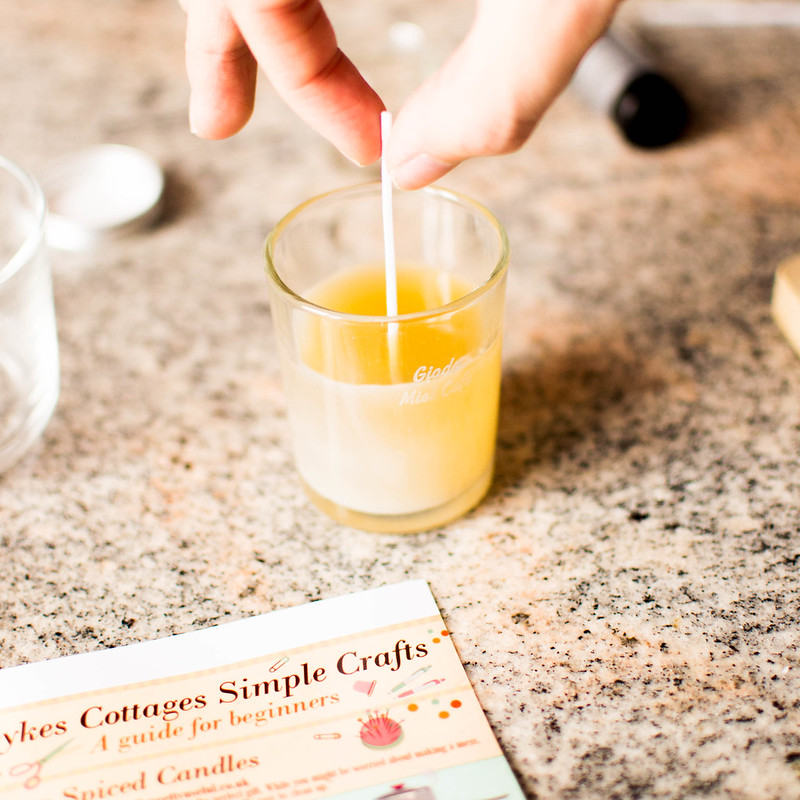
When I started my first blog years ago, I wanted it to be all about easy craft and DIY little projects as I was going through a period of my life where I was giving vent to my creativity by creating the easiest yet cutest DIY jewelry, homeware and all kinds of crafts really! Many years and a pair of blogs later, my initial purpose totally went lost along the way and, apart from some quick and easy ideas, I rarely share DIY projects on the internet anymore. It is quite sad to say, but the times when I used to spent hours in local craft stores shopping for glitters, tape, coloured paper and beads is now over, and yet I'm a creative deep inside, so when I was introduced to Sykes Cottages Simple Craft Guide, a beautifully illustrated guide put together by different talented craft bloggers, that easily guide you through the cutest and simplest craft projects, I saw my inner crafter being very excited about trying my hands at something new!

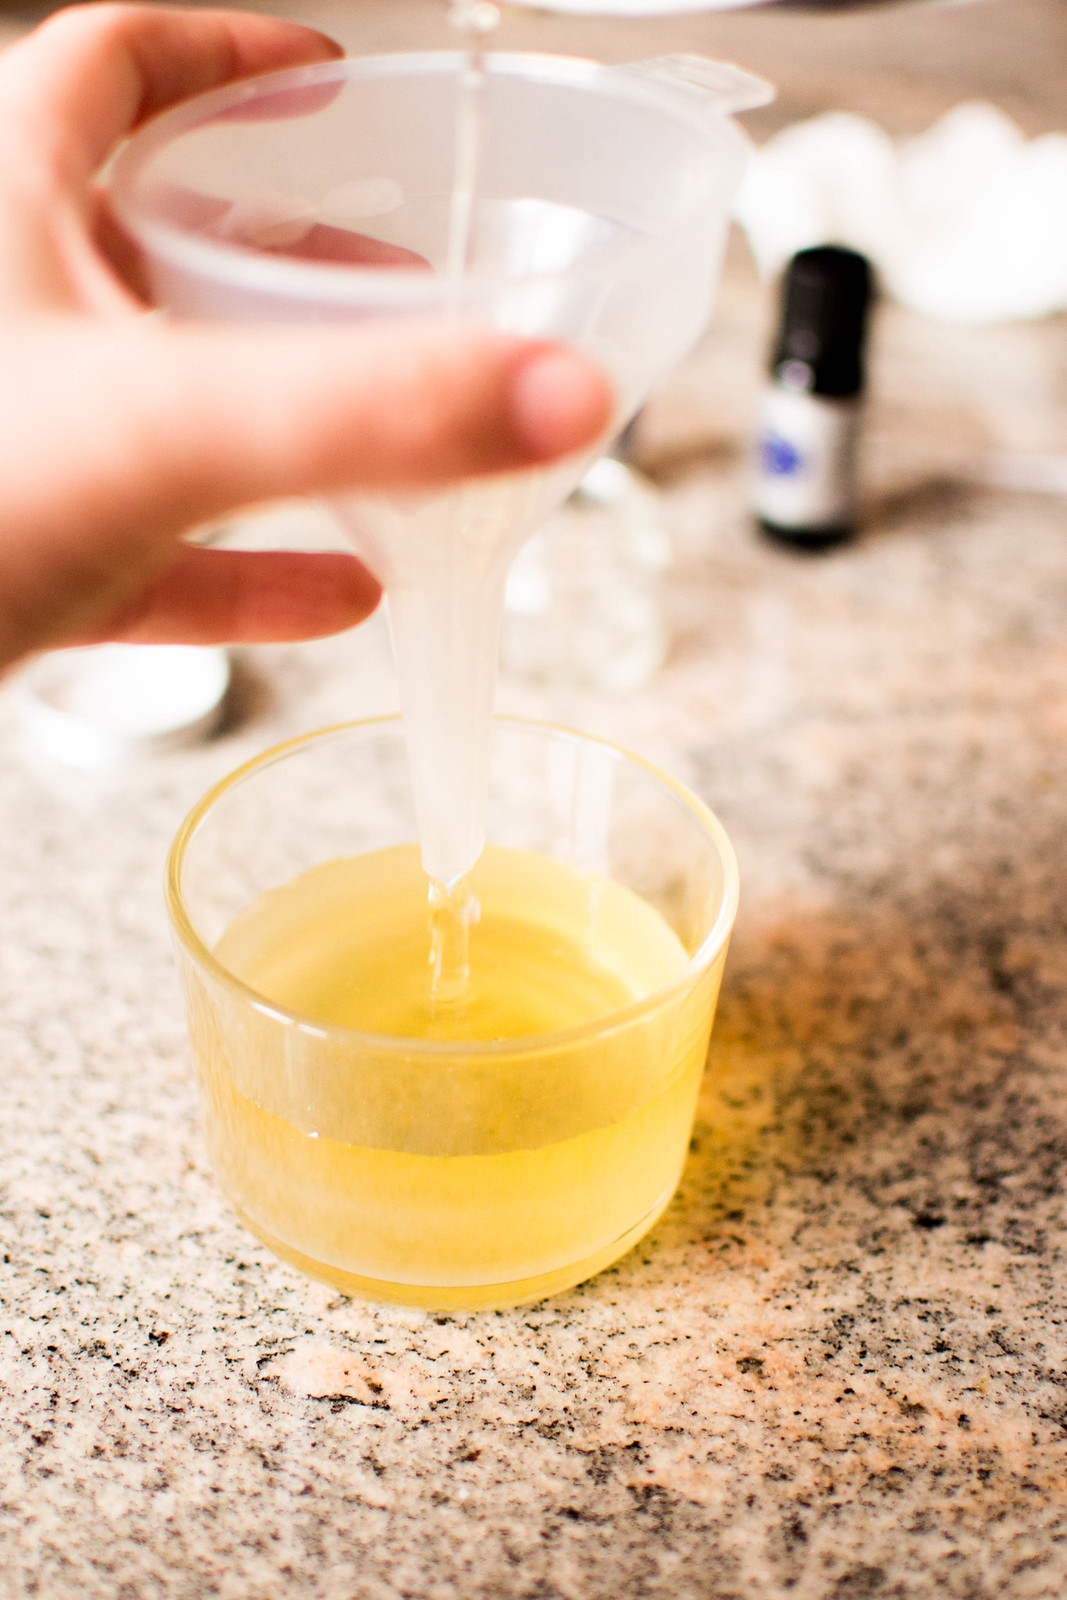
This isn't my first time at attempting to make a candle from scratch, yet it's actually the first real time the whole project turned out practically perfect! I remember doing my own researches about DIY scented candles and trying my best at making the wick stand by itself, yet it was a total failure, because both I didn't really have nose for mixing scents that complemented each other and the handmade wick wasn't exactly perfect... I decided to meet the challenge and give it another try, this time with proper equipment and an easy guide to follow that made it all a piece of cake!

DIY Candles with Sykes Cottages

Material
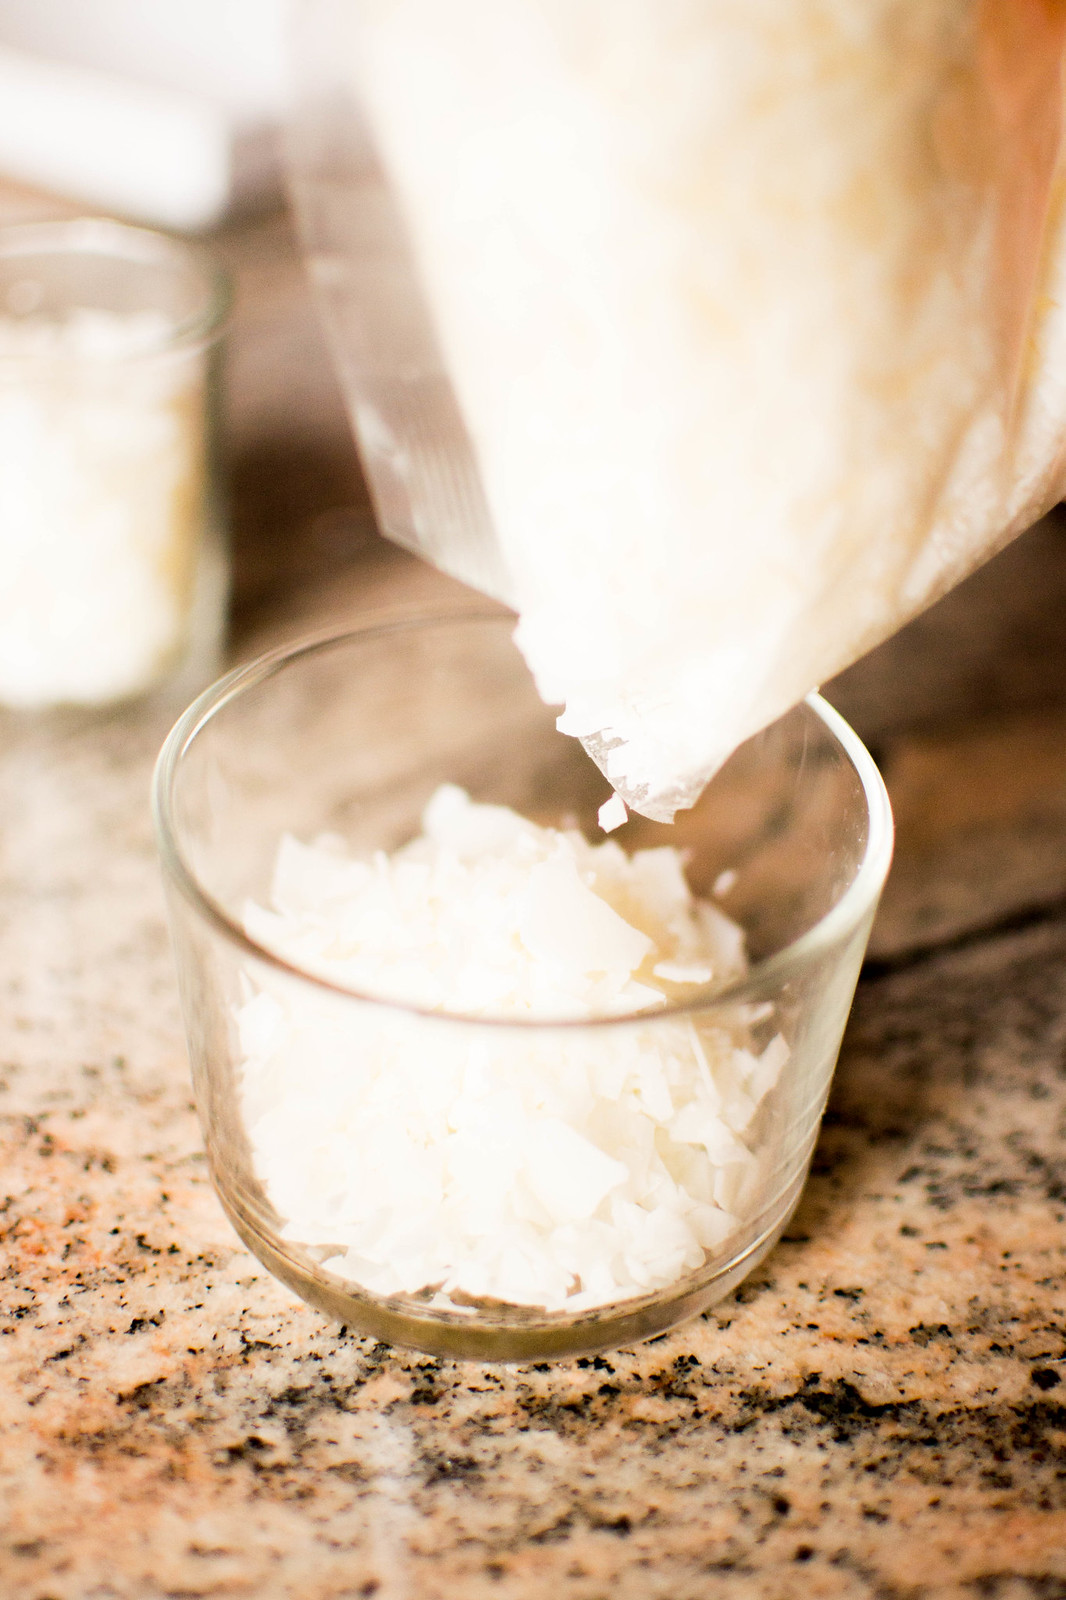
Soy Wax Flakes; Candle Wicks ; Funnel ; Wooden or Silicone Spoon ; Saucepan ; Scissors ; Essential Oils ; Wax Dye ; Jars or glasses (I used IKEA 365+ Glass + Coaster).


• Step by step guide •

Melting the wax and adding essential oils and wax dye is the fun part! What I did wrong before and that I've learned now, is that once the wax has melted down completely, it's important to turn off the heat and let the wax cool down for a minute or so before adding the scents and colours. Also, the trick for a neat result is to use a funnel (and it's something so obvious but of which I've never thought of!) and to make the wick standing by itself, it's just necessary to leave the wax cool down a bit more until it starts turning opaque and cloudy. Lastly, you'll be surprised by the amount of drops of essential oils you'll need to add to actually make your candle smell intensely!

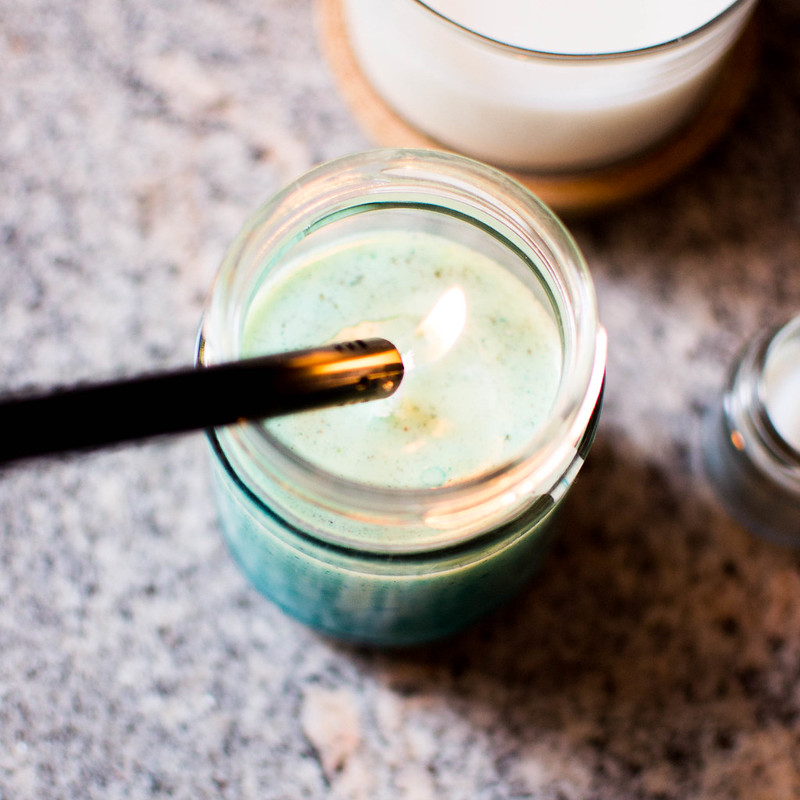
I made a pair of different candles with different colours and scents, but my favourites have to be the white coconut candle that looks so neat in my IKEA 365+ Glass, and the tropical fruits (a mix of mango, caribbean berry, melon and sweet rum) blue candle that looks and smells like a tropical cocktail!

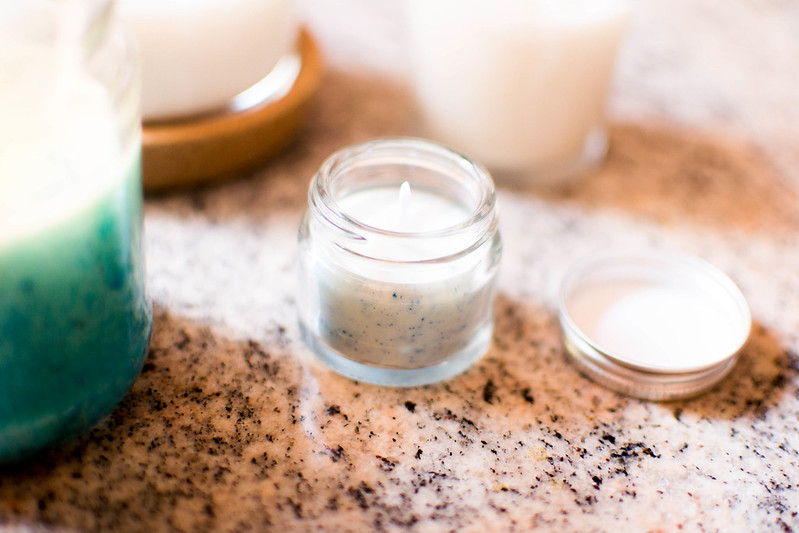
By mixing the wax dye a little less and not letting it melt completely, I was able to achieve a speckled effect with my smaller candle, which looks pretty lovely too!

DIY Candles with Sykes Cottages

Simple Crafts: A Guide for Beginners features other five easy DIY tutorials that are thought to be simple to make, require inexpensive and low equipment and be ideal to make at home, on holidays or when you're away, and they're one cuter than the other! If you are itching for learning some new skills, I'd highly recommend giving it a peek!

Have you ever made your own candle? Or are you going to give it a try?


* THANKS TO SYKES COTTAGES FOR SPONSORING THIS POST *

14 April 2015

#IKEAtemporary

#IKEAtemporary

I guess you'll be tired by now to hear me rave about IKEA that much, or maybe not, maybe you're fans of the Swedish best invention ever too? When I hear people saying they never visited IKEA because there's not a store near them, I feel such a lucky girl to be able to go and wander between the biggest amount of inexpensive beautiful designed homeware whenever I like. I seem to always come home with something new to add to my too crowded shelves, but I'm never really sorry about it!

Ever wondered how an IKEA store would look like in a big city? This year's best news to me has been opening an email saying IKEA was going to open a temporary store in the middle of Milan, a place where to celebrate food, homeware, furniture, kitchens and future, whose themes go hand in hand with Expo. And what better theme than food, I'd add?! You know how enthusiastic I am about all things food - my favourite place in the house must be the kitchen and cooking and baking my favourite ways to spend my free time, not to mention I'm discovering a certain curiosity towards foods I don't already know these past years, and there's no better thing to me than trying something new to my mouth. So #IKEAtemporary was totally calling my name since I read they were opening on April 10th.

Even though we were able to be between the 100 invited to their Swedish breakfast on their opening day, everything seemed to be against us that day and we weren't on time for that, but surely we didn't give up and found our way to their new temporary store for lunch and a visit!

#IKEAtemporary
#IKEAtemporary
#IKEAtemporary
#IKEAtemporary
#IKEAtemporary
#IKEAtemporary
#IKEAtemporary

#IKEAtemporary is exactly what a food enthusiast dream store would look like: you're welcomed by a wooden structure where all kind of vegetables were sown and little plants of tomatoes and pepperoni are growing strong in the middle of a classic urban Milan street, and when you walk under the arch that introduce you to the store, tables with lanterns on and blankets on the chairs to warm you up while you're enjoying your food, and wooden boxes filled with their FRÖER range and everything you need to grow up your own kitchen garden, are the things that you'll be introduced to. You can immediately see where they're trying to go with it, it's a celebration of food in every of its form, they want to encourage to start growing your own food, be curious about what you eat, wonder, bake, make.

It's a place where to shop all things kitchenware - a paradise for my eyes! You'll find IKEA's kitchen range all lined up in one store, and only that! You can shop IKEA food and see how different types of kitchens were designed and put together for different types of families or people.

#IKEAtemporary
#IKEAtemporary
#IKEAtemporary

We obviously ventured ourselves towards the food, the one you can actually eat and not only watch. The #IKEAtemporary restaurant is introducing some new entries in IKEA's food, introducing us to their new veggie balls (and you won't believe how happy I am now, after hearing so much about their meatballs but being vegetarian and not able to eat them!), their new veggie and Swedish cheese pizzas and a lot more food! We matched our veggie balls with roasted potatoes (which were the best thing ever!) and tried all their fruit flavoured waters - it was such a dreamy lunch I can't really recommend enough if you're in the area and are craving something different!

#IKEAtemporary
#IKEAtemporary

I bet you'll have understood by now I'm extremely enthusiastic about it all! I can't really wait to see their SINNERLIG range in stores this summer after spotting a preview of it there, and to go back to #IKEAtemporary and try and explore more food!

#IKEAtemporary will be opened for 5 months until September 30th, and I can't suggest giving it a visit enough if you're as enthusiastic about food as I am and are around Milan this year!

* don't forget to enter my blog's first birthday giveaway! *
VIEW OLDER
OLDER POSTS〉